I recently moved to a small town about three hours away from Montréal by train. The last time I visited the city was about thirty years ago and I only really remember a few things from that visit, so I was really looking forward to going back and seeing how the city has changed. Even better, I was going to get to hang out with a bunch of Leica fanatics and geek out over camera stuff.
It’s pretty funny hanging out and talking to the Leica crowd at breakfast. The banter reminds me of getting ready for a day of downhill skiing - “I hear the snow is good off the XYZ chairlift, but get there early before the crowds”, “Did you hit the powder off the high traverse yesterday, it was up to my waist in spots!”. Here it’s more like, “The light is pretty flat this morning so maybe do some street shots in Chinatown and then catch the sunset on top of Mount Royal as the weather is supposed to clear up this afternoon”, “Did you see the clouds at the end of the day yesterday, that was a crazy sky, I got some great shots!”.
I guess this is pretty common if you get a group of people that are passionate about what they are doing. It’s this excitement at the beginning of the day that really gets me going. It’s great that people share places they have been to in the city as it helps me plan out my day a bit, and while I love the chatter, I also know that I will be spending most of my time on my own during the day. We will get back together and compare stories at the end of the day.
One of the things I really love about the M system is how compact it is without making sacrifices on the quality of the images being produced. The lenses are fast too, I don't own any Noctilux gear, but the 35mm Summilux (f.1.4) is a nice little lens and performs incredibly well for pretty much anything I throw at it. This stuff is tough too! I prefer to carry a small bag which does not really have much in the way of padding with no concerns at all.
How many times have you heard that "The best camera is the one you have with you!" Well, it's pretty easy for me to have my M11 with me everywhere I go.
Small rant: It seems there is a lot of controversy about using an Electronic View Finder (EVF) like the Visoflex 2. This is becoming an even bigger deal with the new Leica M EV 1 which does not have an optical viewfinder, just a builtin EVF. The purists argue that the optical view finder is better and more accurate, and I don’t necessarily disagree, but I also don’t mind using tools that make things easier. I do find that the optical finder is easier to focus than the EVF, but I sometimes find it easier to use the EVF for composition. In fact, it seems that I have a use for the Visoflex for every lens I use:
- the 90mm Summicron R which cannot be focused with the optical viewfinder at all since it is on an adapter and disengaged from the optical viewfinder focus mechanism.
- the 21mm SEM has a wider field of view than the optical viewfinder so the EVF is useful for composition as you can see the whole shot - although, it’s not a huge deal as you are usually more interested in what is in the middle of the frame and I often do not use the EVF with this lens.
- the 35mm Summilux FLE2 is a close focus lens so you need to use the EVF for objects closer than 70cm especially if you have the lens wide open as the plane of focus can be just a few millimeters. Again, I can usually get by using the screen on the back of the camera for those situations, in fact, I usually find it easier to use the screen on the back of the camera and then simply move the camera around to get the right focus.
I also like taking photos at night which is a lot easier with the EVF as it lights up the scene for you.
Regardless, what it really comes down to is what works for you. The camera is just a tool that you are using to tell your story. I try to set it up so that the camera does not get in my way. Being able to switch between the optical viewfinder, the visoflex 2, and the screen on the back of the camera just makes everything easier. Oddly and unfortunately, I could not get the EVF working on the M11 Monochrom, not sure if there was a problem with the camera or maybe (probably?) just user error.
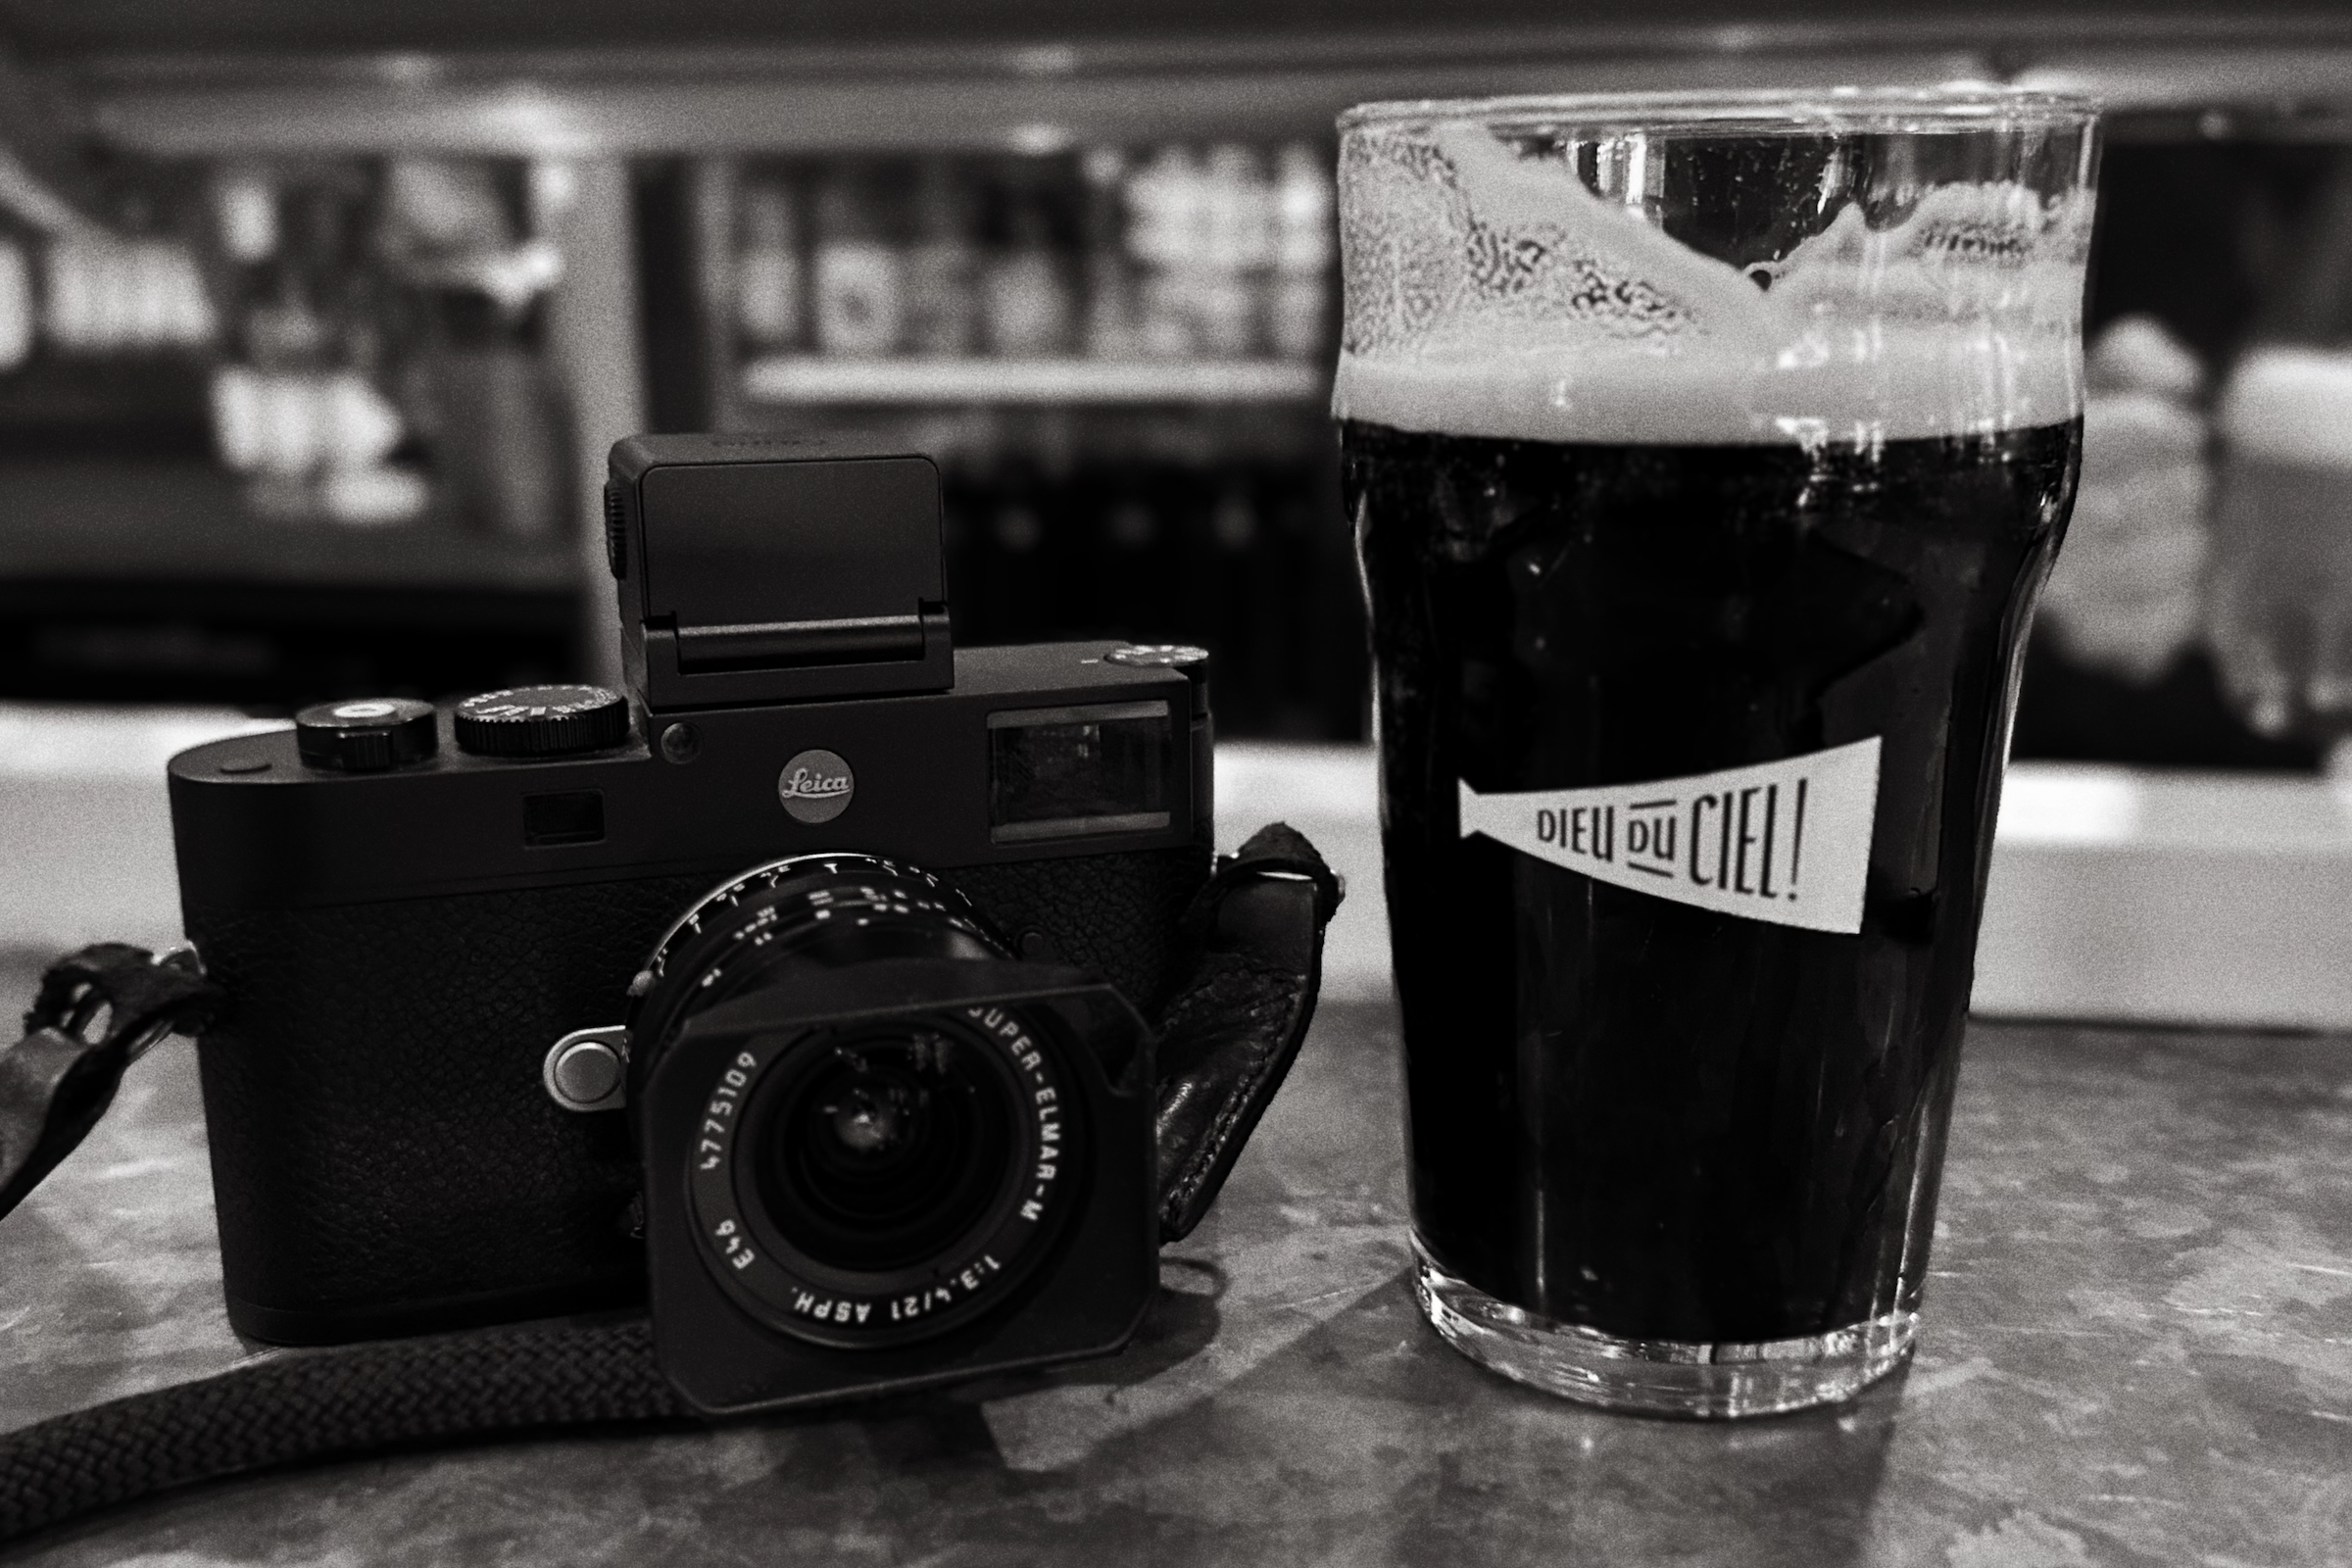
There are a few things going on when I first set out on a photo walk, especially when I’m on my own. The first thing I try to do is get warmed up a bit - like get a sense of what the light is like, what the clouds are doing and dialing in settings so that the camera is basically ready to go (or at least as close as possible). Then I try to establish a theme or story that I would like to convey with the images I’m capturing - why am I out here with a camera today. Finally, there is going to be a lot of walking around, where do I want to end up for a snack and maybe a beer.
Day One: Hello Montréal!#
Took the train up from Kingston, Ontario, which is about a three-hour trip. I like taking the train, it’s a lot easier than driving. The hotel is a ten-minute walk from the train station-it just makes a lot of sense.
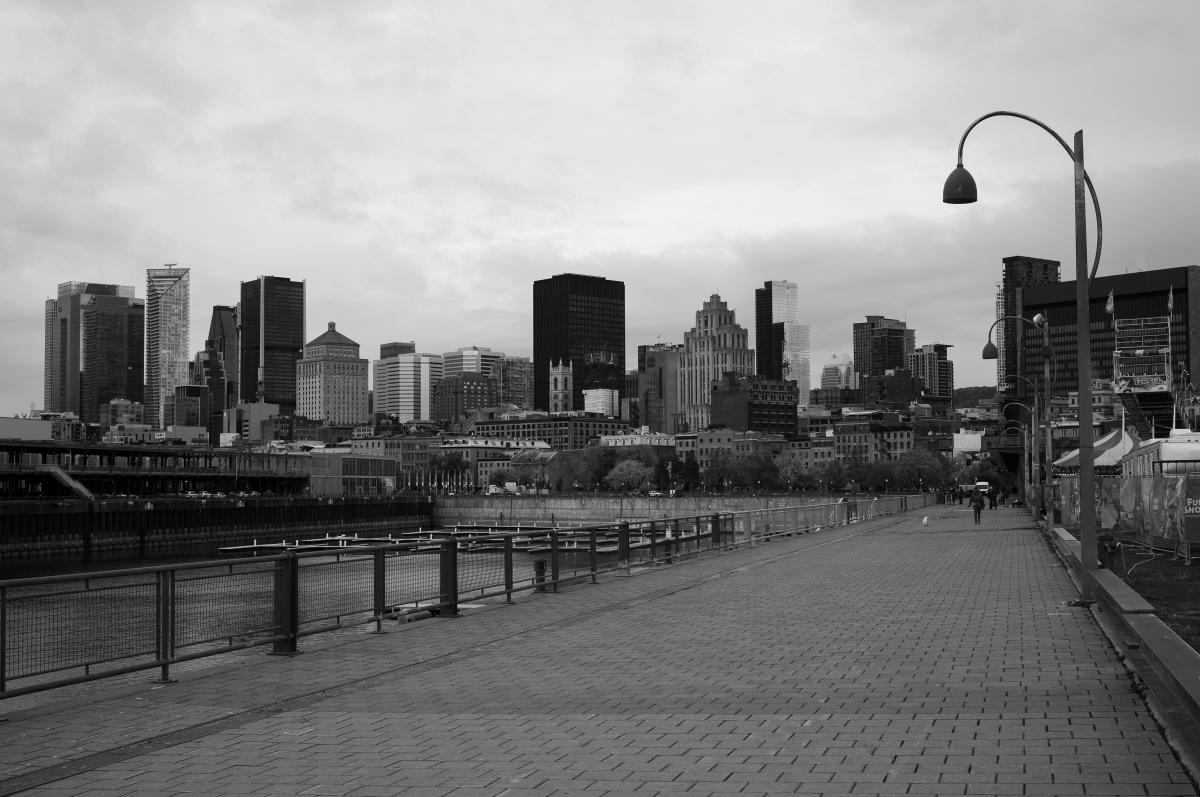
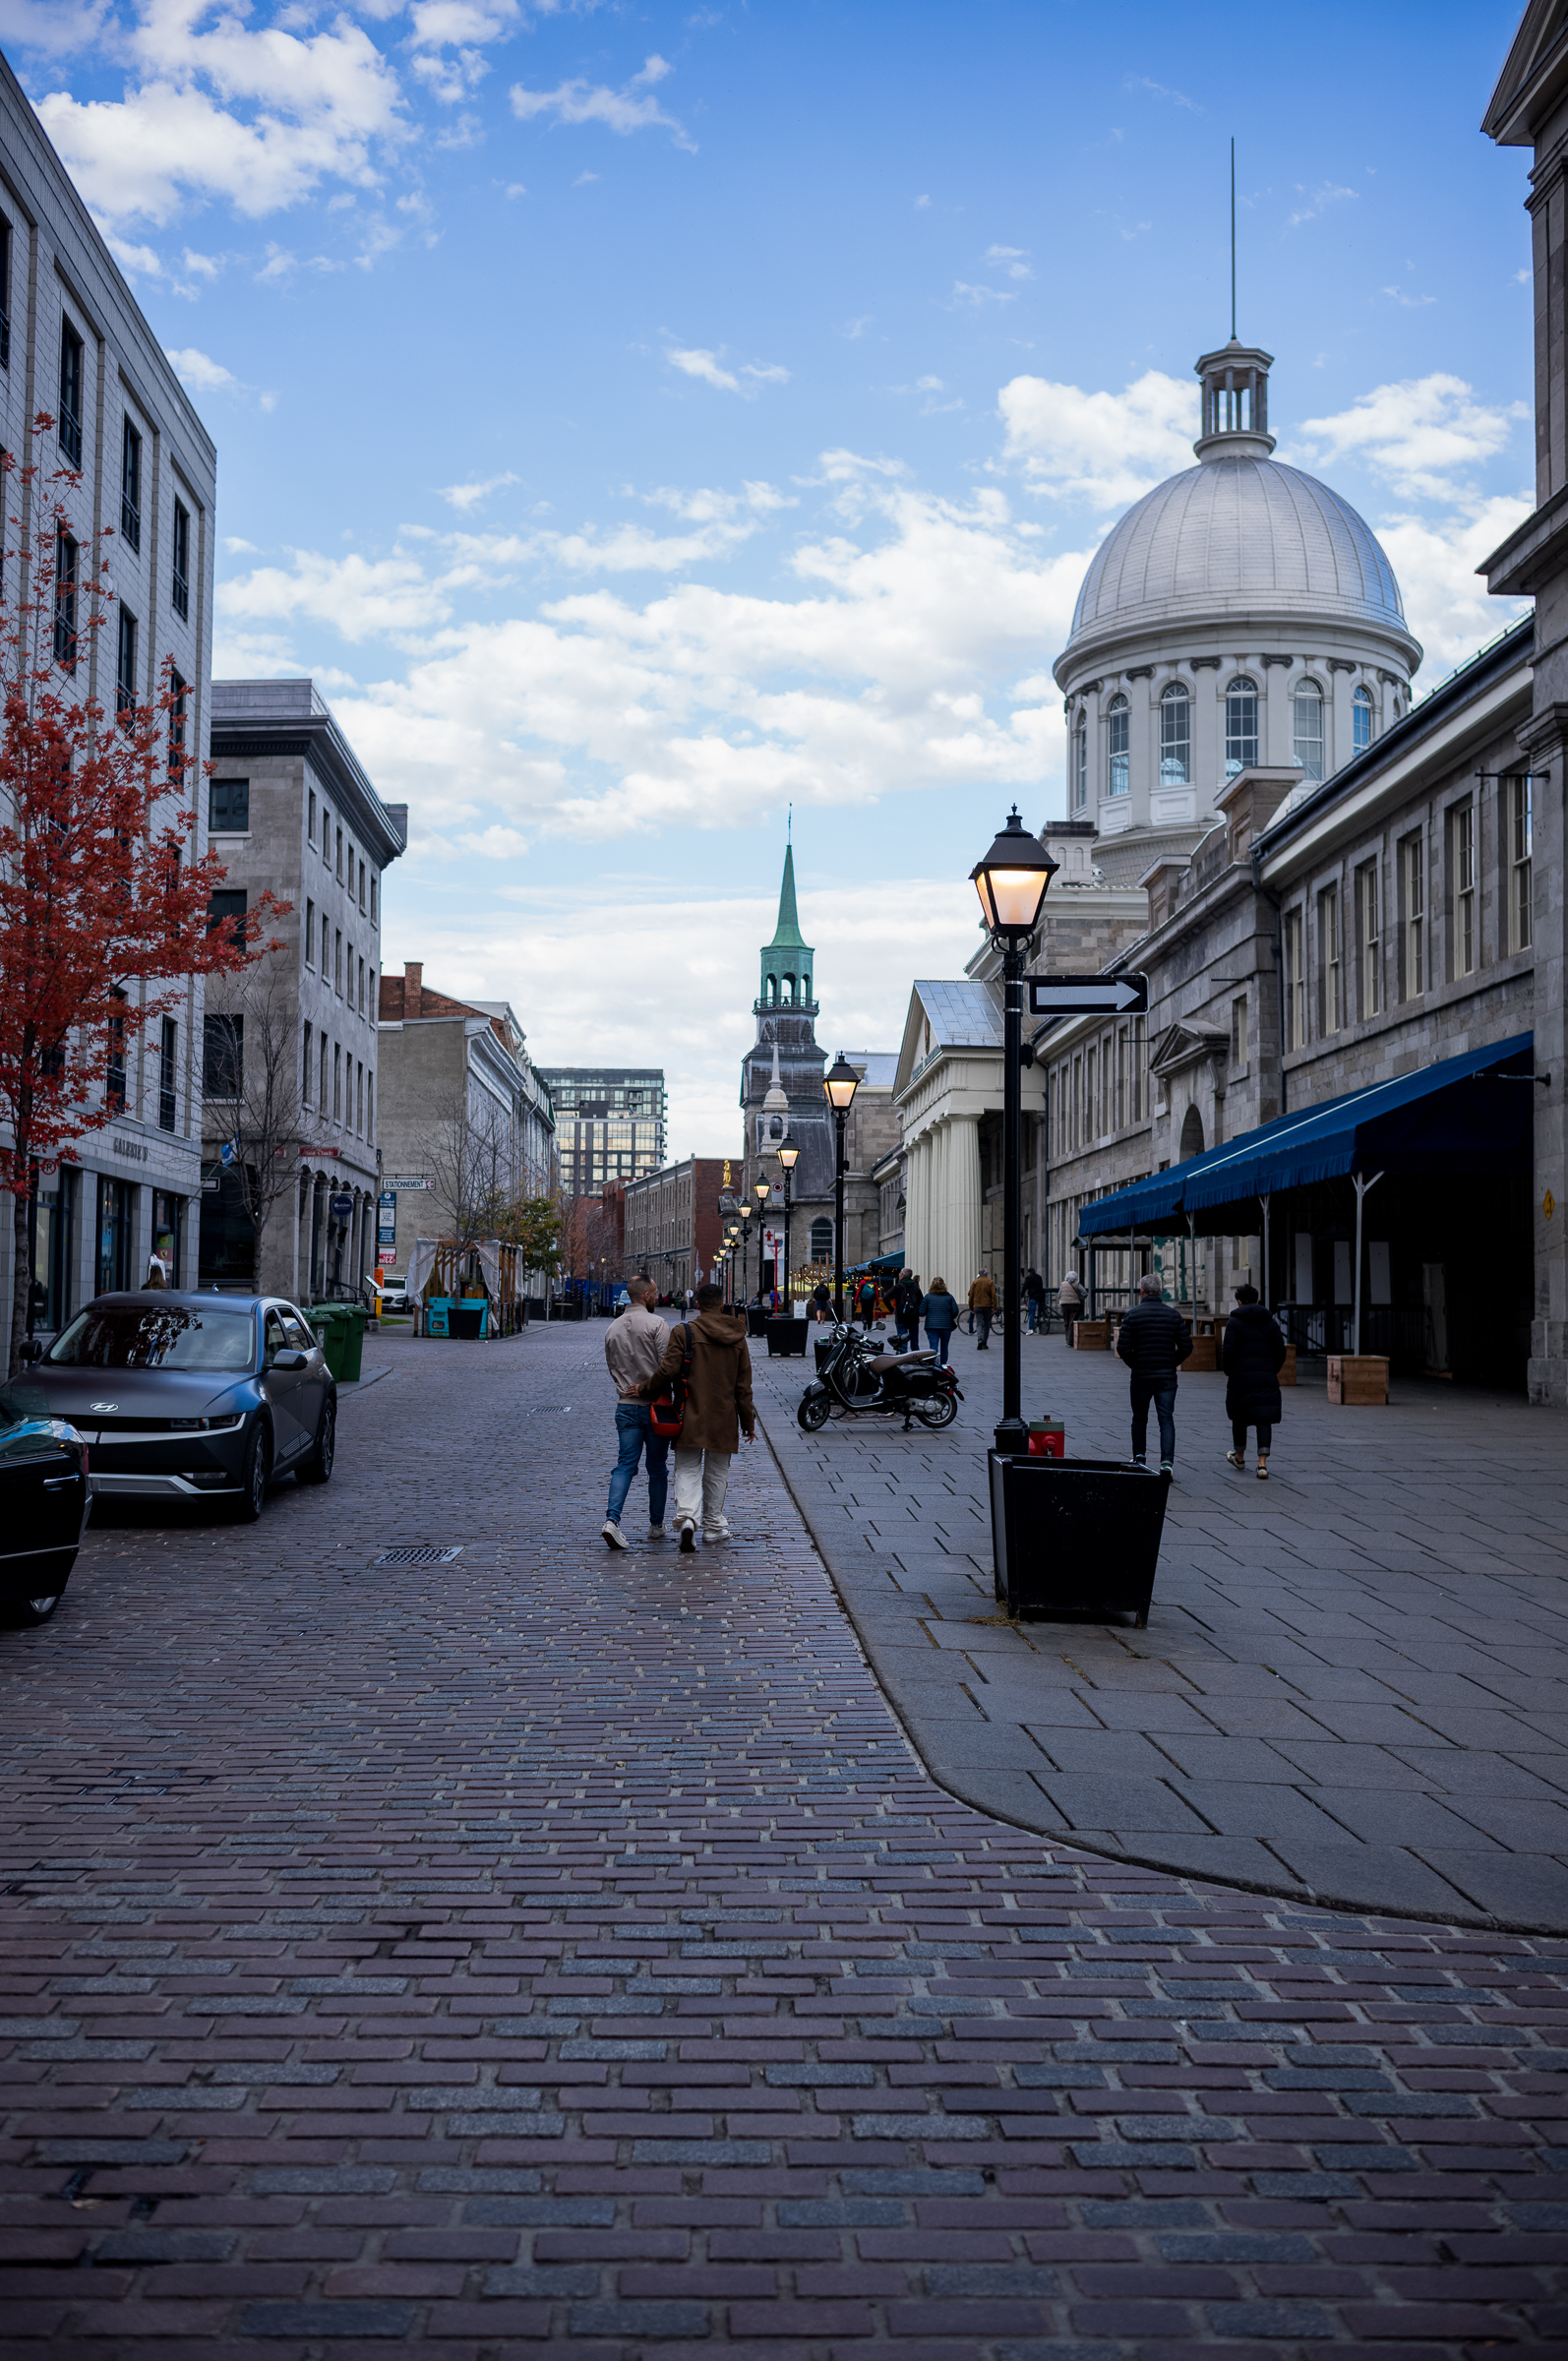
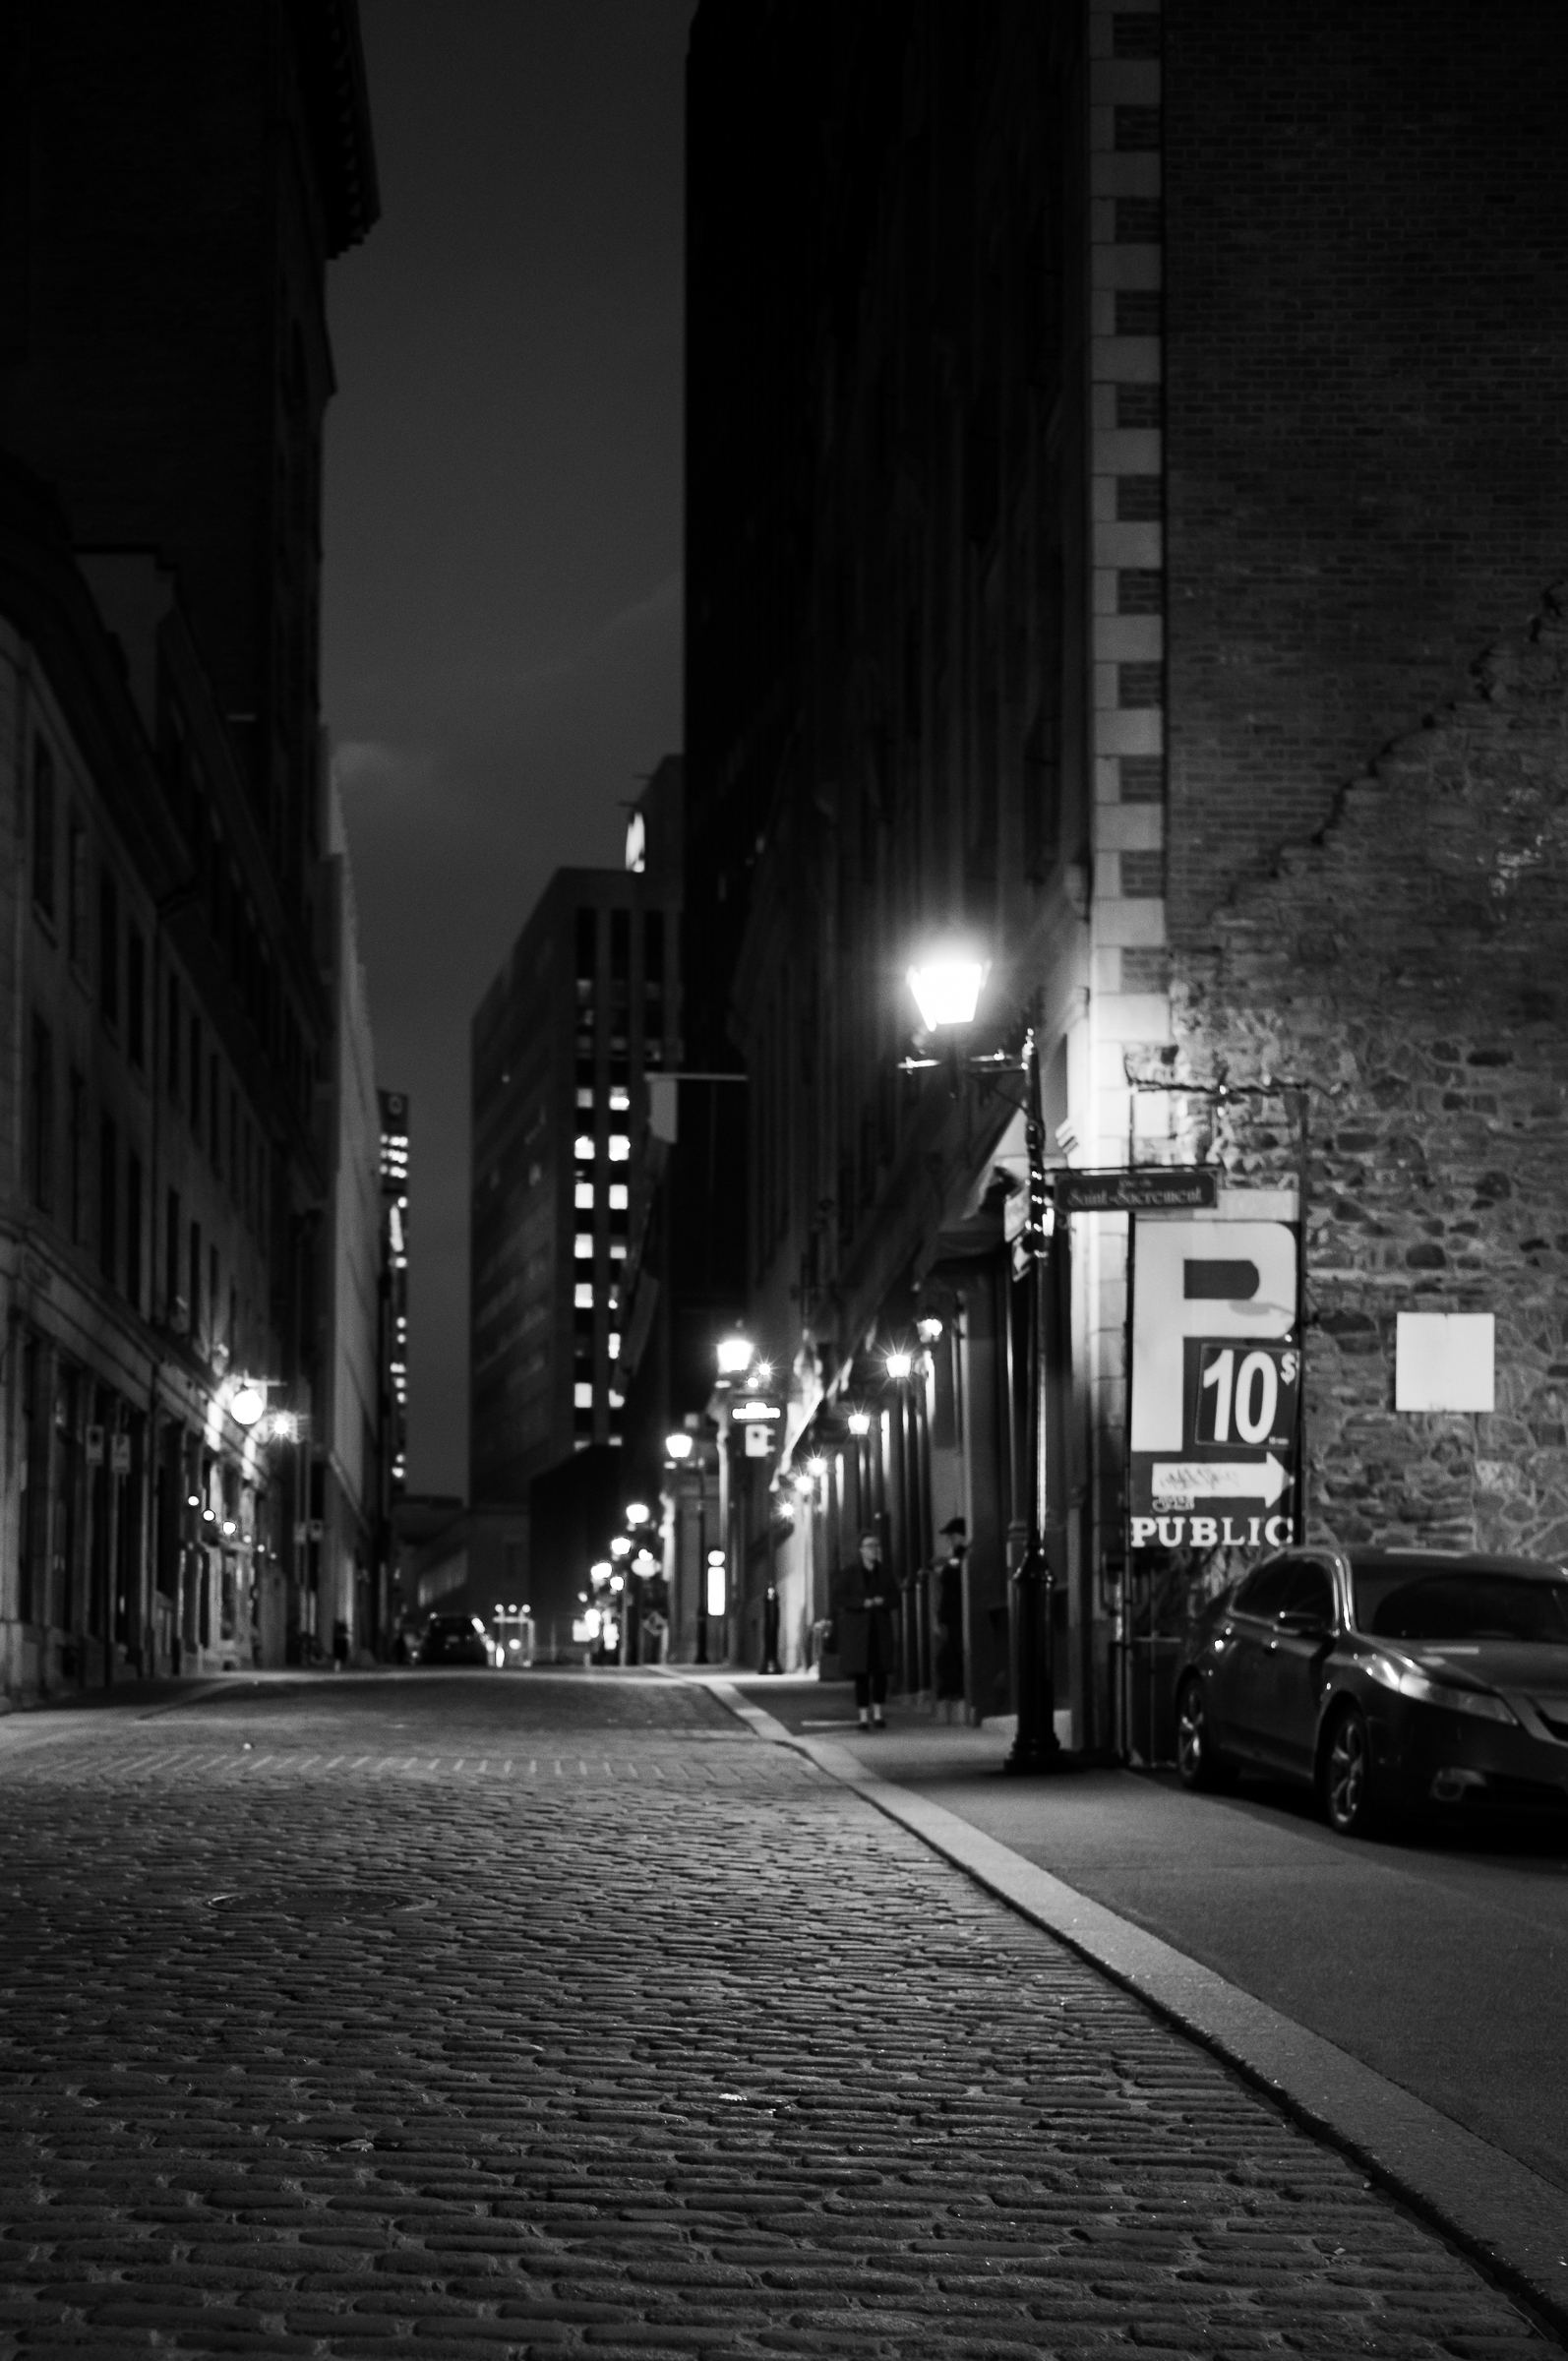
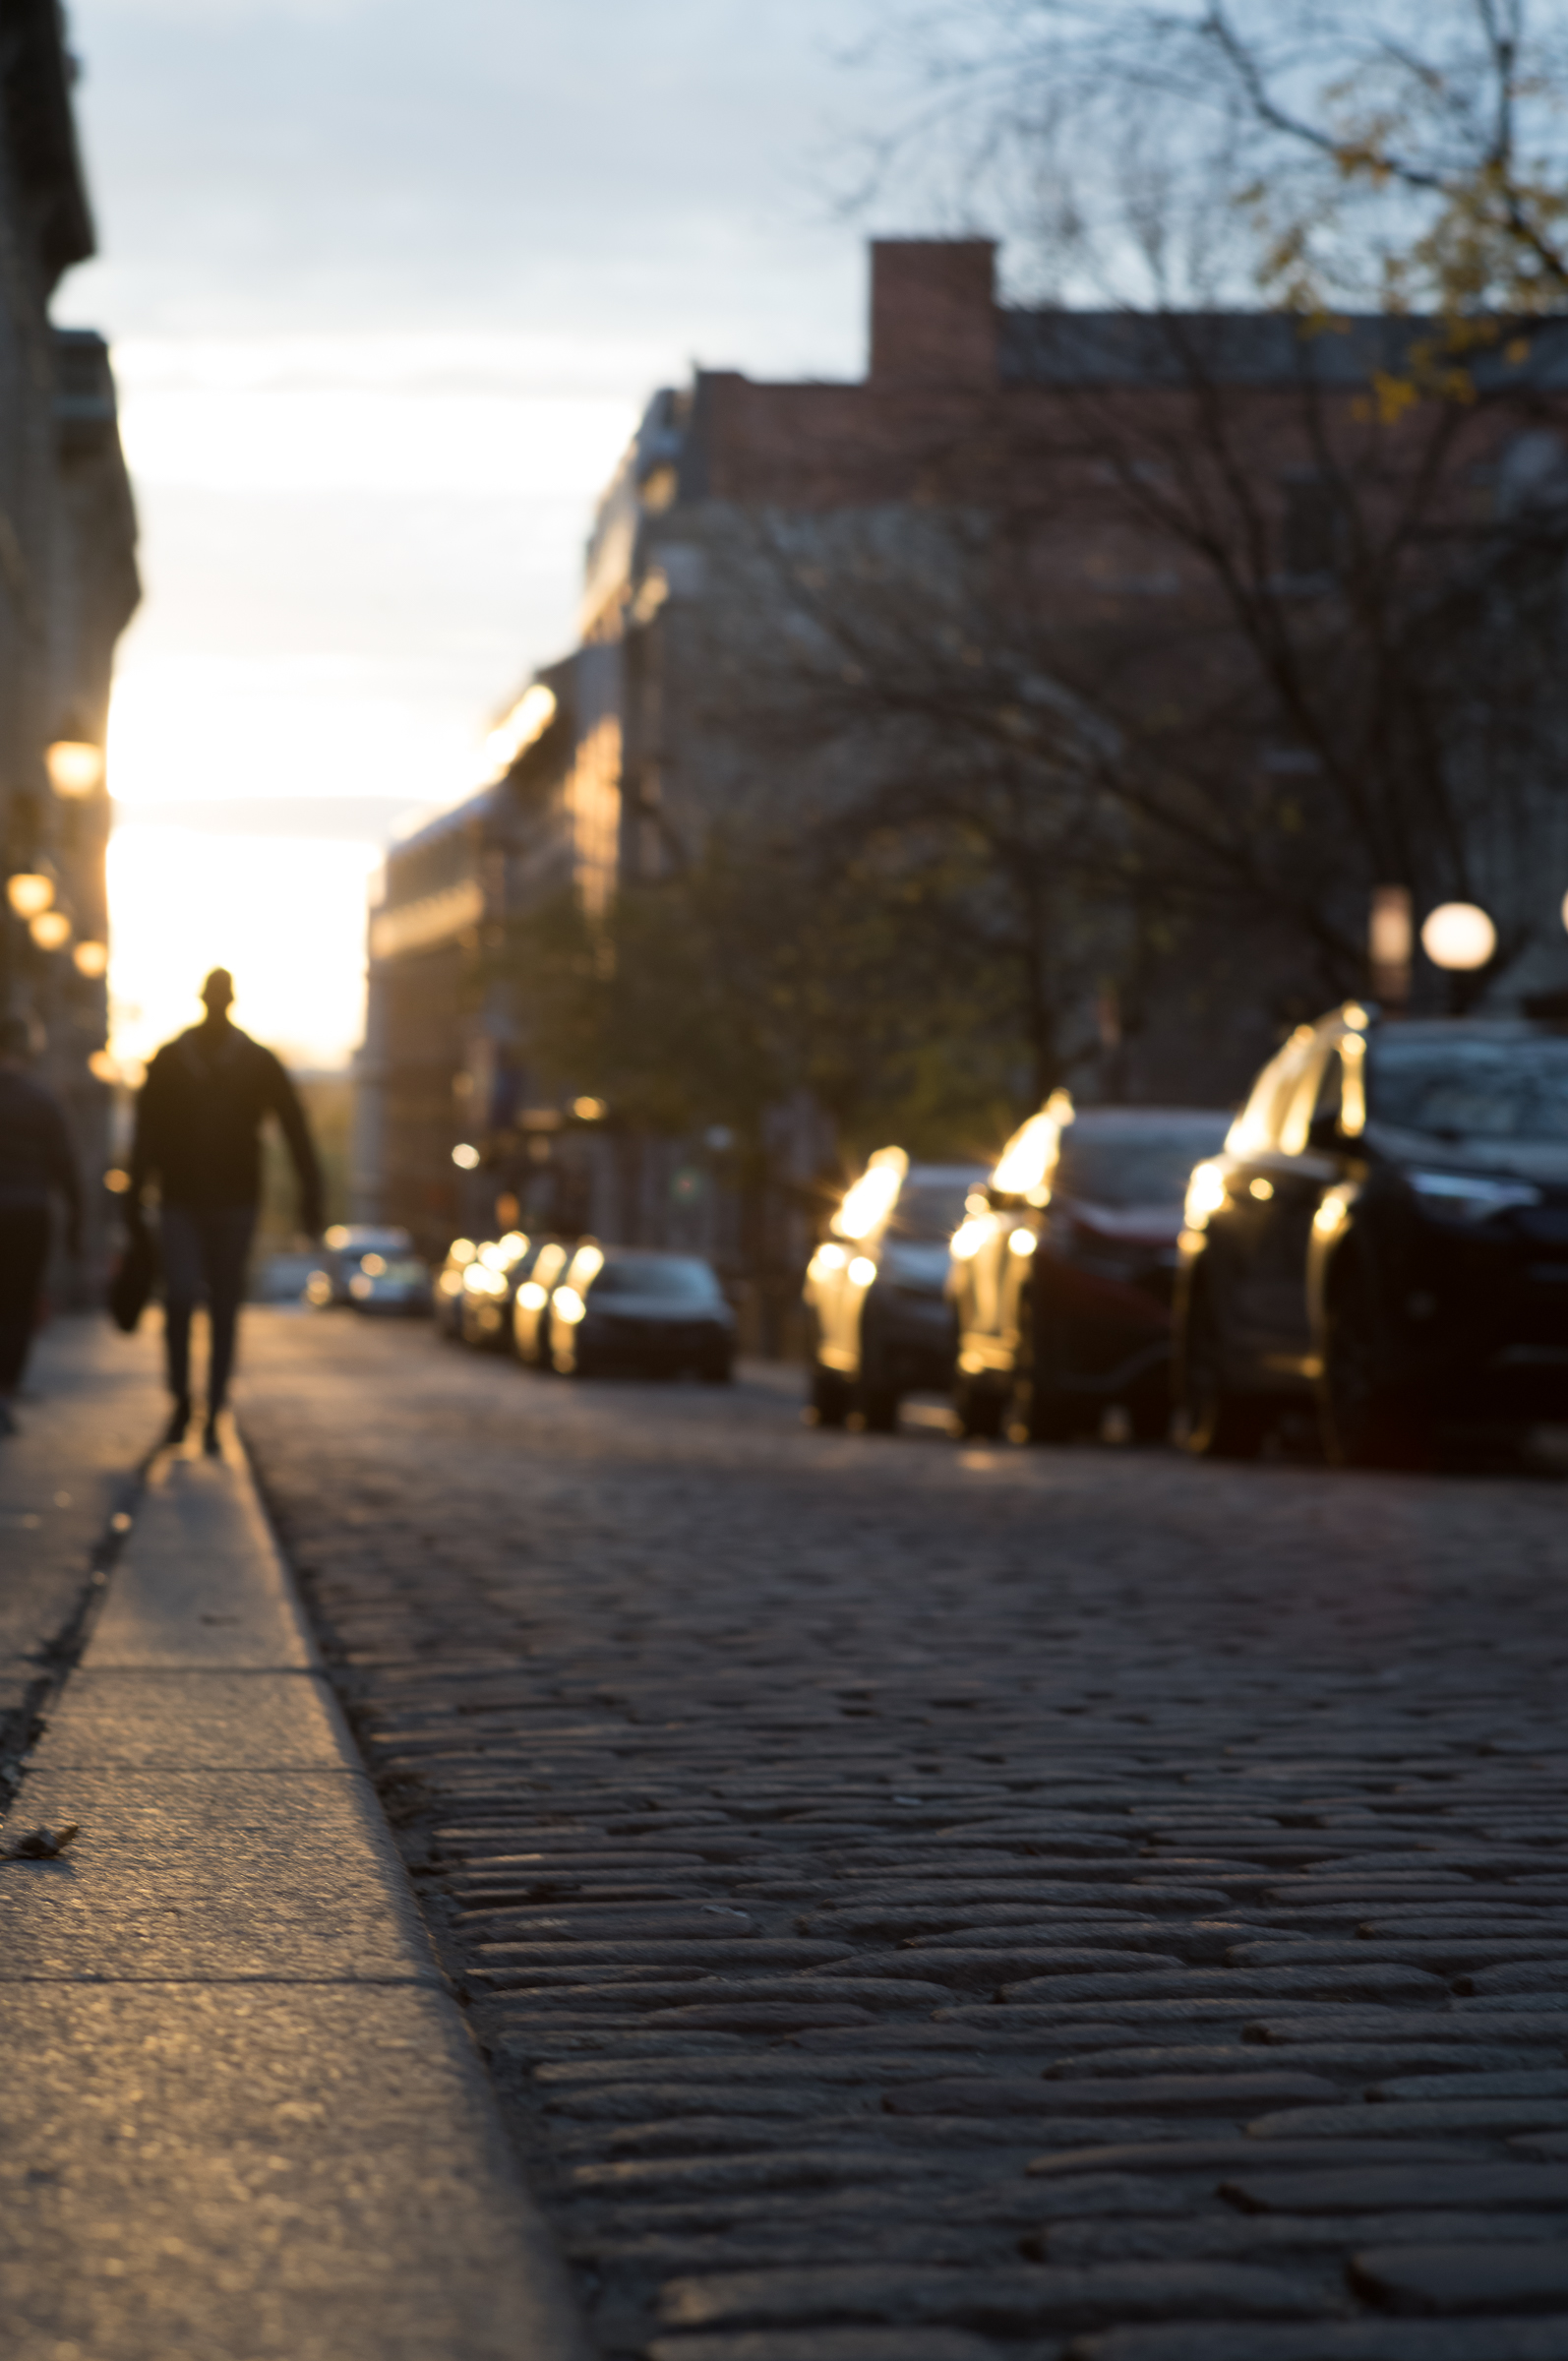
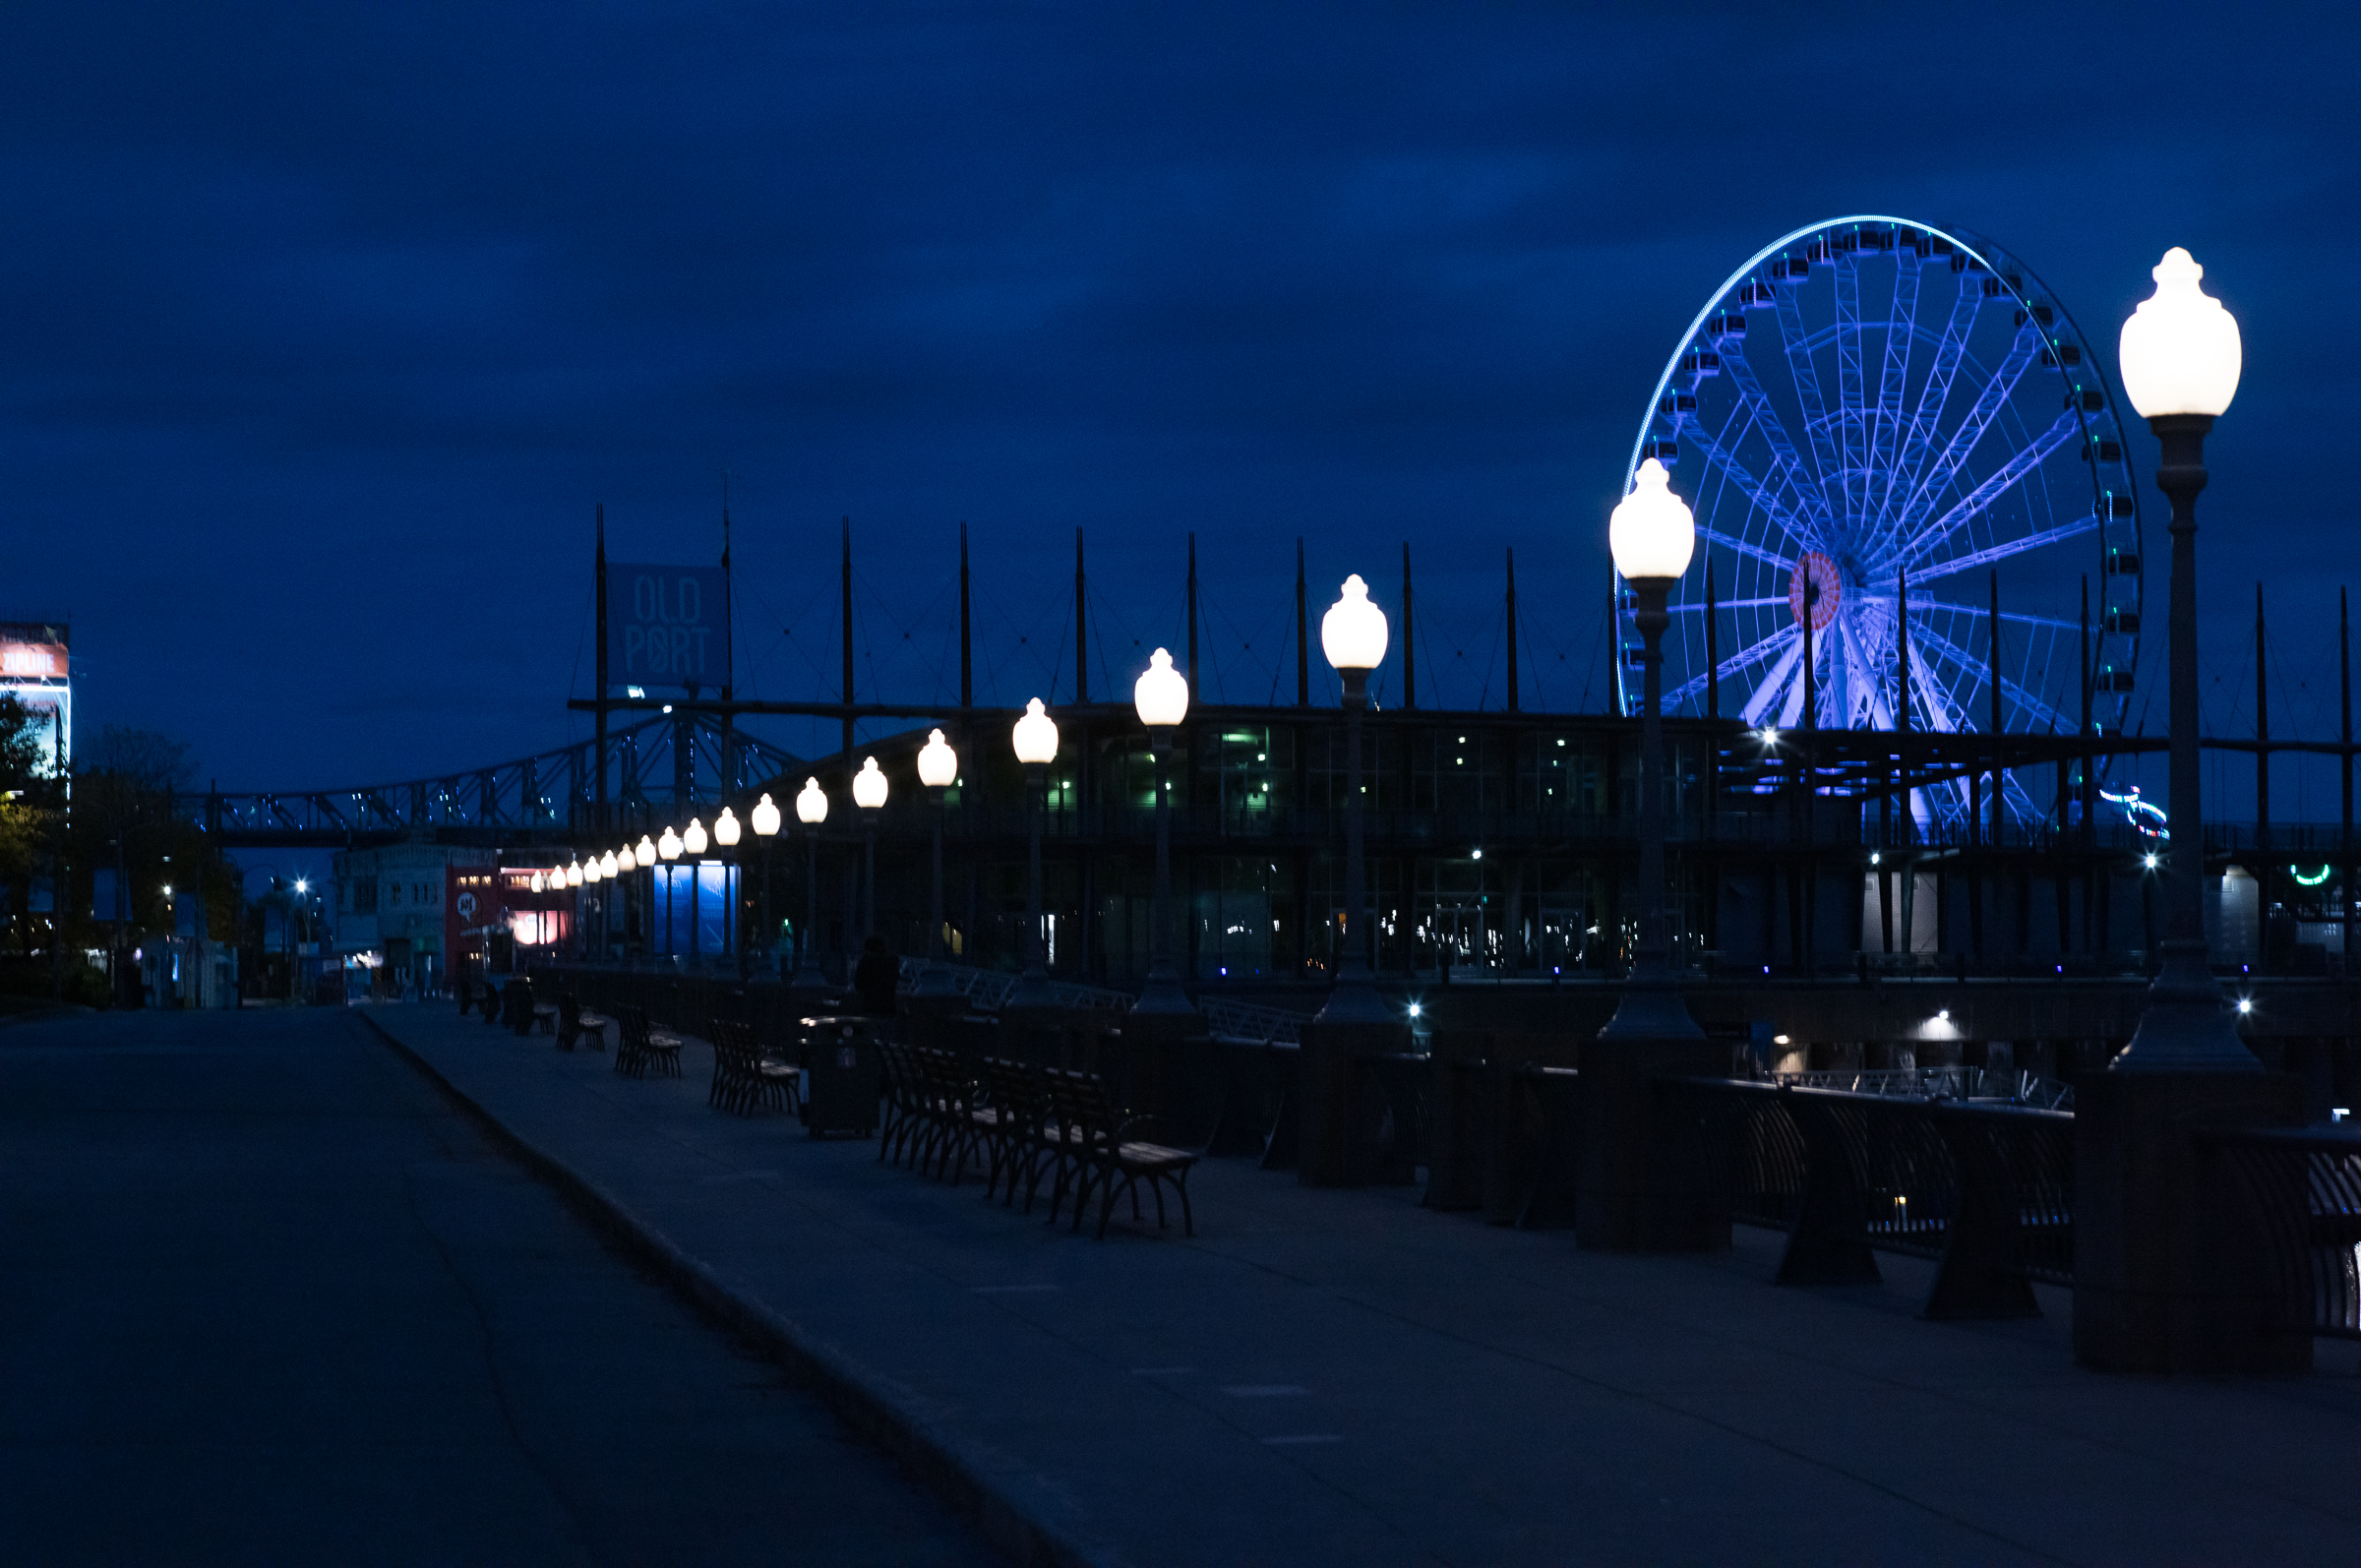
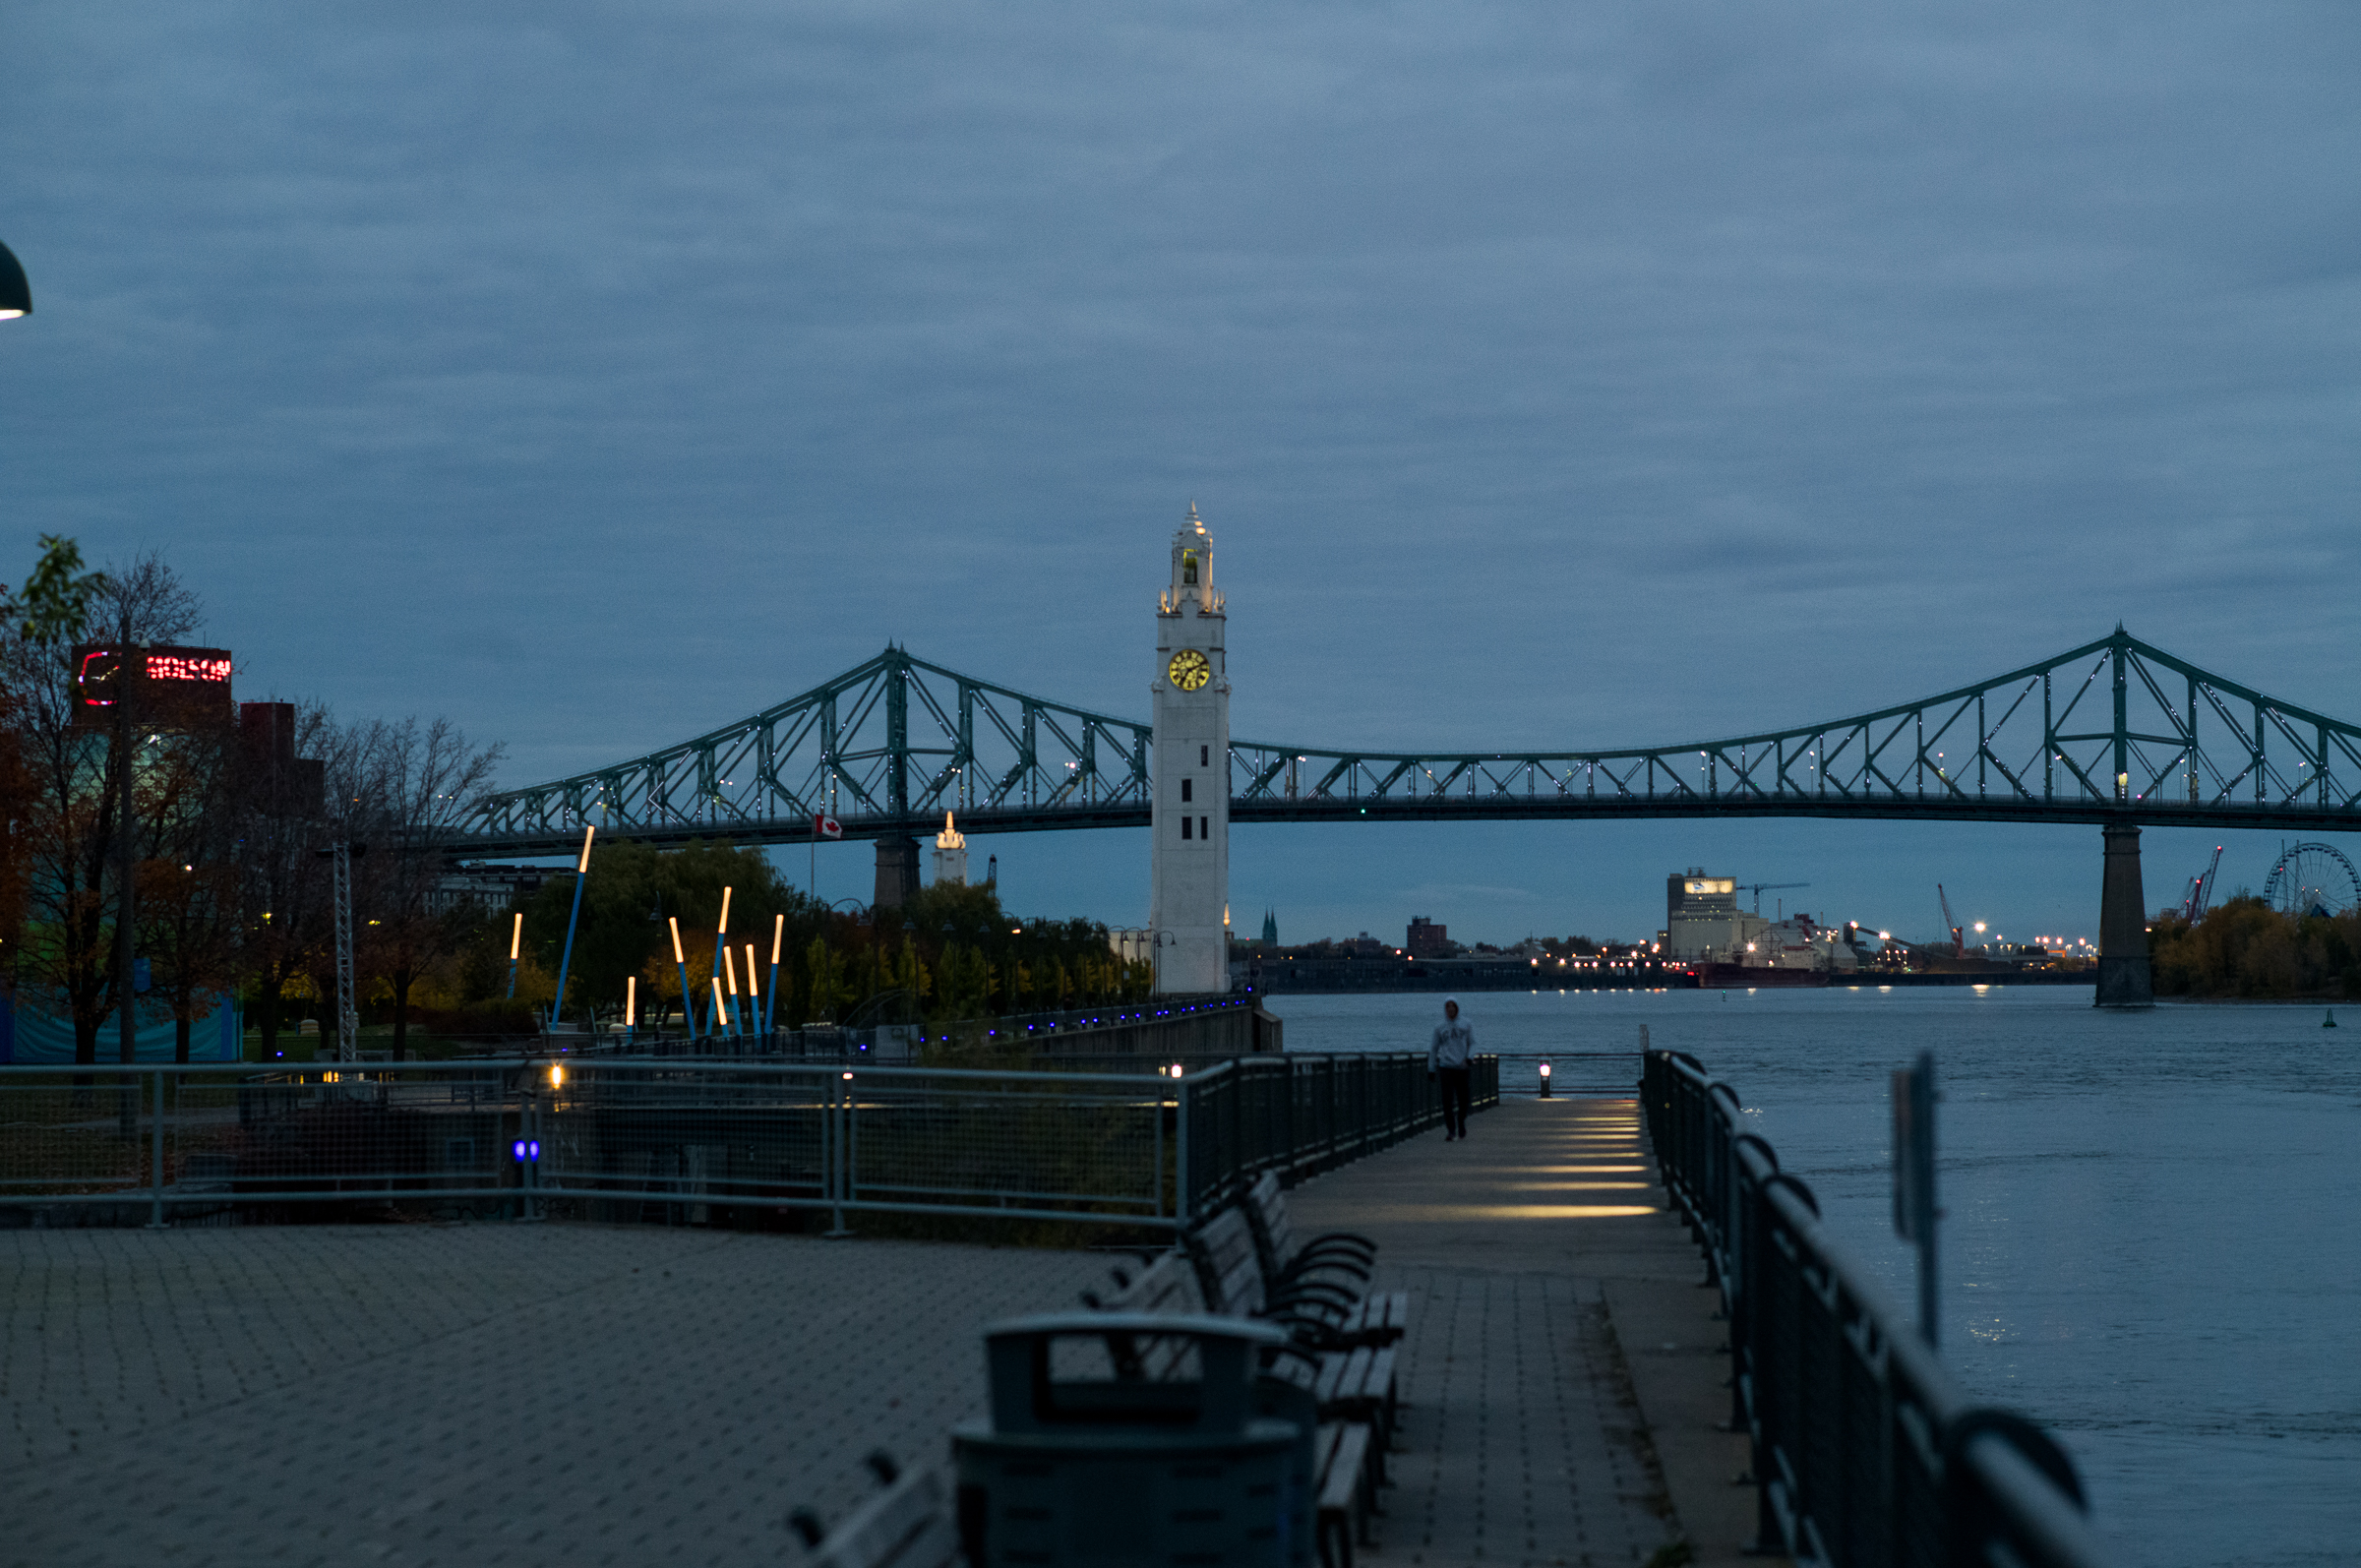
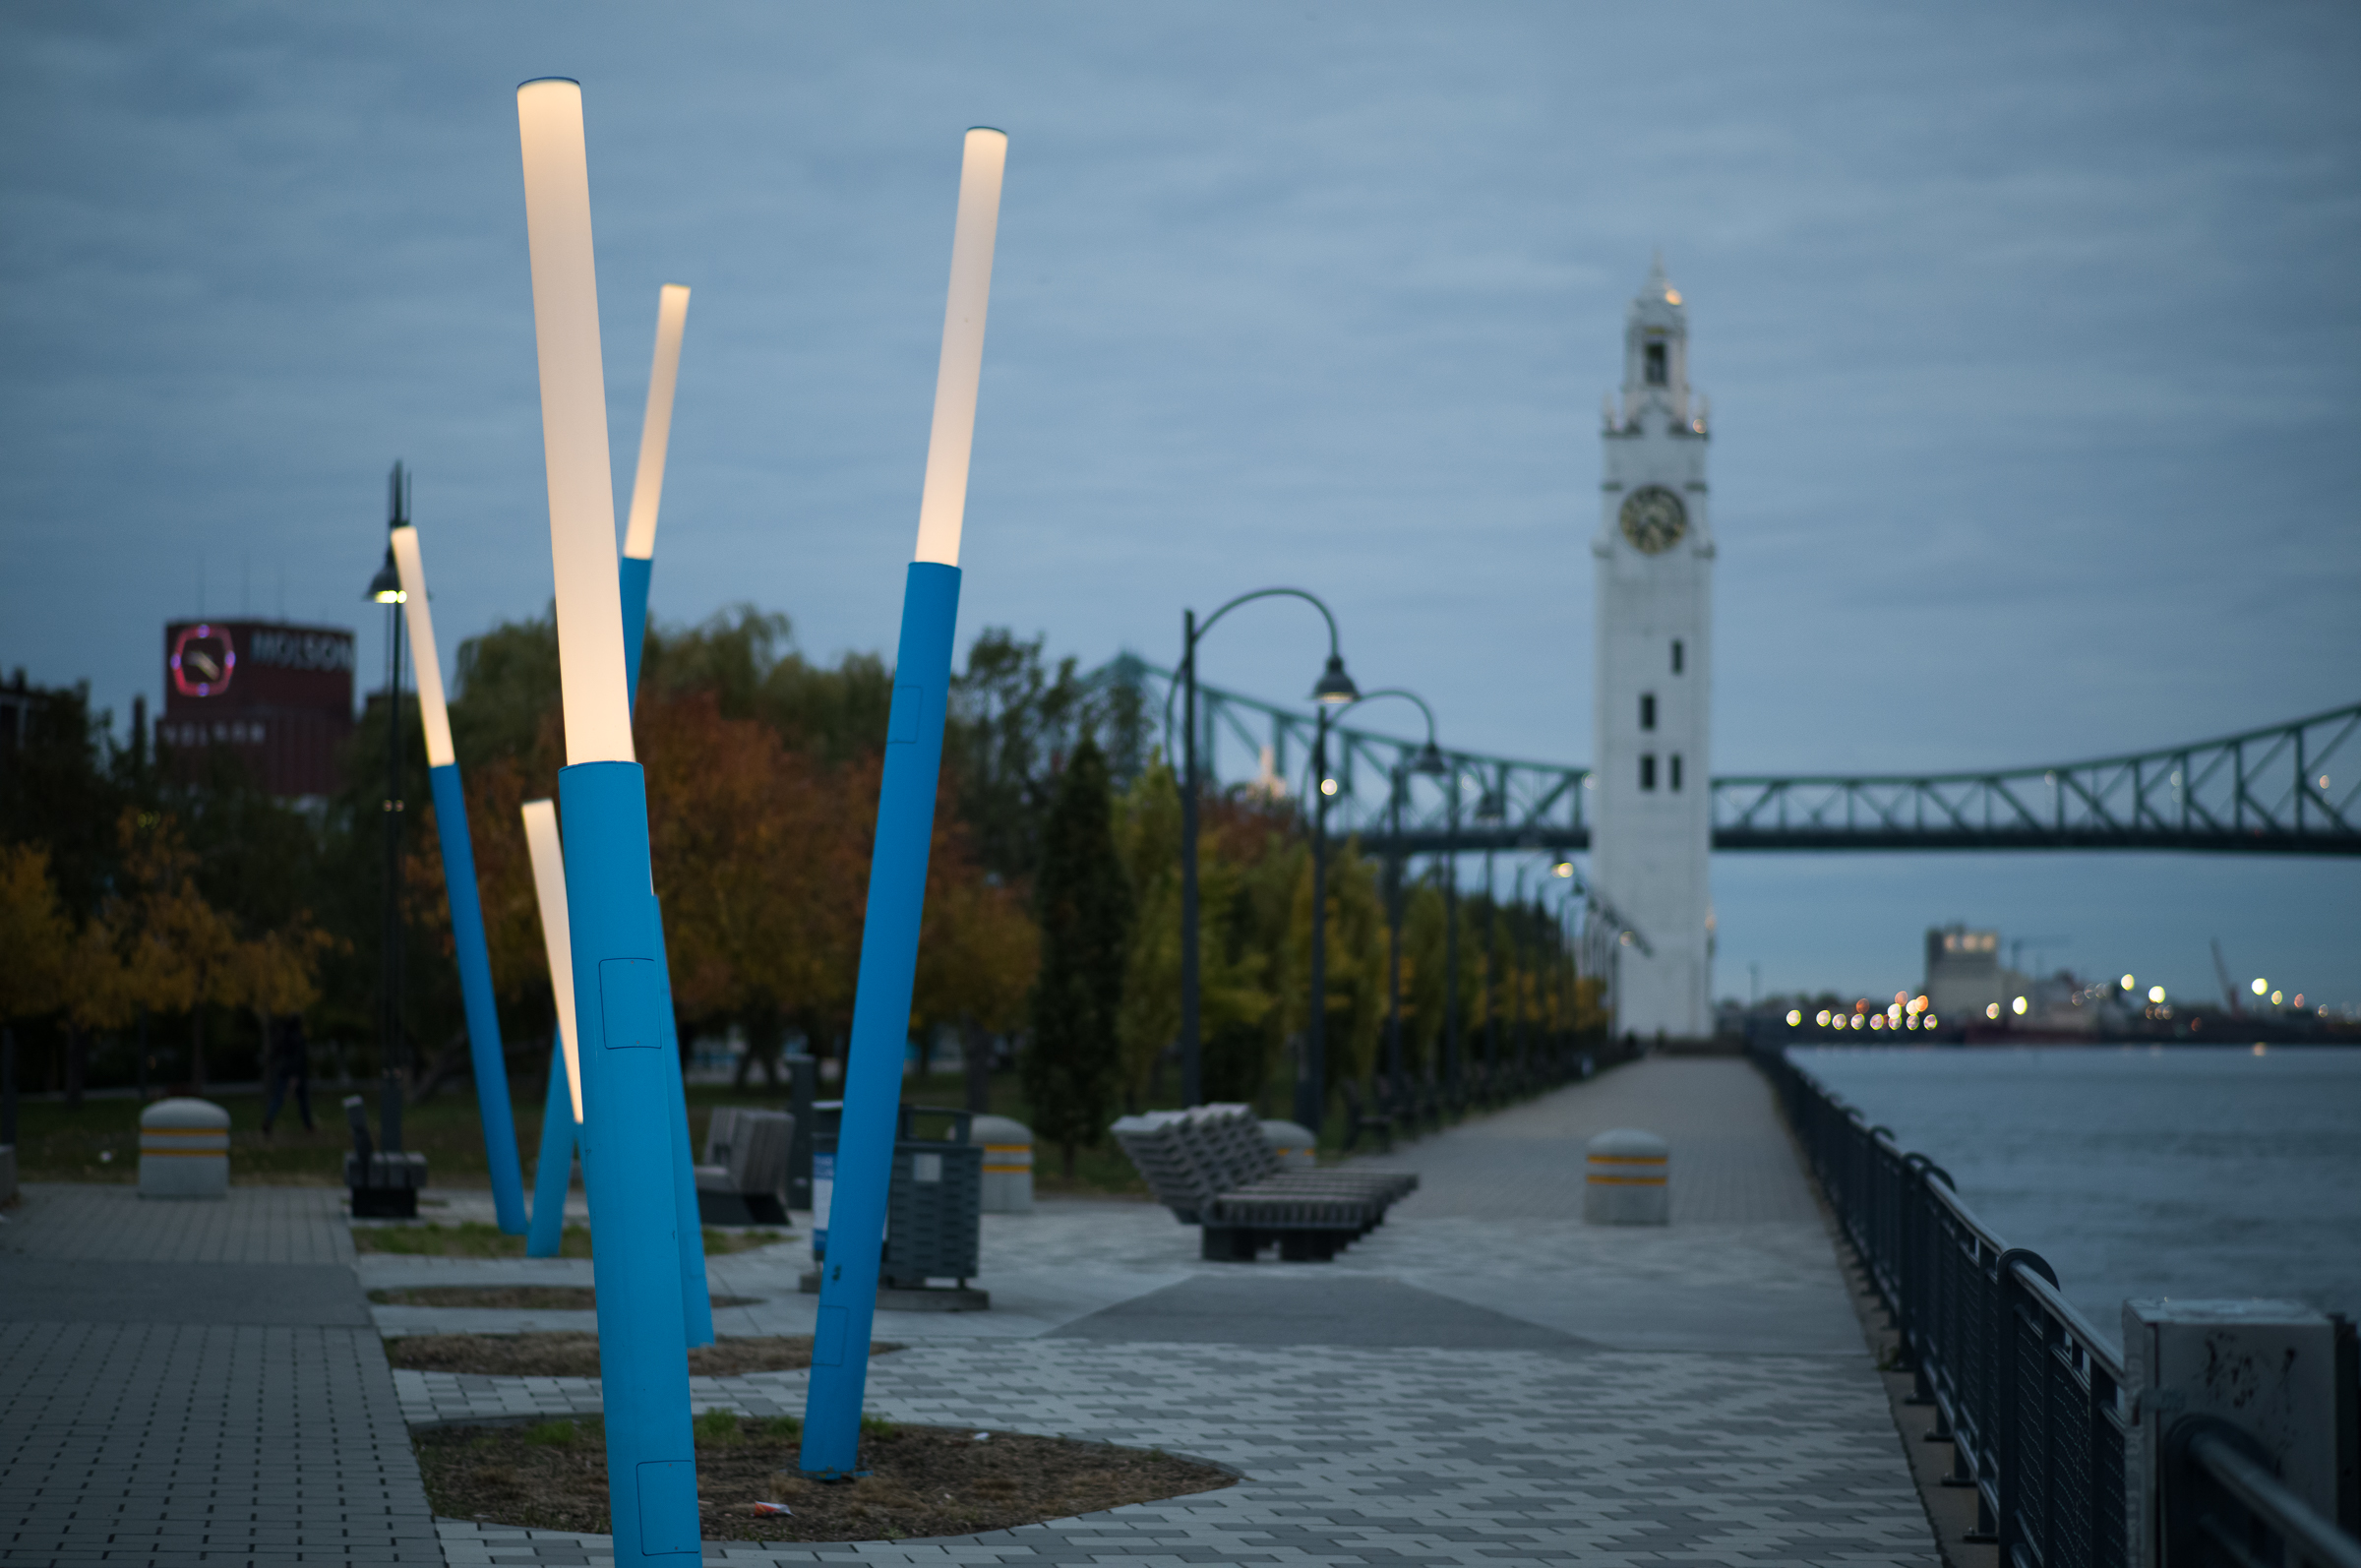
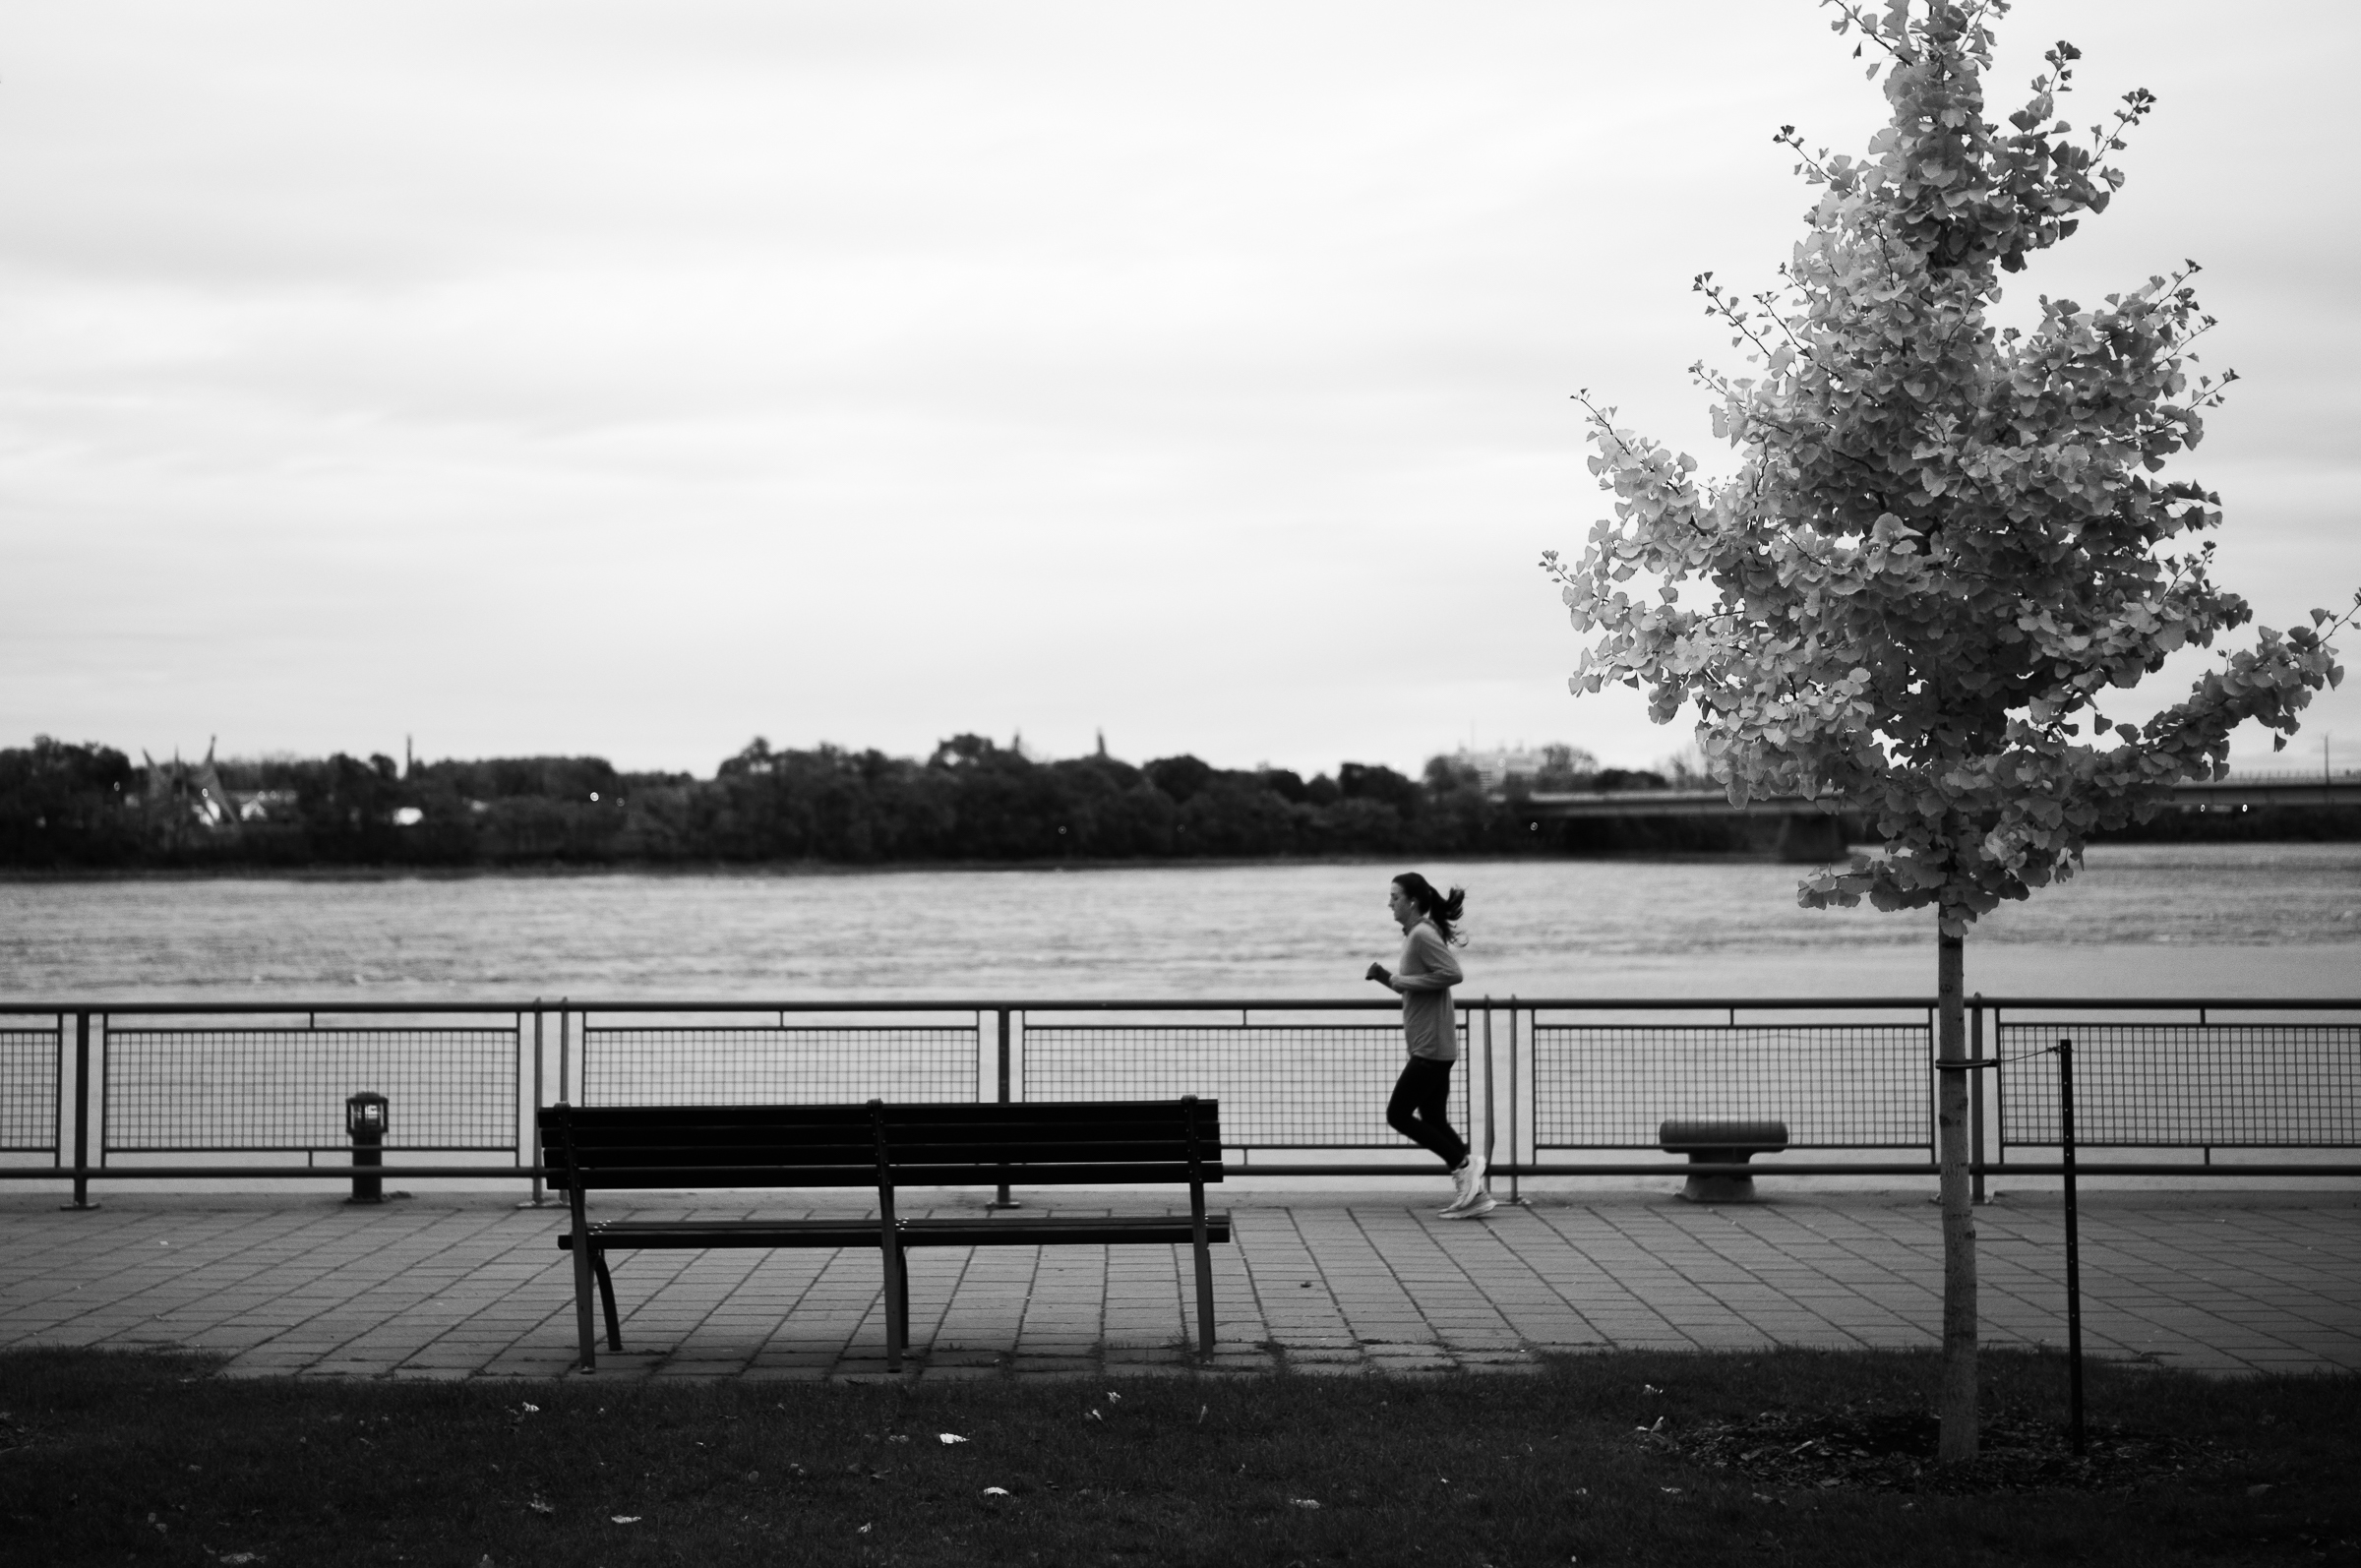
After checking in, I spent the rest of the day walking around the old part of the city-Vieux Port (Old Port). I want to get to know the area I’m in and somehow discover the story I want to tell. This part of Montréal is really beautiful and fun to walk through.


Day Two: With the Pros#
This was really new for me as I usually pretty much keep to myself. A small group of conference attendees was meeting up to see an exhibit at the McCord Stewart Museum Montreal “Pounding the Pavement: Montreal Street Photography” which sounded like a great way to learn a bit more about the city. The exhibit was amazing as a number of the photos in the exhibit reminded me of scenes of when I was growing up in Toronto.
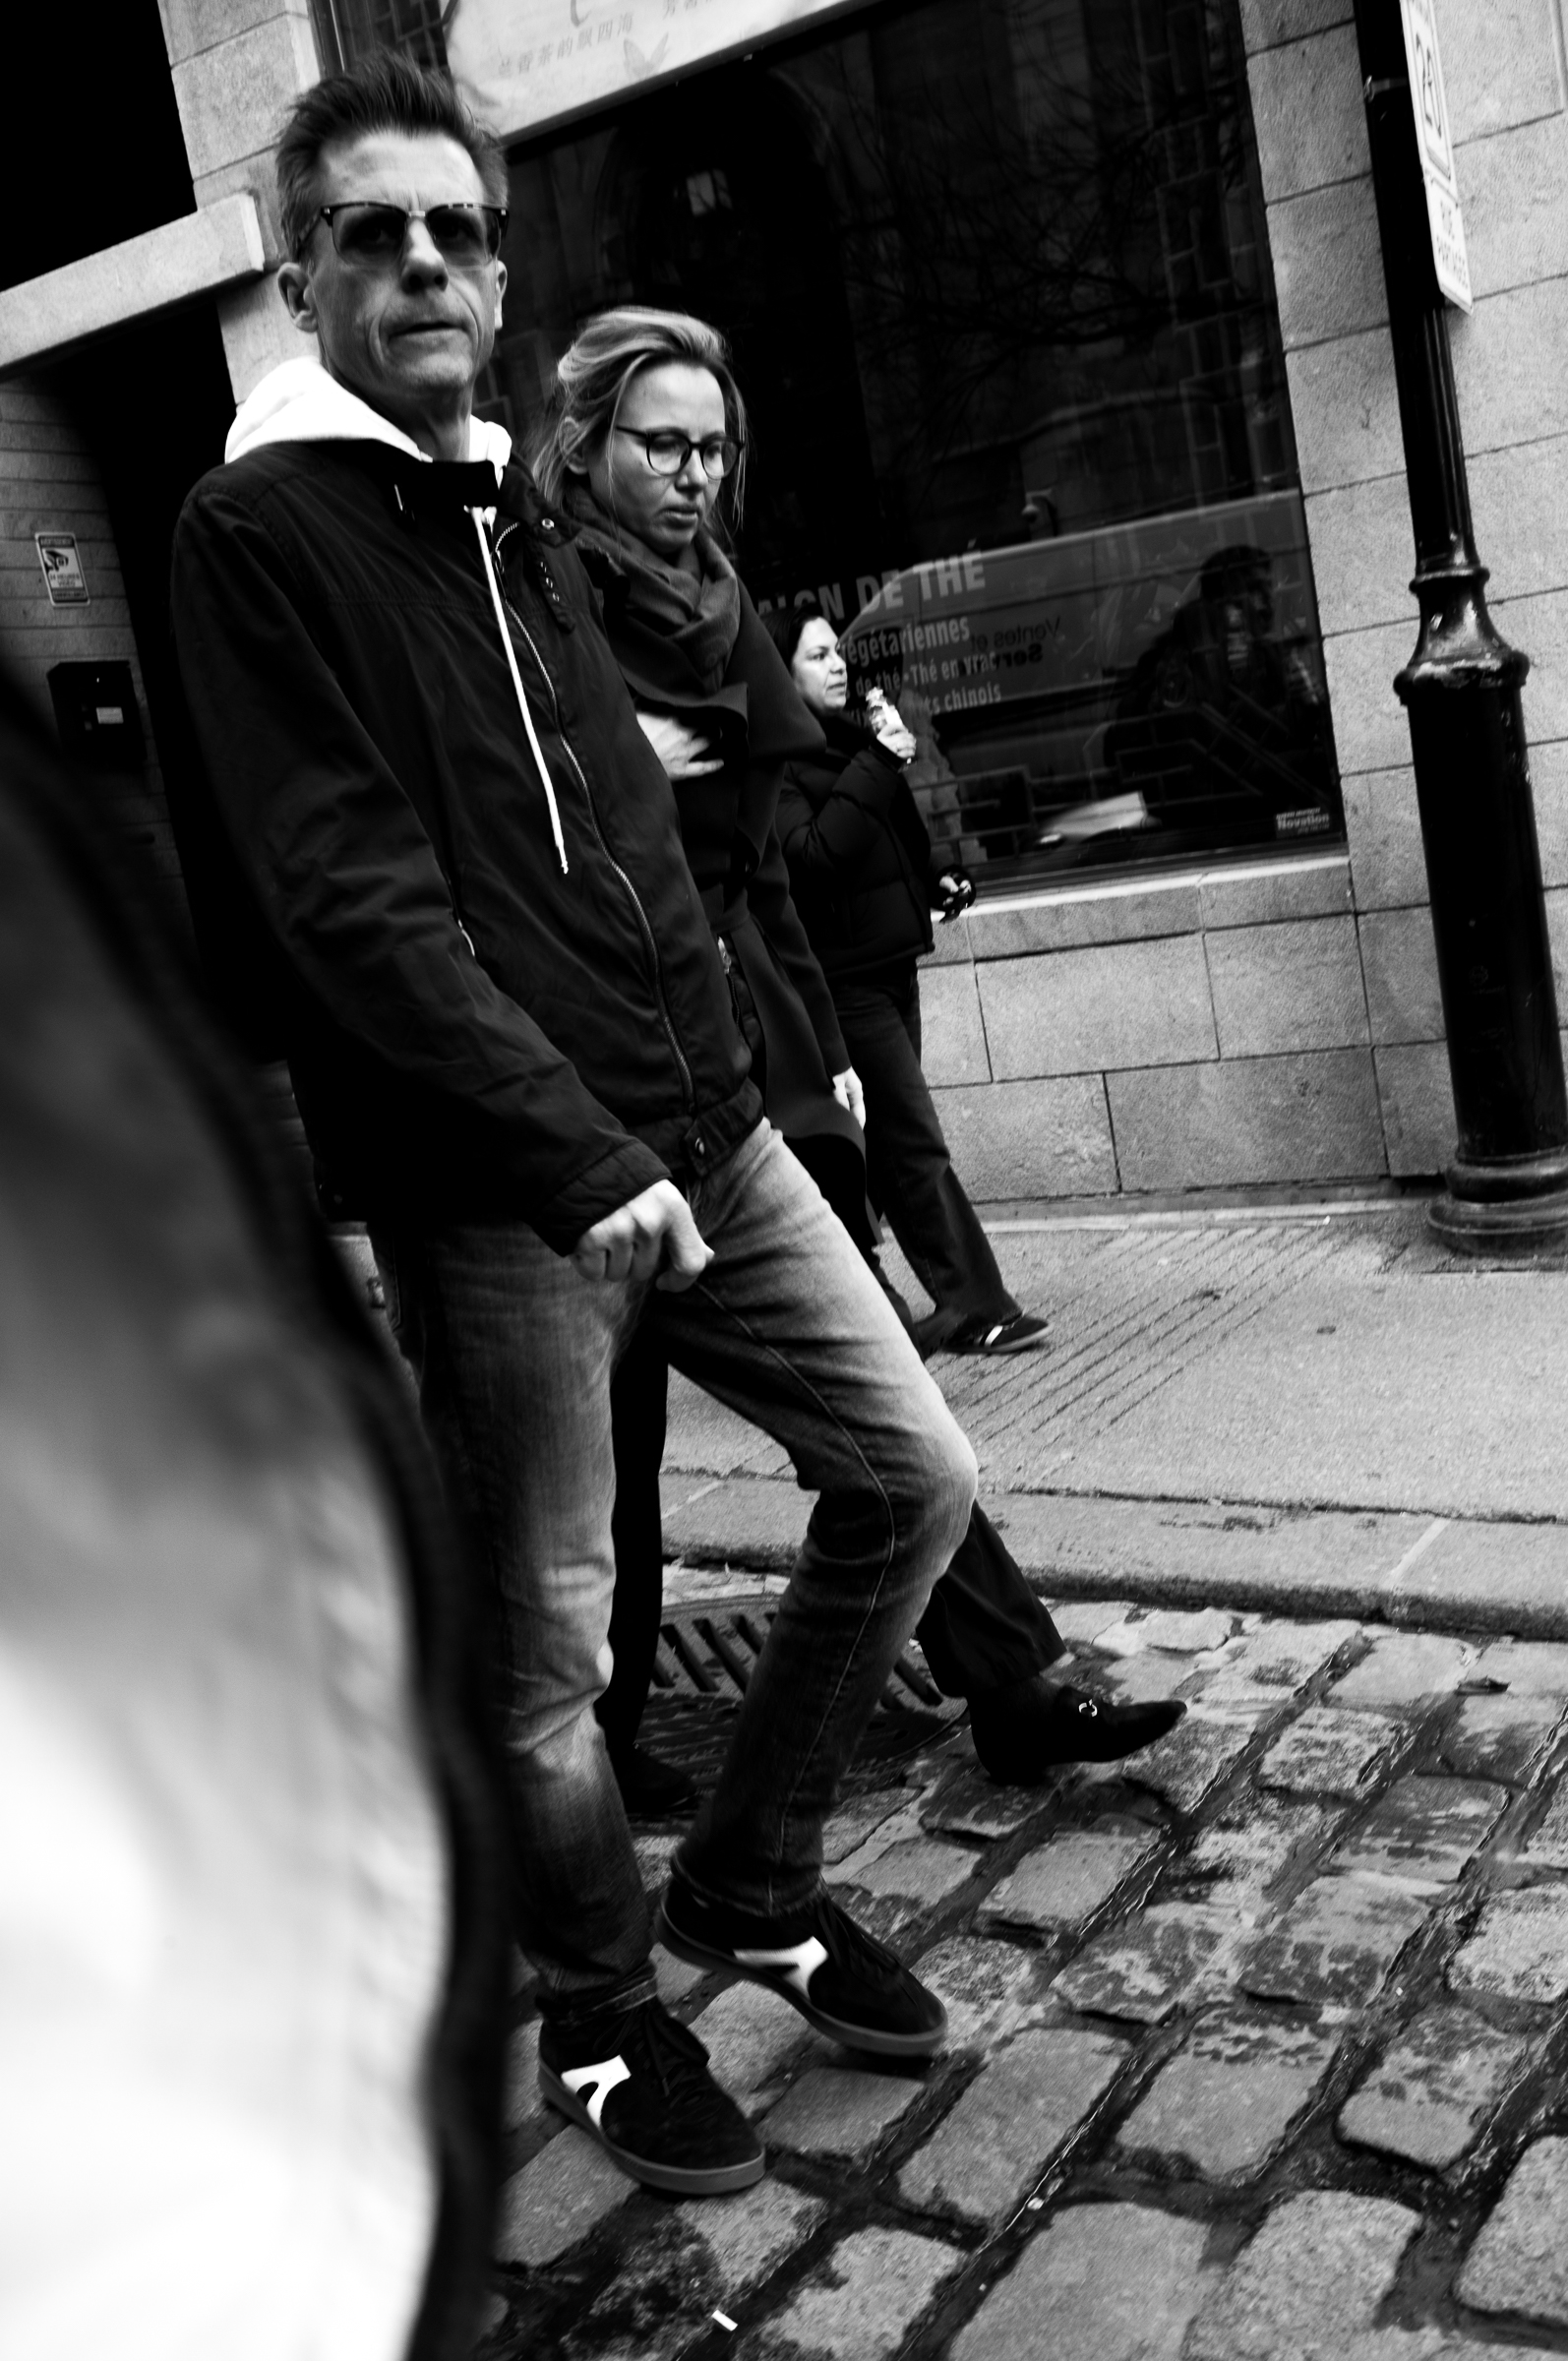
After visiting the exhibit, we walked through the McGill University campus. Almost immediately, one of the people I was with stopped a group of interesting looking gentlemen, wearing tweed jackets and caps no less, and approached them to take a picture. As I watched the unfolding scene, I was taken aback by how easily she could approach total strangers, engage them in a conversation, and then take a number of pictures. This is not my style at all as I prefer to capture people while they are doing something and not posing. In fact, I don’t even really like taking pictures of people I know. Unfortunately, I did not get a picture of the scene that was taking place, although I did join in on the conversation. As I approached, one of the men jokingly said, “Please get this crazy lady with the camera away from us!” and the proceeded to tell us about a couple of Leica’s that he owns.
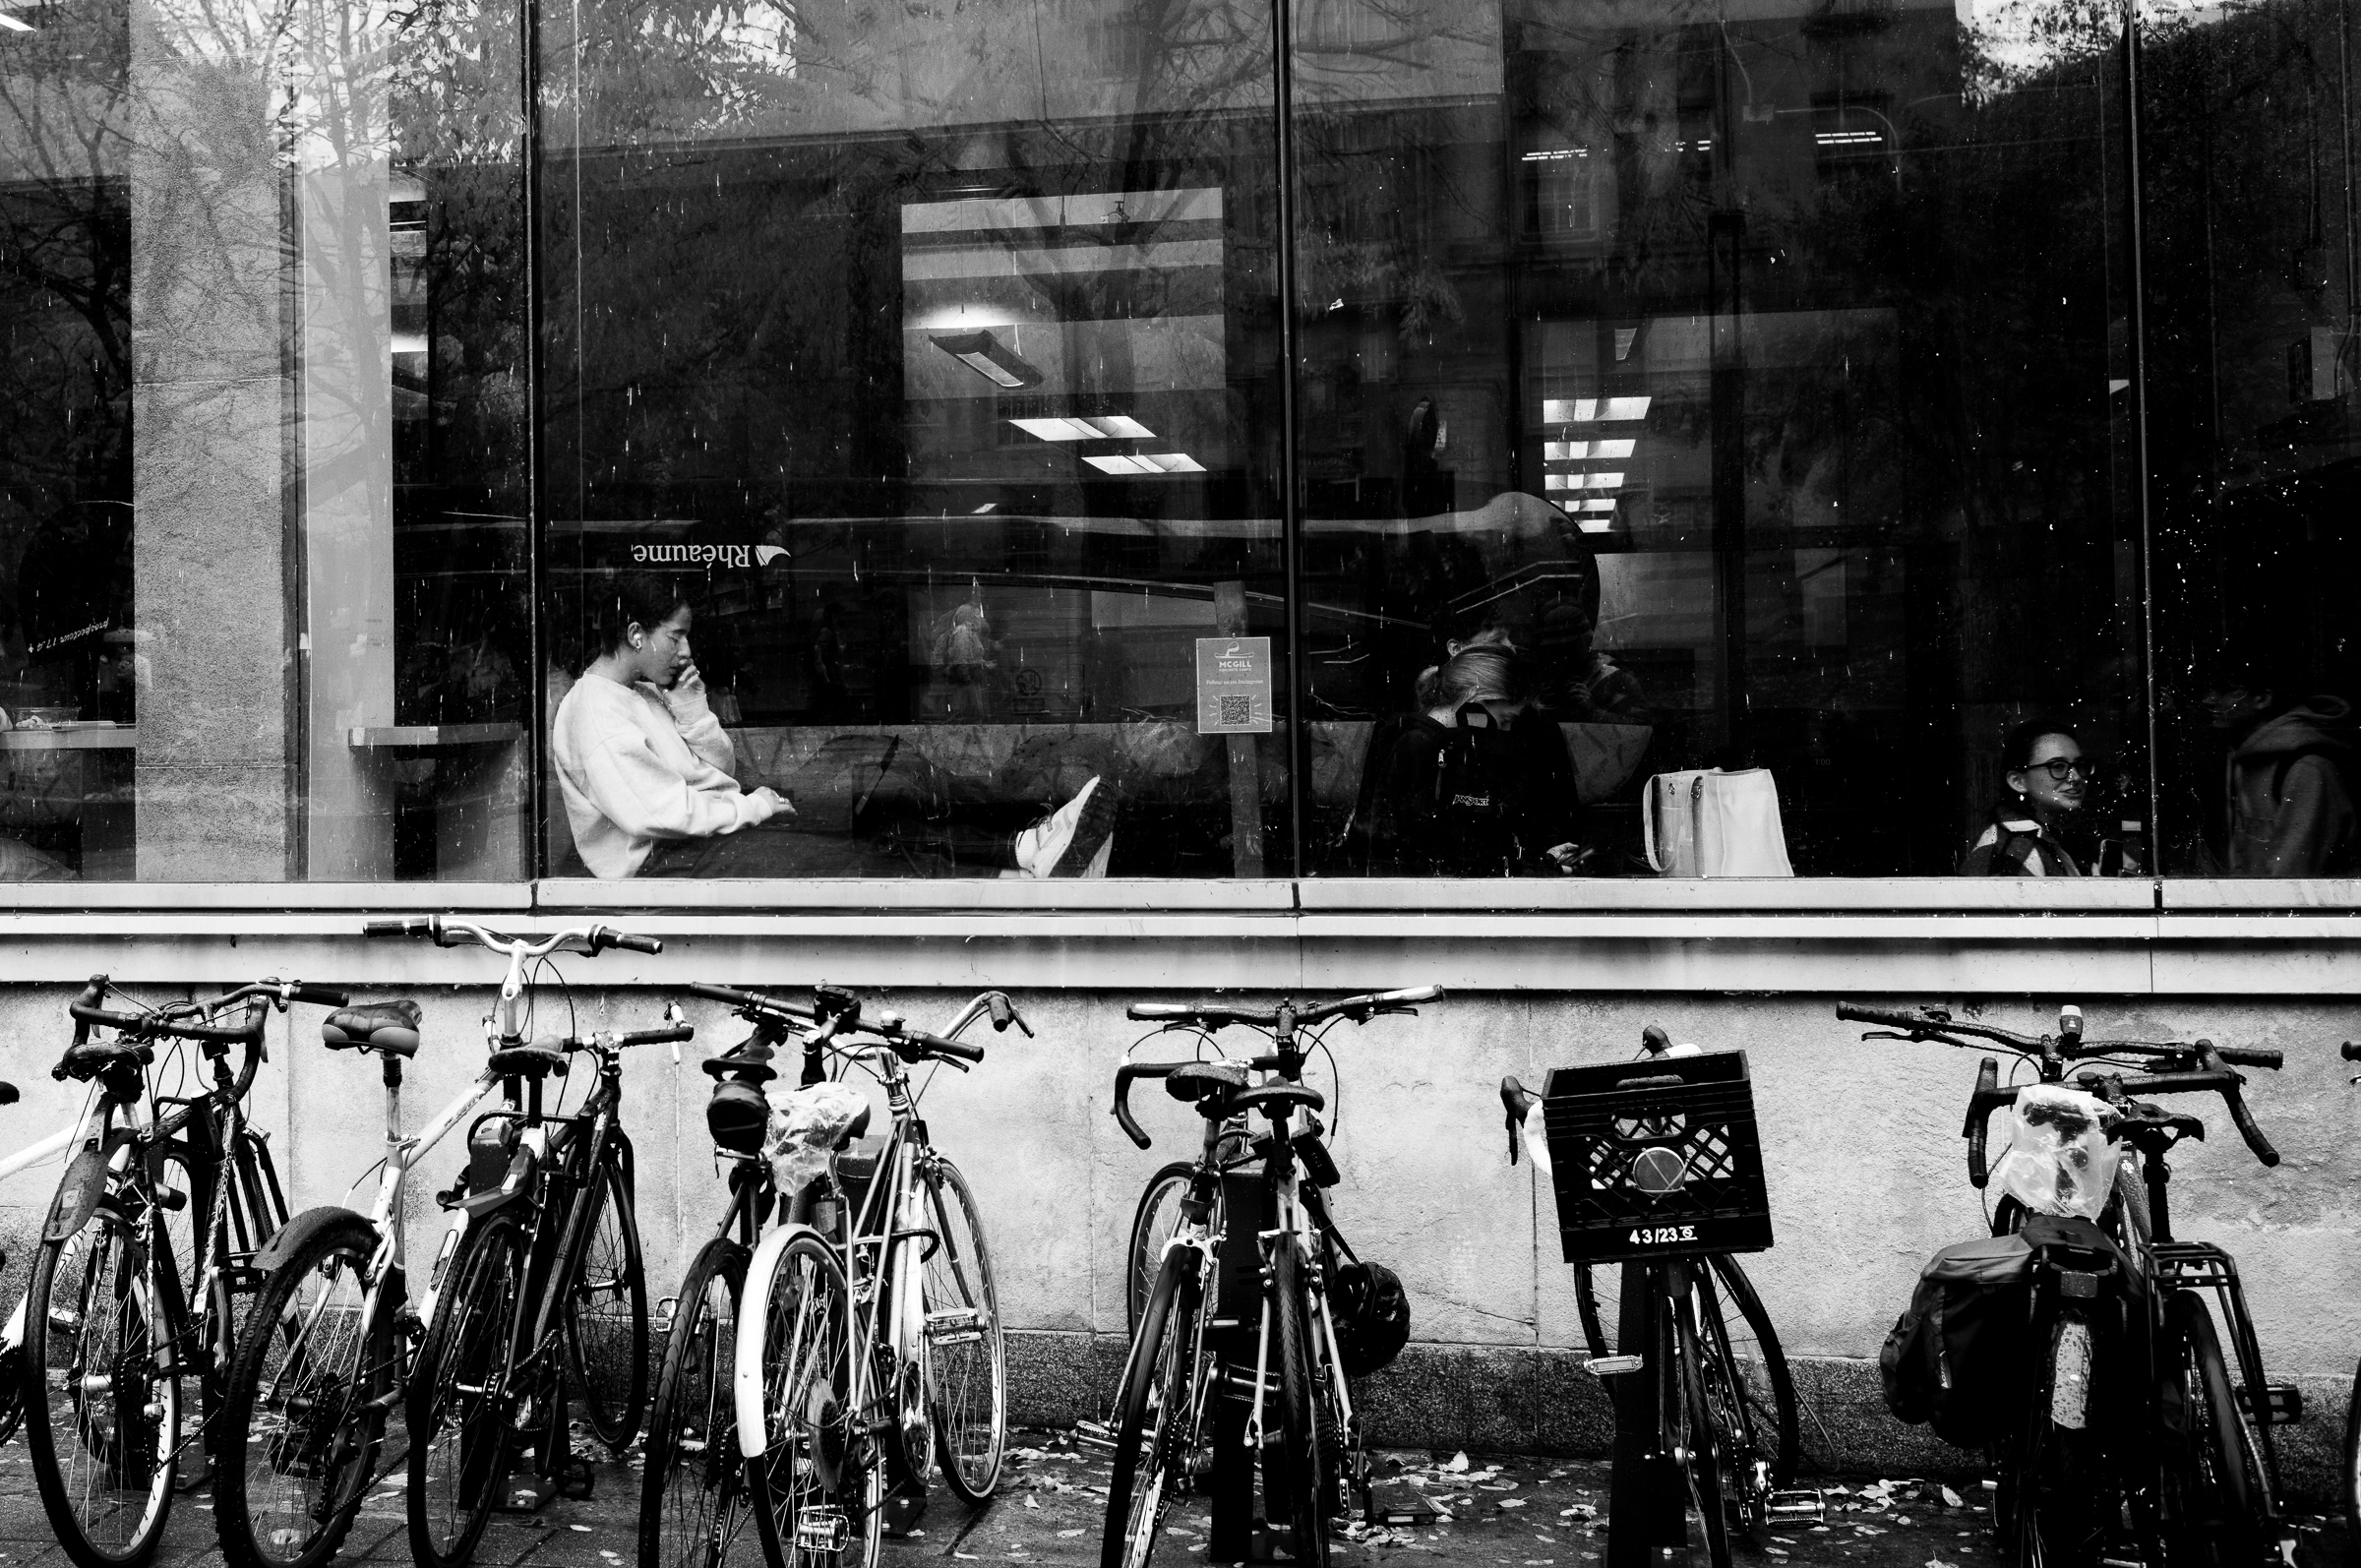
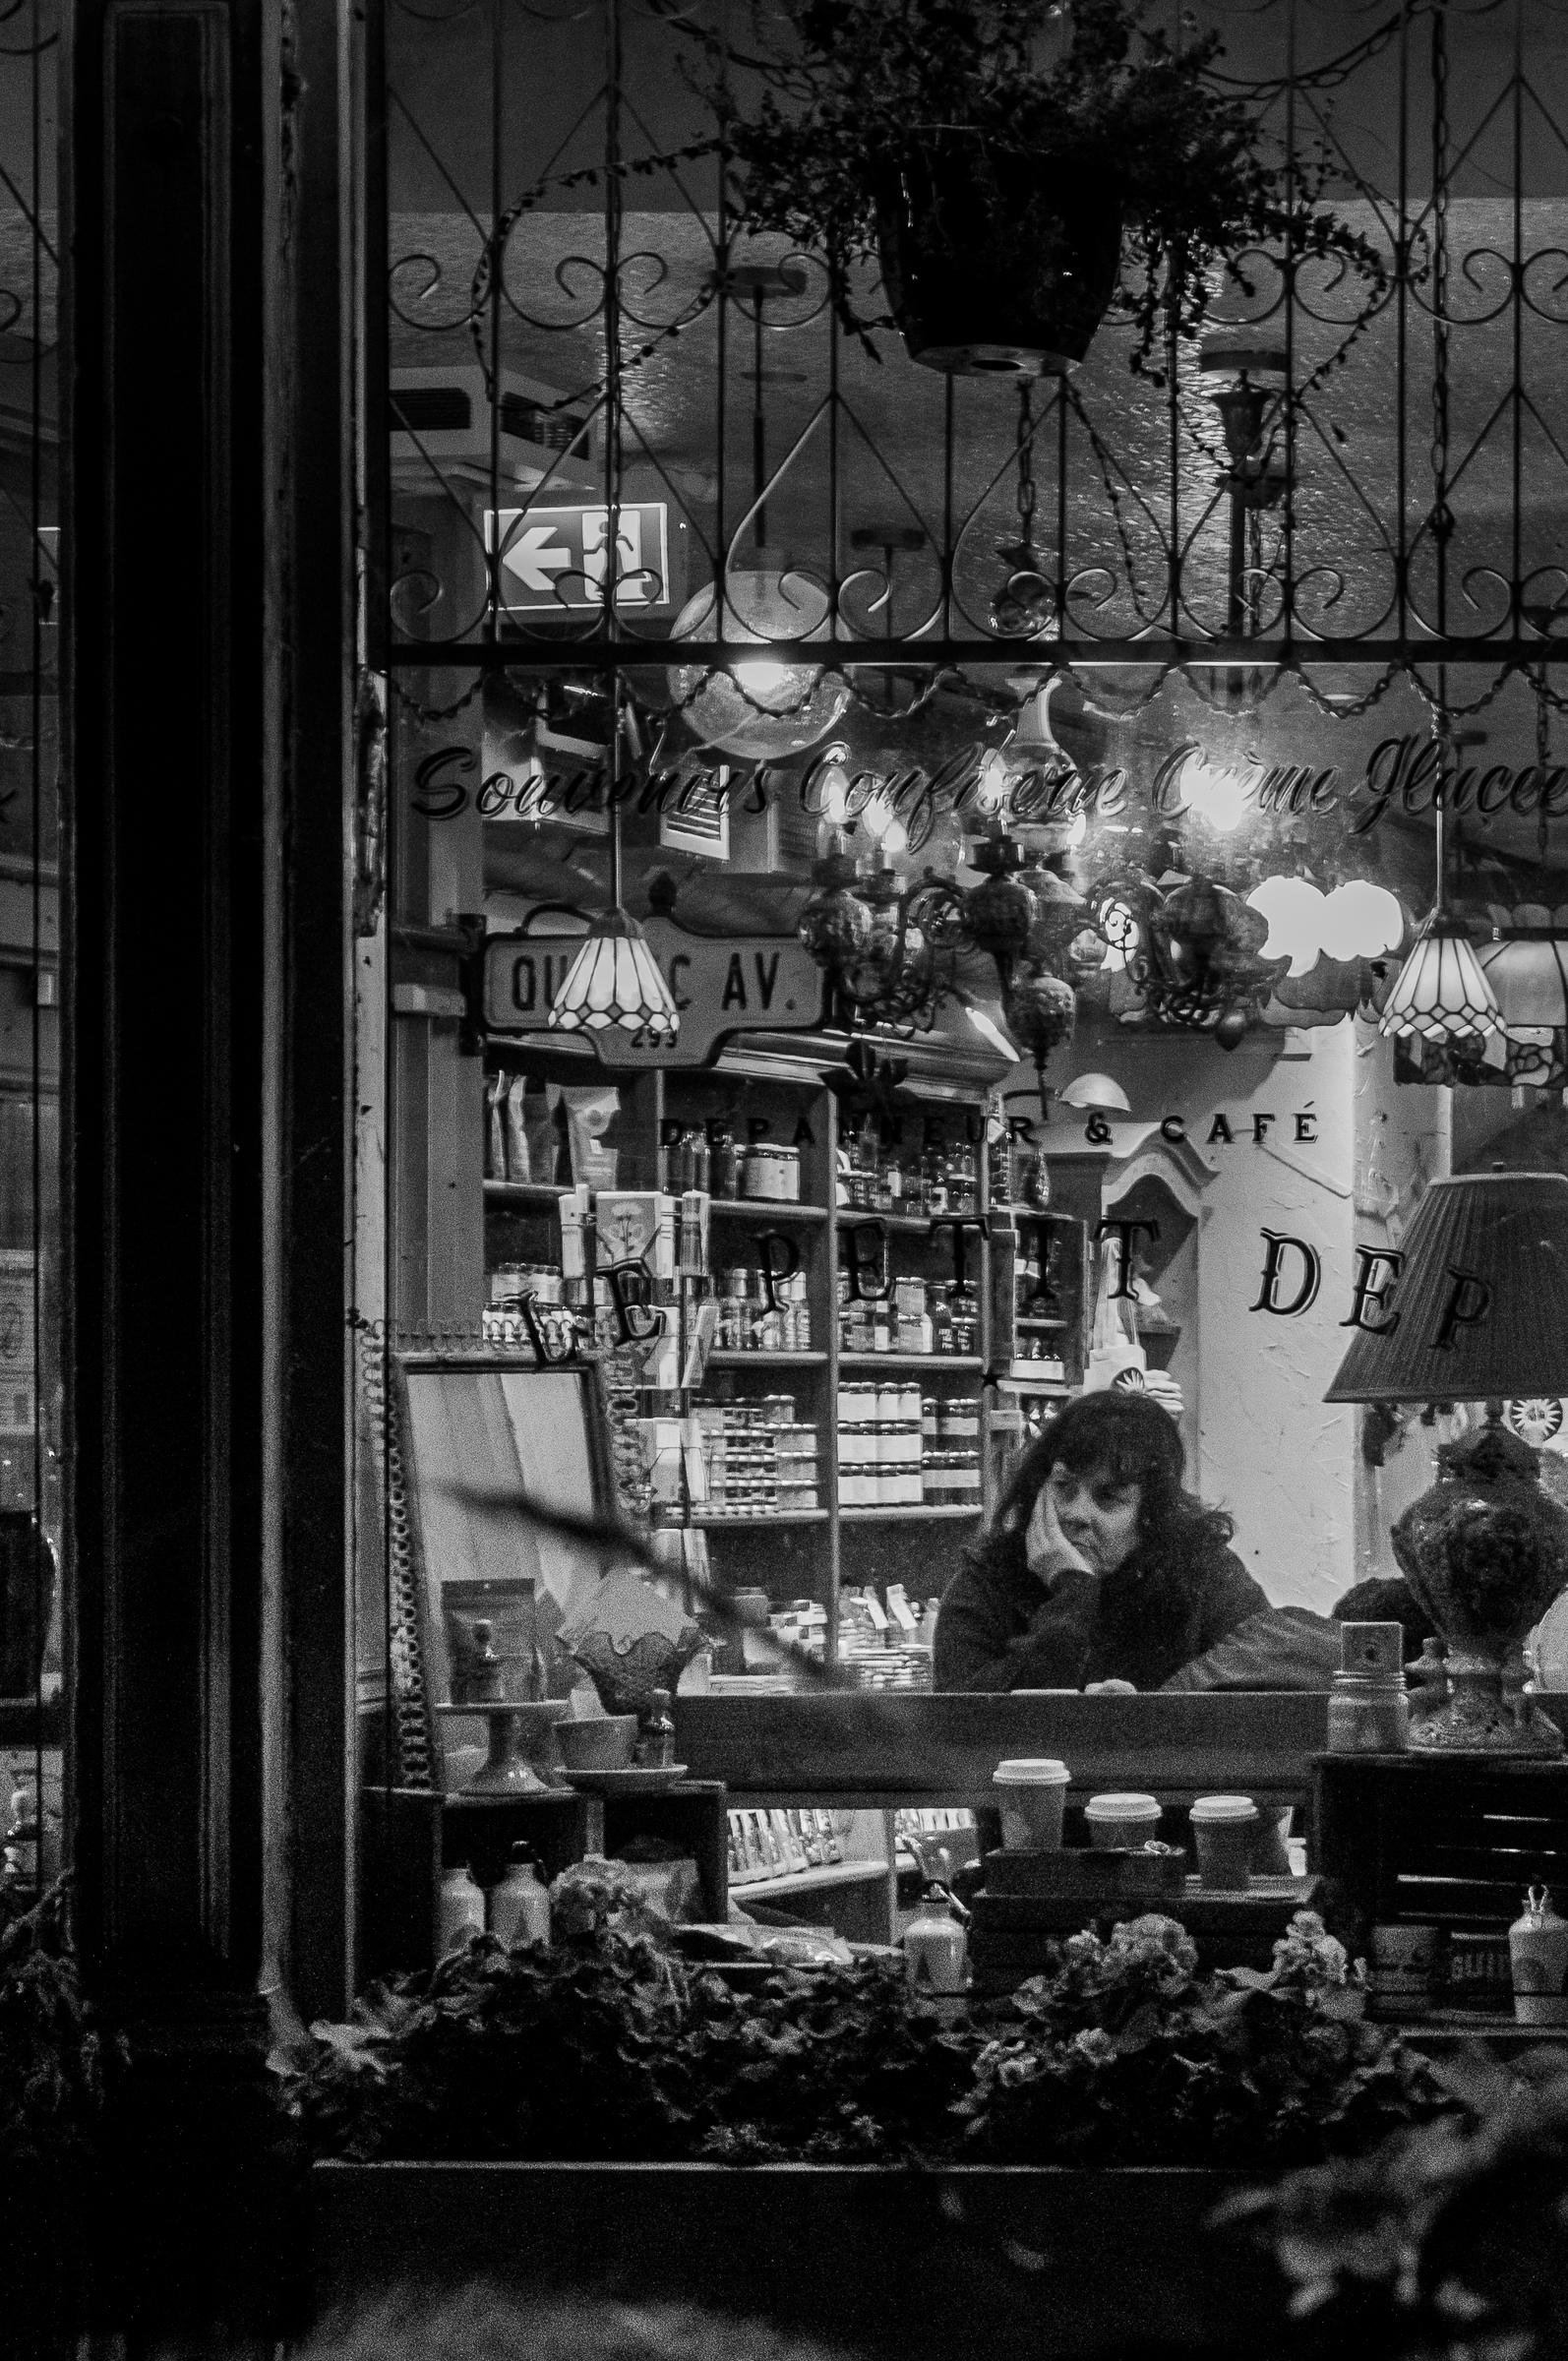
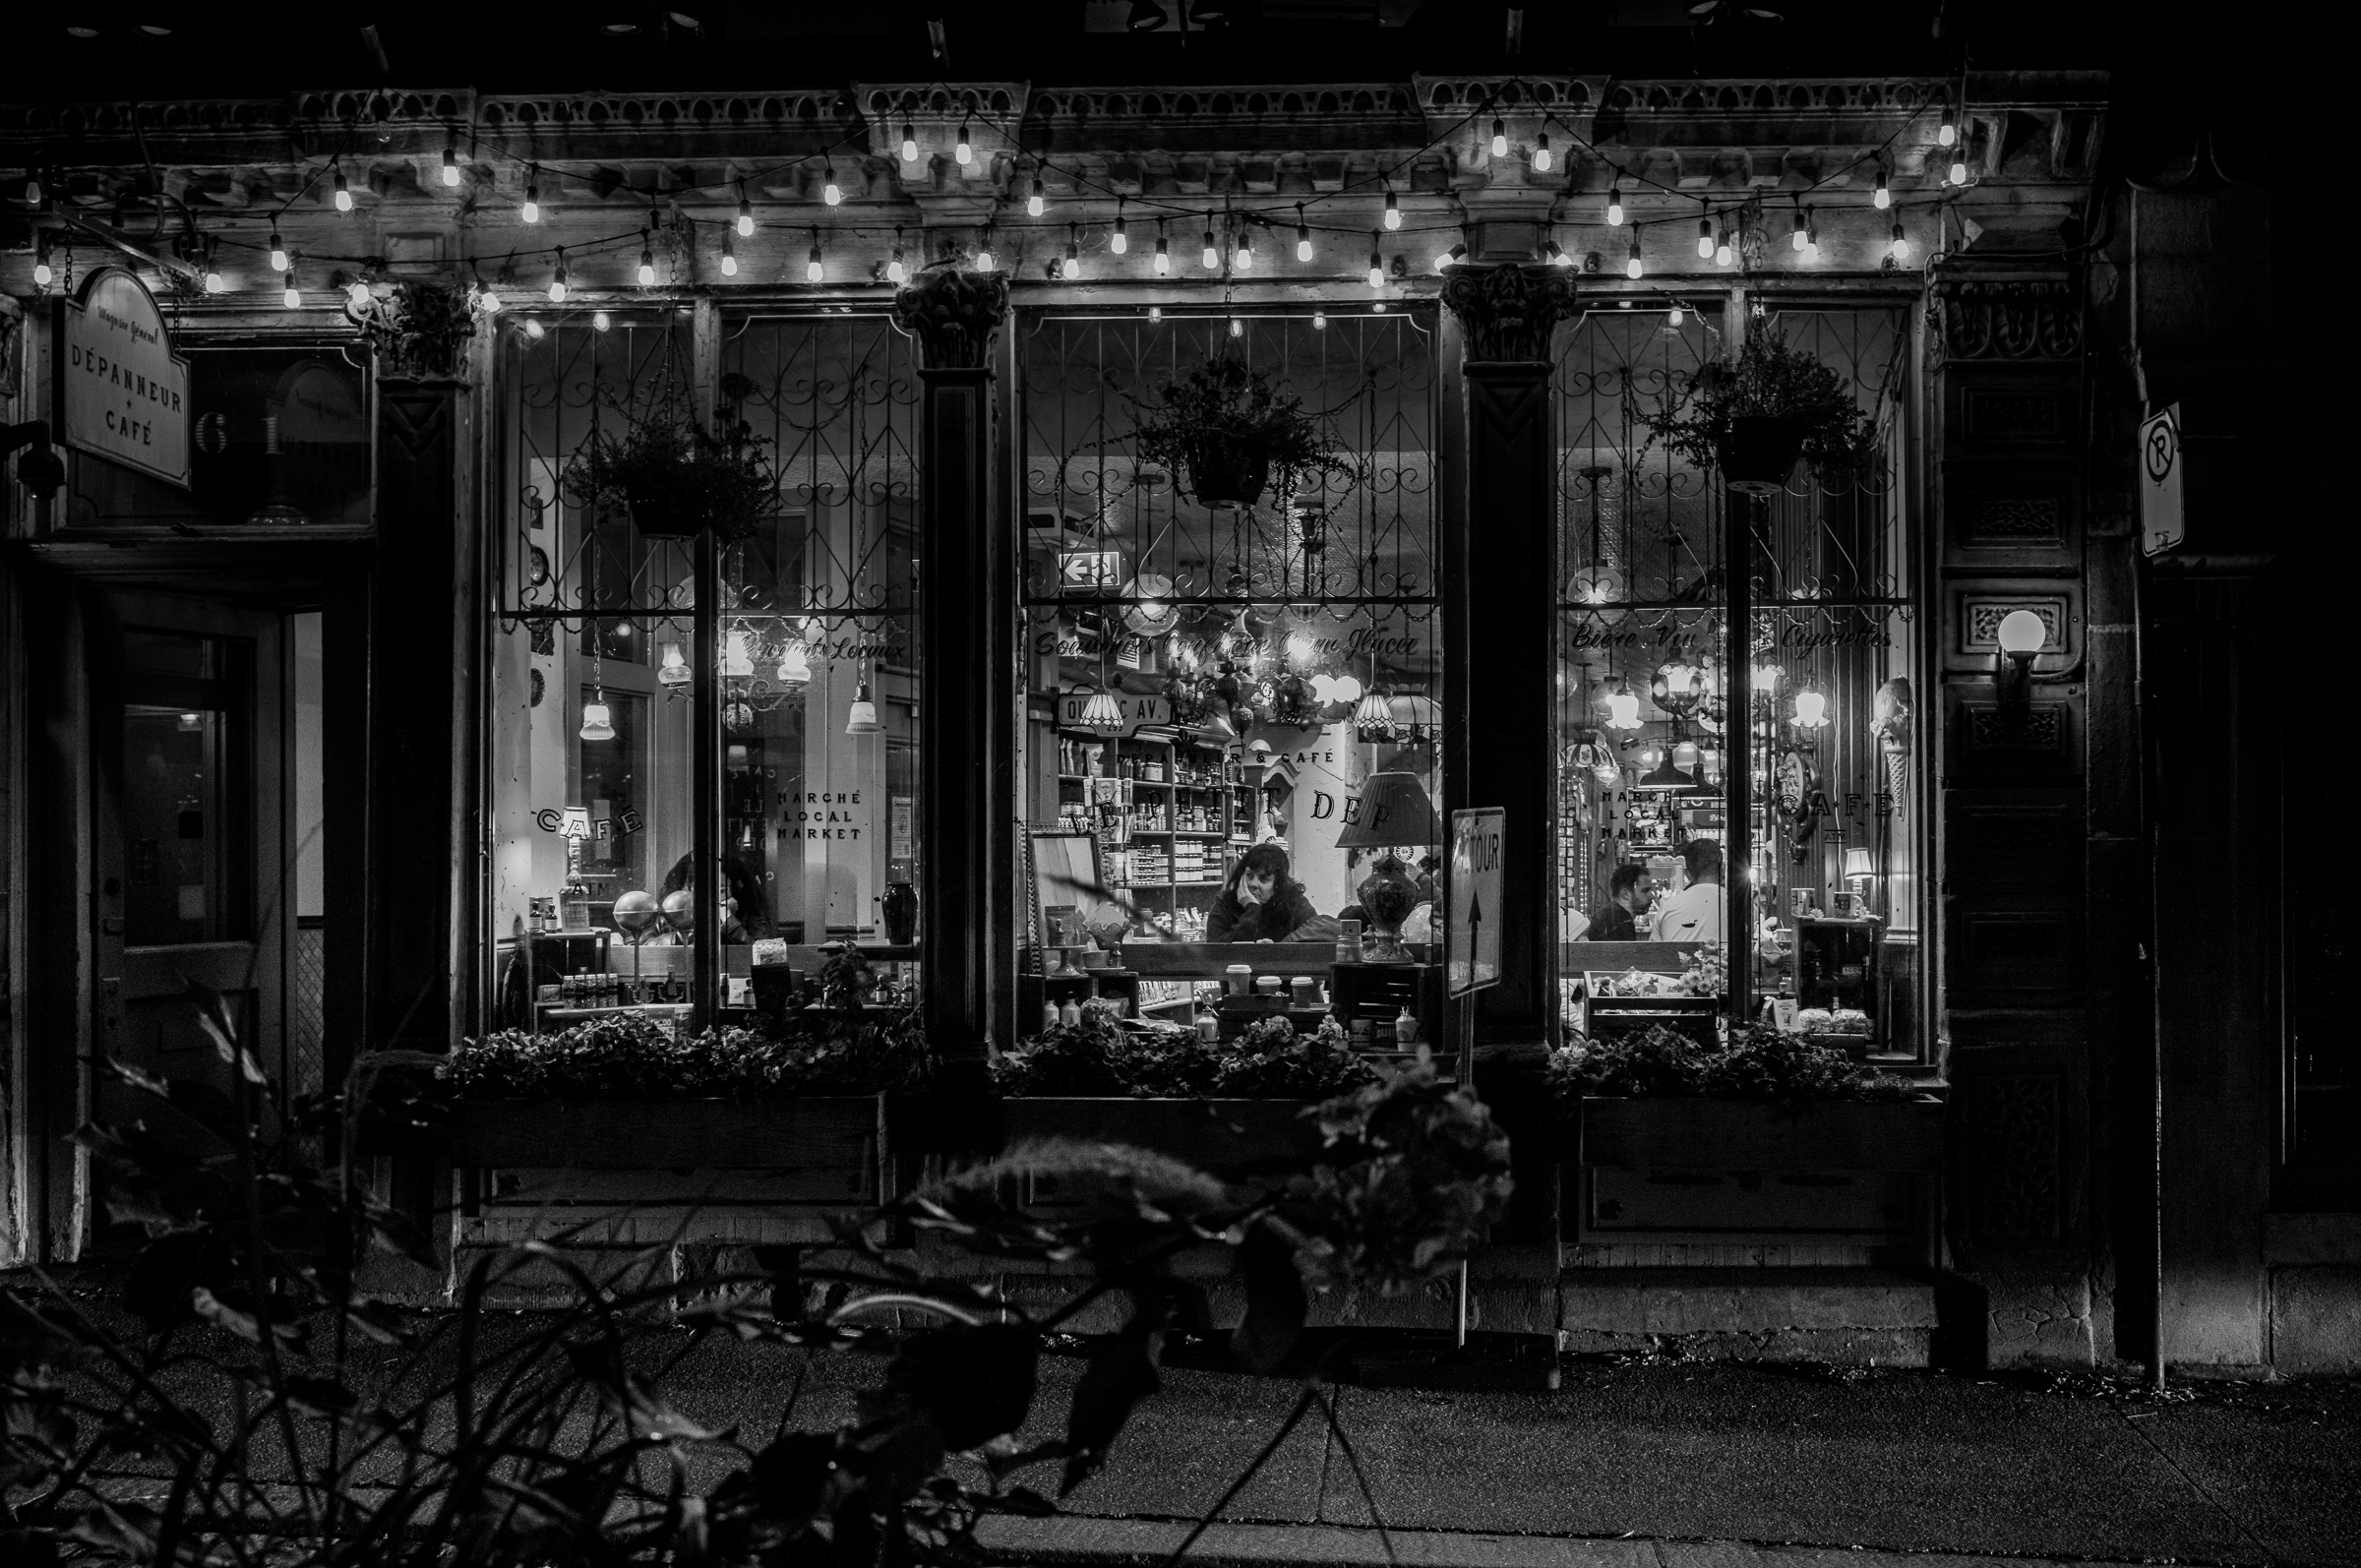
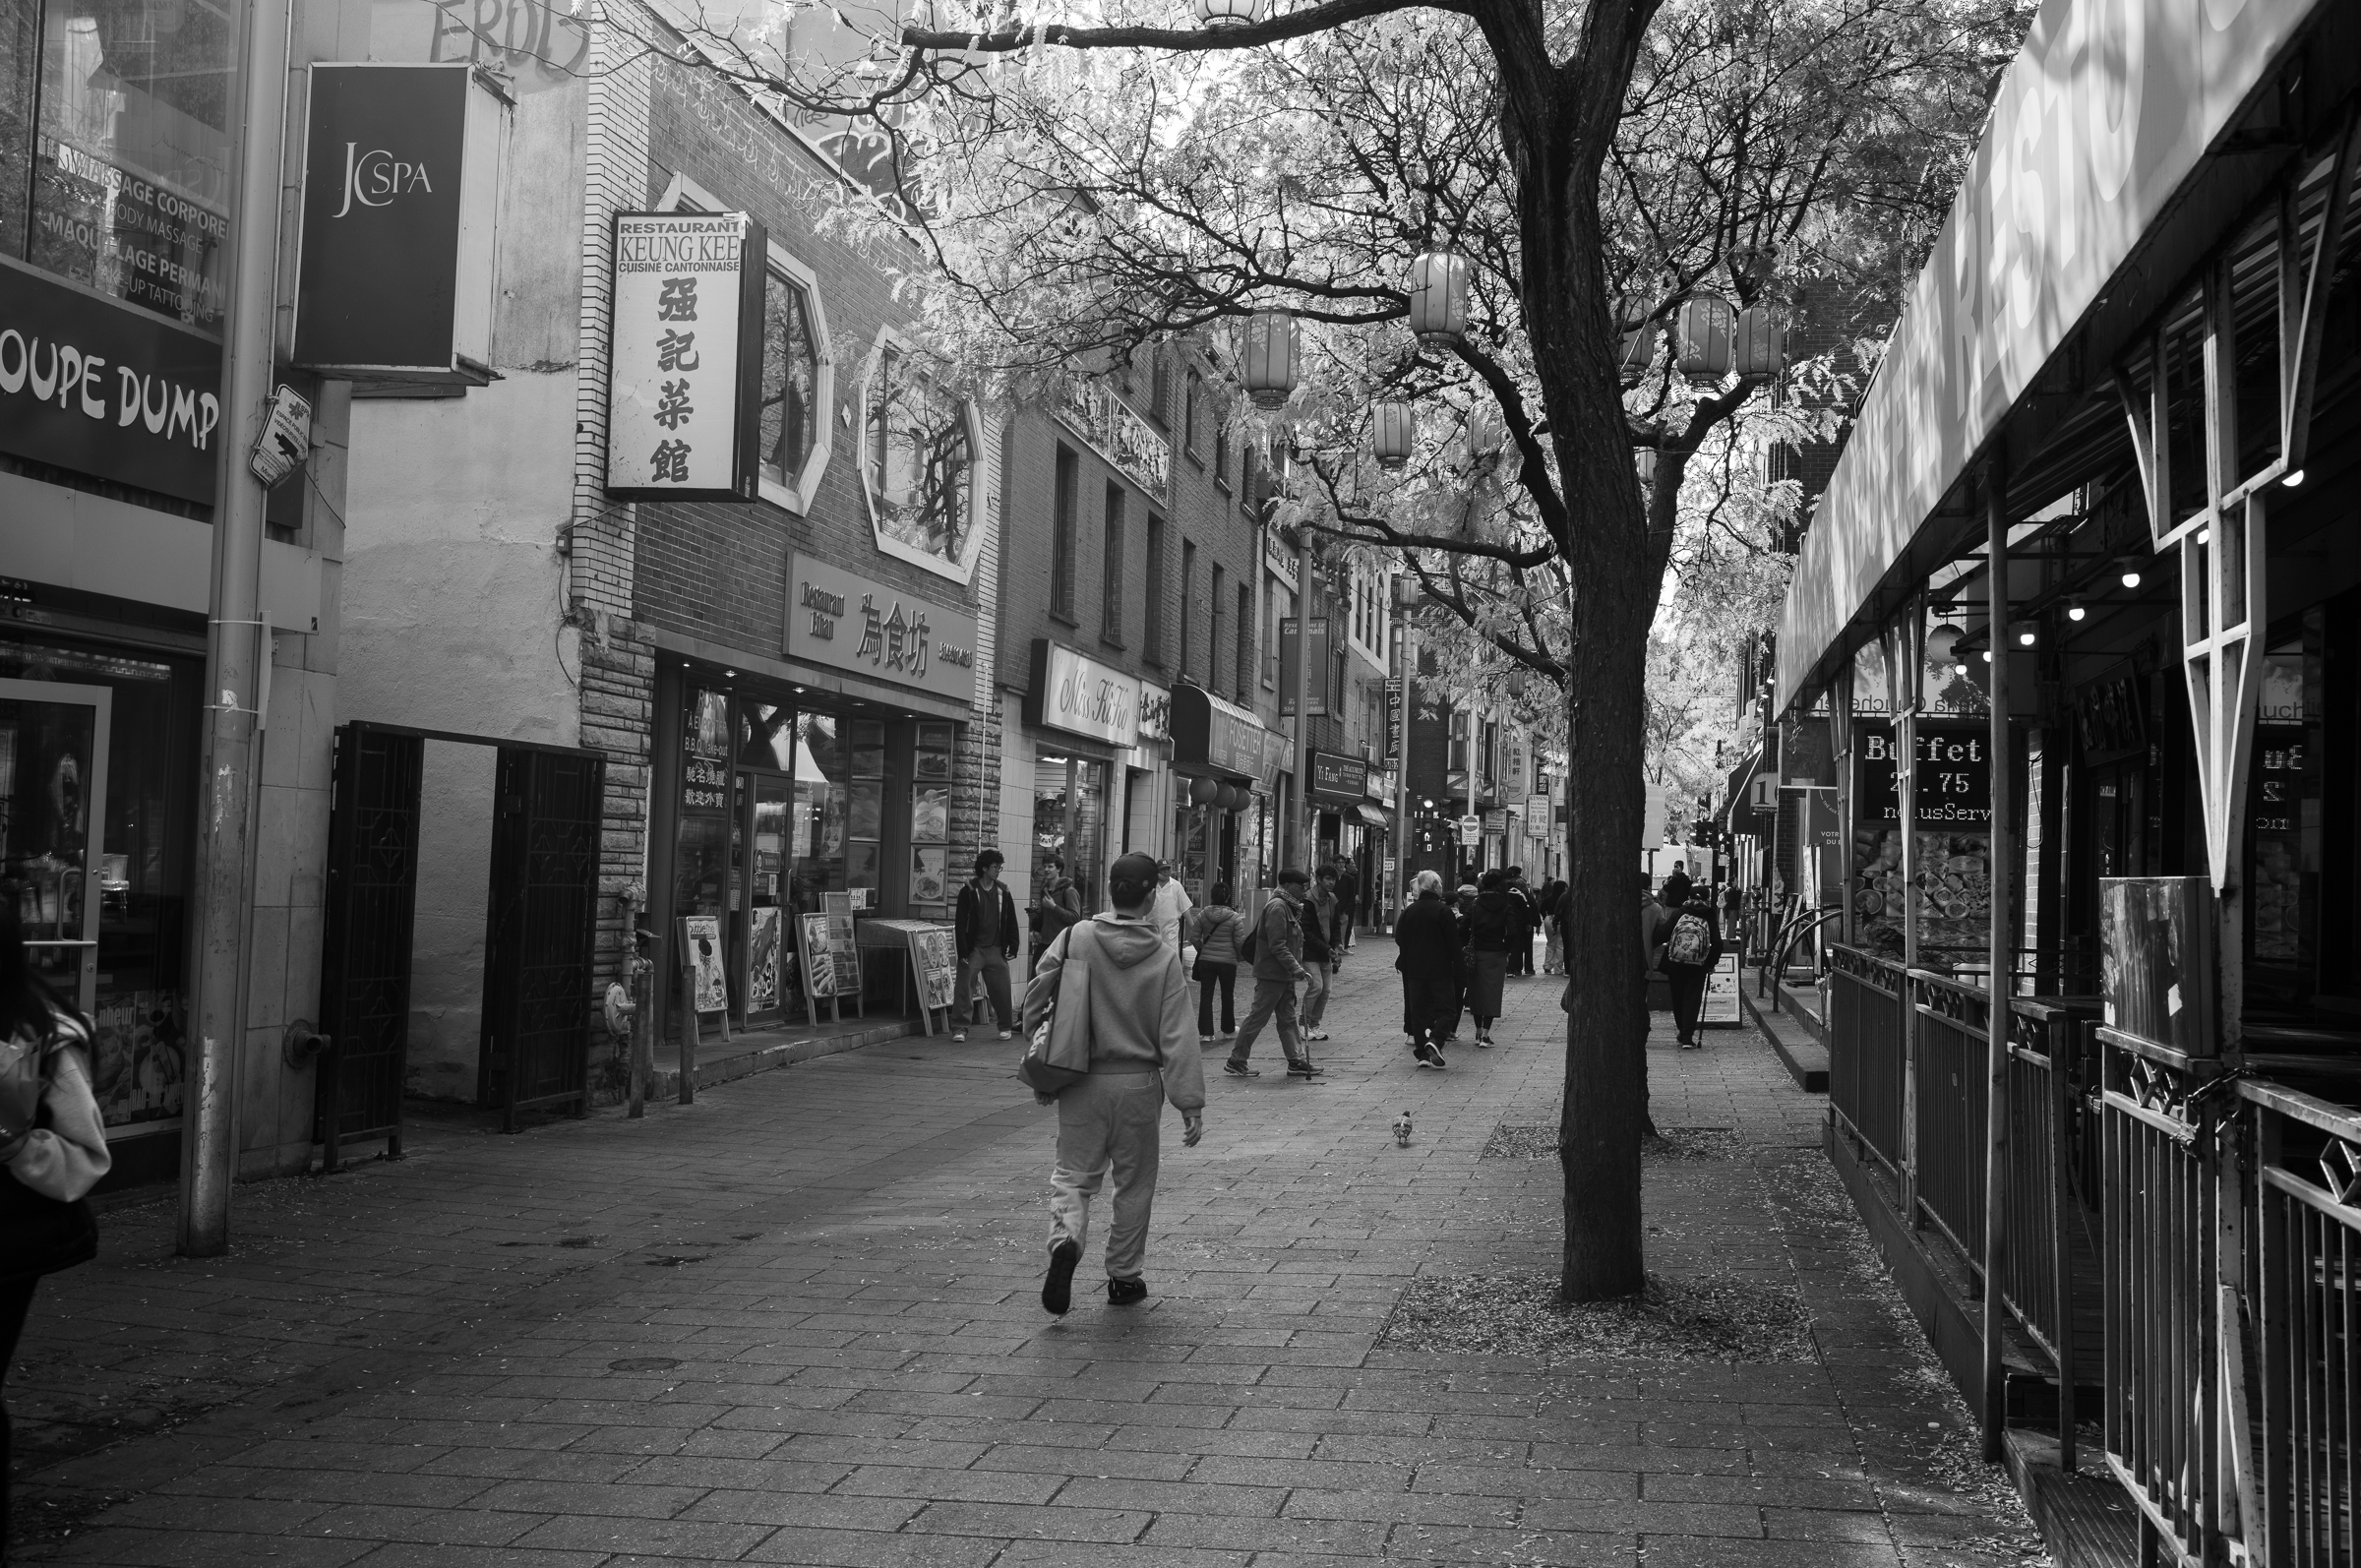
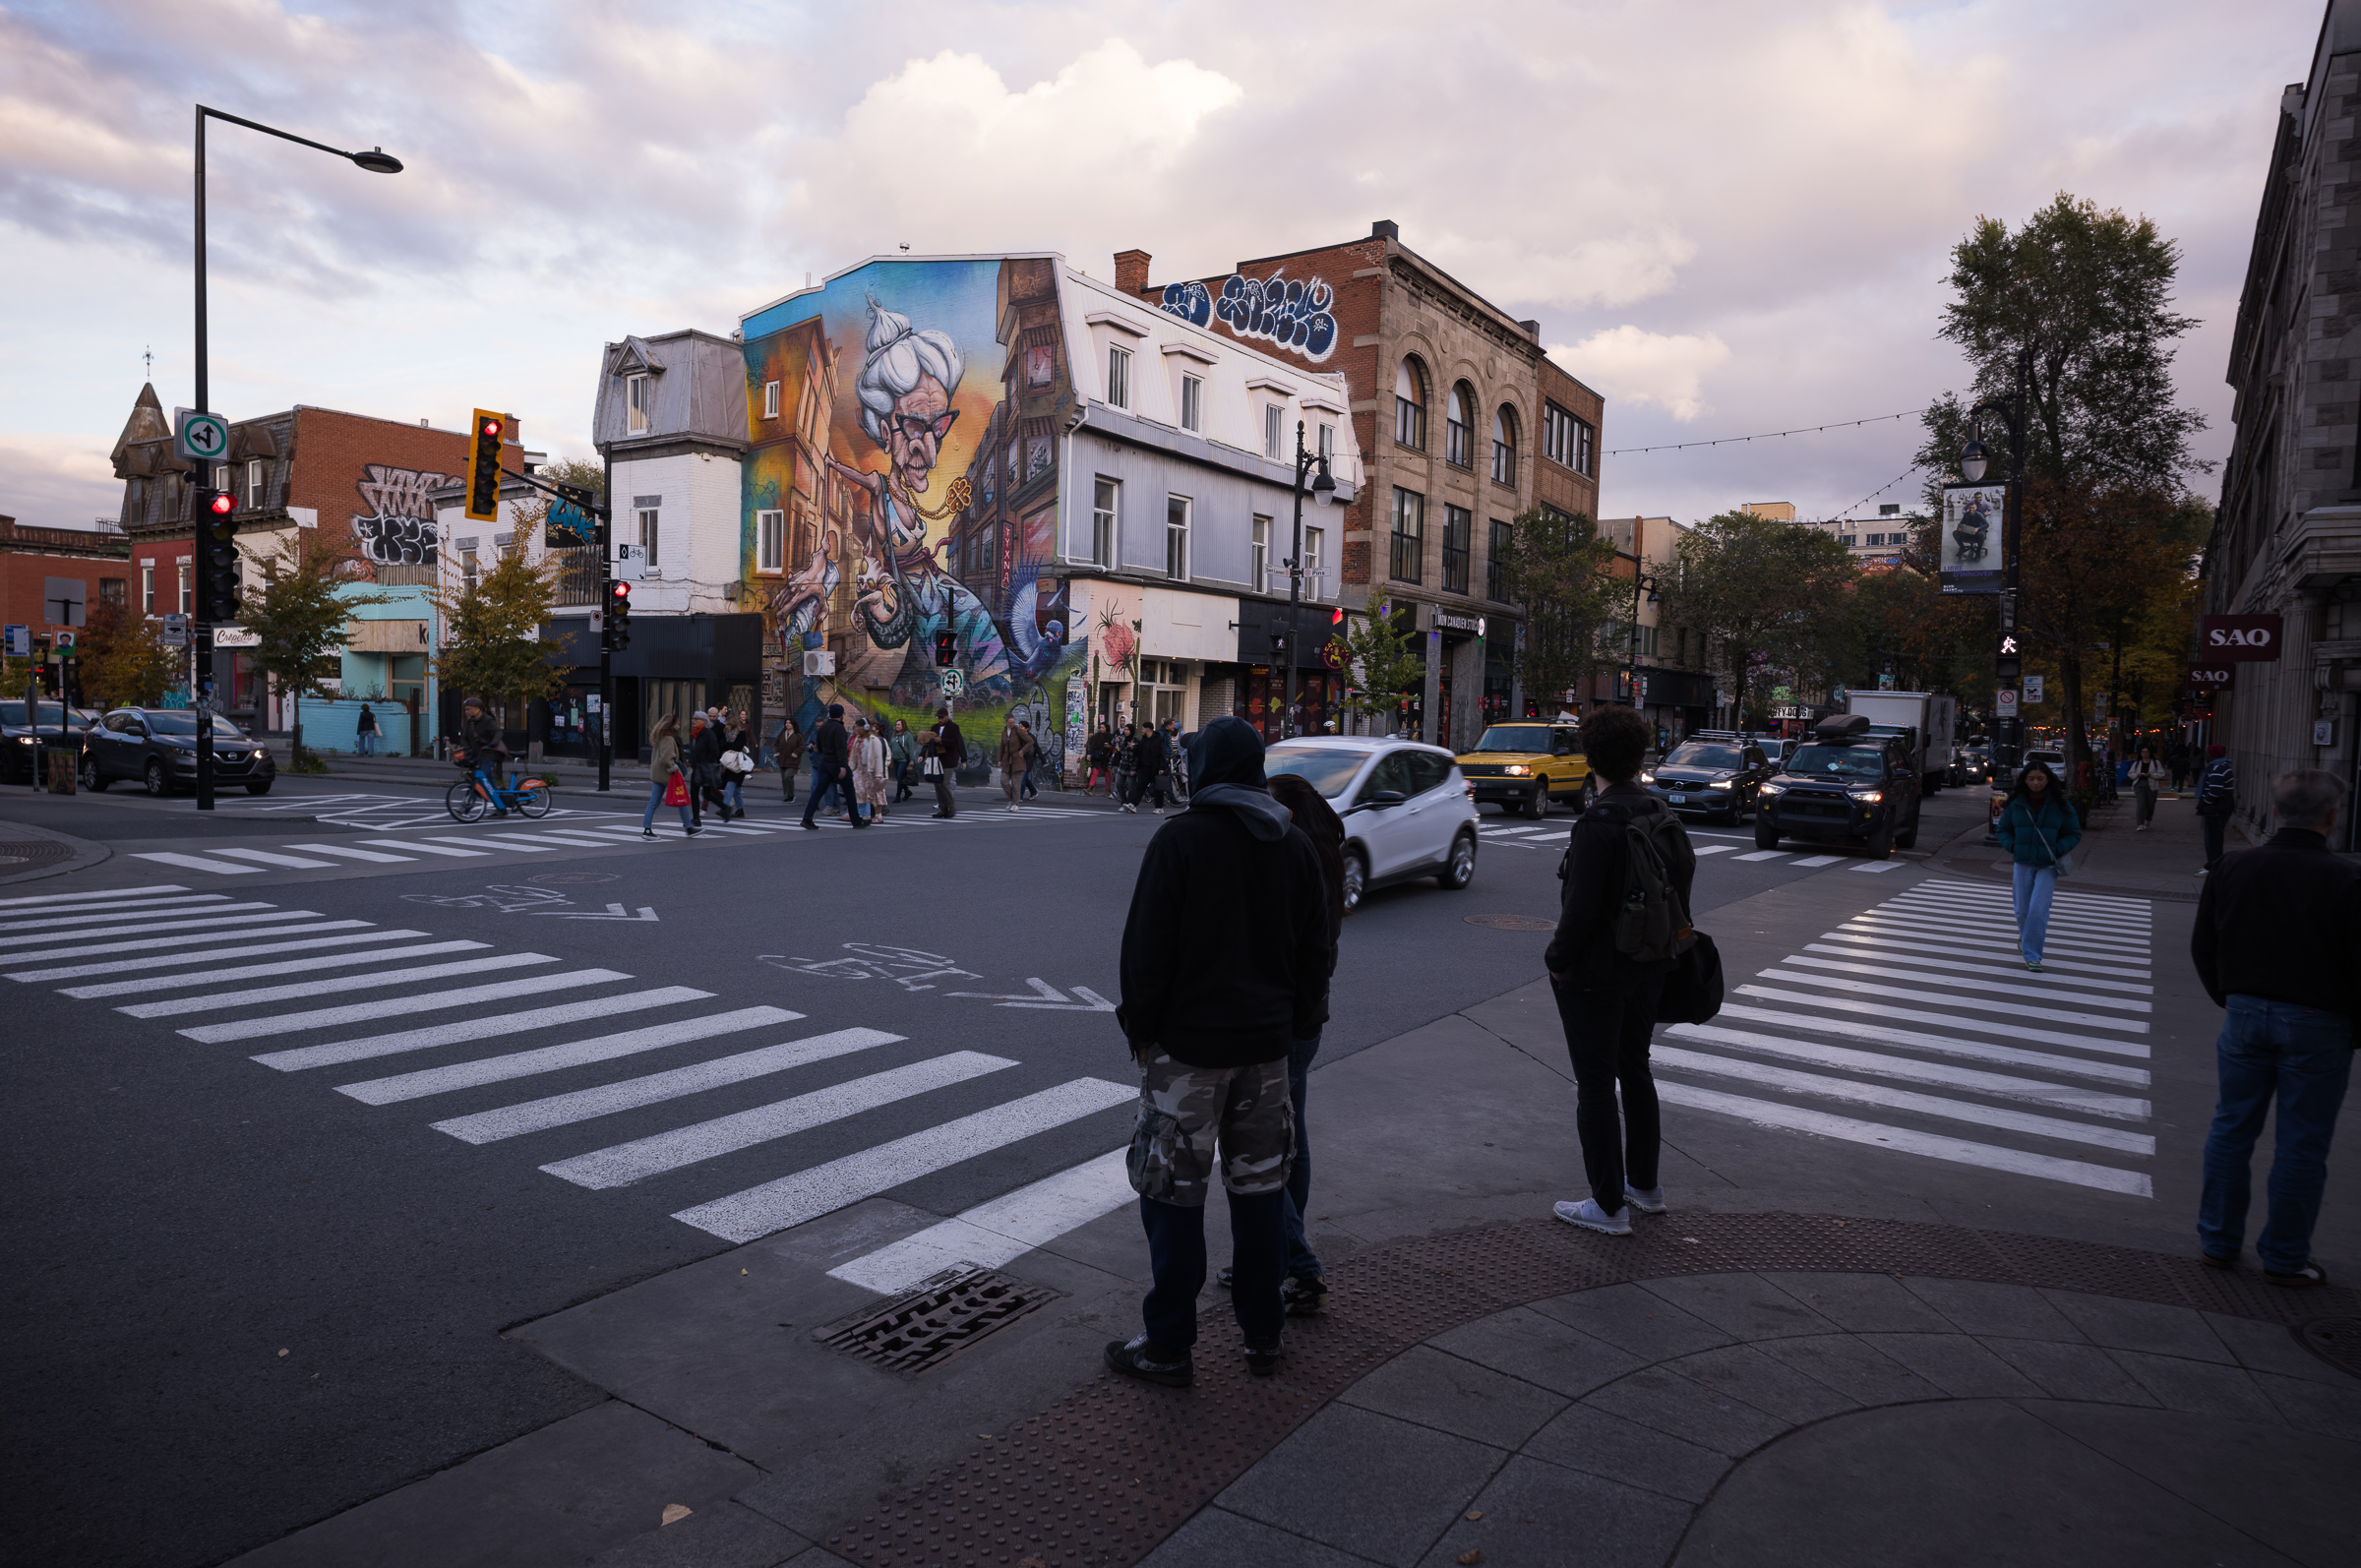
In one of the sessions in the conference, one of the presenters made a comment that went something to the effect of “people that shoot black and white are just afraid of colour”. The comment was made (mostly) in jest, but it is still something I have been aware of lately in my own work, which is predominately black and white. I find that shooting in black and white allows me to focus more on composition and that the colours can get in the way or distract from that. In fact, I even have the screen on the back of my camera set to black and white. For now, I think colour shots will still be my secondary objective but, when it happens, I really love getting really contrasty colour shots too.
That said, sometimes the black and white just looks better!


I did not really do much on the conversion to black and white. One thing to note though, is that because I have the colour information, I can control the conversion a bit more. For example, I altered the green and red filters in such a way that the red and green signs on the building render to the same colour and blend into the same grey shade as the building to make them a bit less distracting. This ability is something that will not be available with the M11 Monochrom since it does not capture any colour information.
After walking around for two or three hours we found a place to eat a very late lunch where we, of course, talked about photography. My big takeaway from the conversation was the idea of thinking about the printing process while taking the photos. The capabilities of a computer monitor are very different from inkjet papers. So think about the dynamic properties of the paper while composing the shot. Lately I have been printing quite a bit more of my work. Similar to how learning to use a camera takes a lot of practice, one does not simply hit print and stunning prints just start magically appearing. There is quite a bit to learn about different papers, using paper profiles and soft proofing, etc.
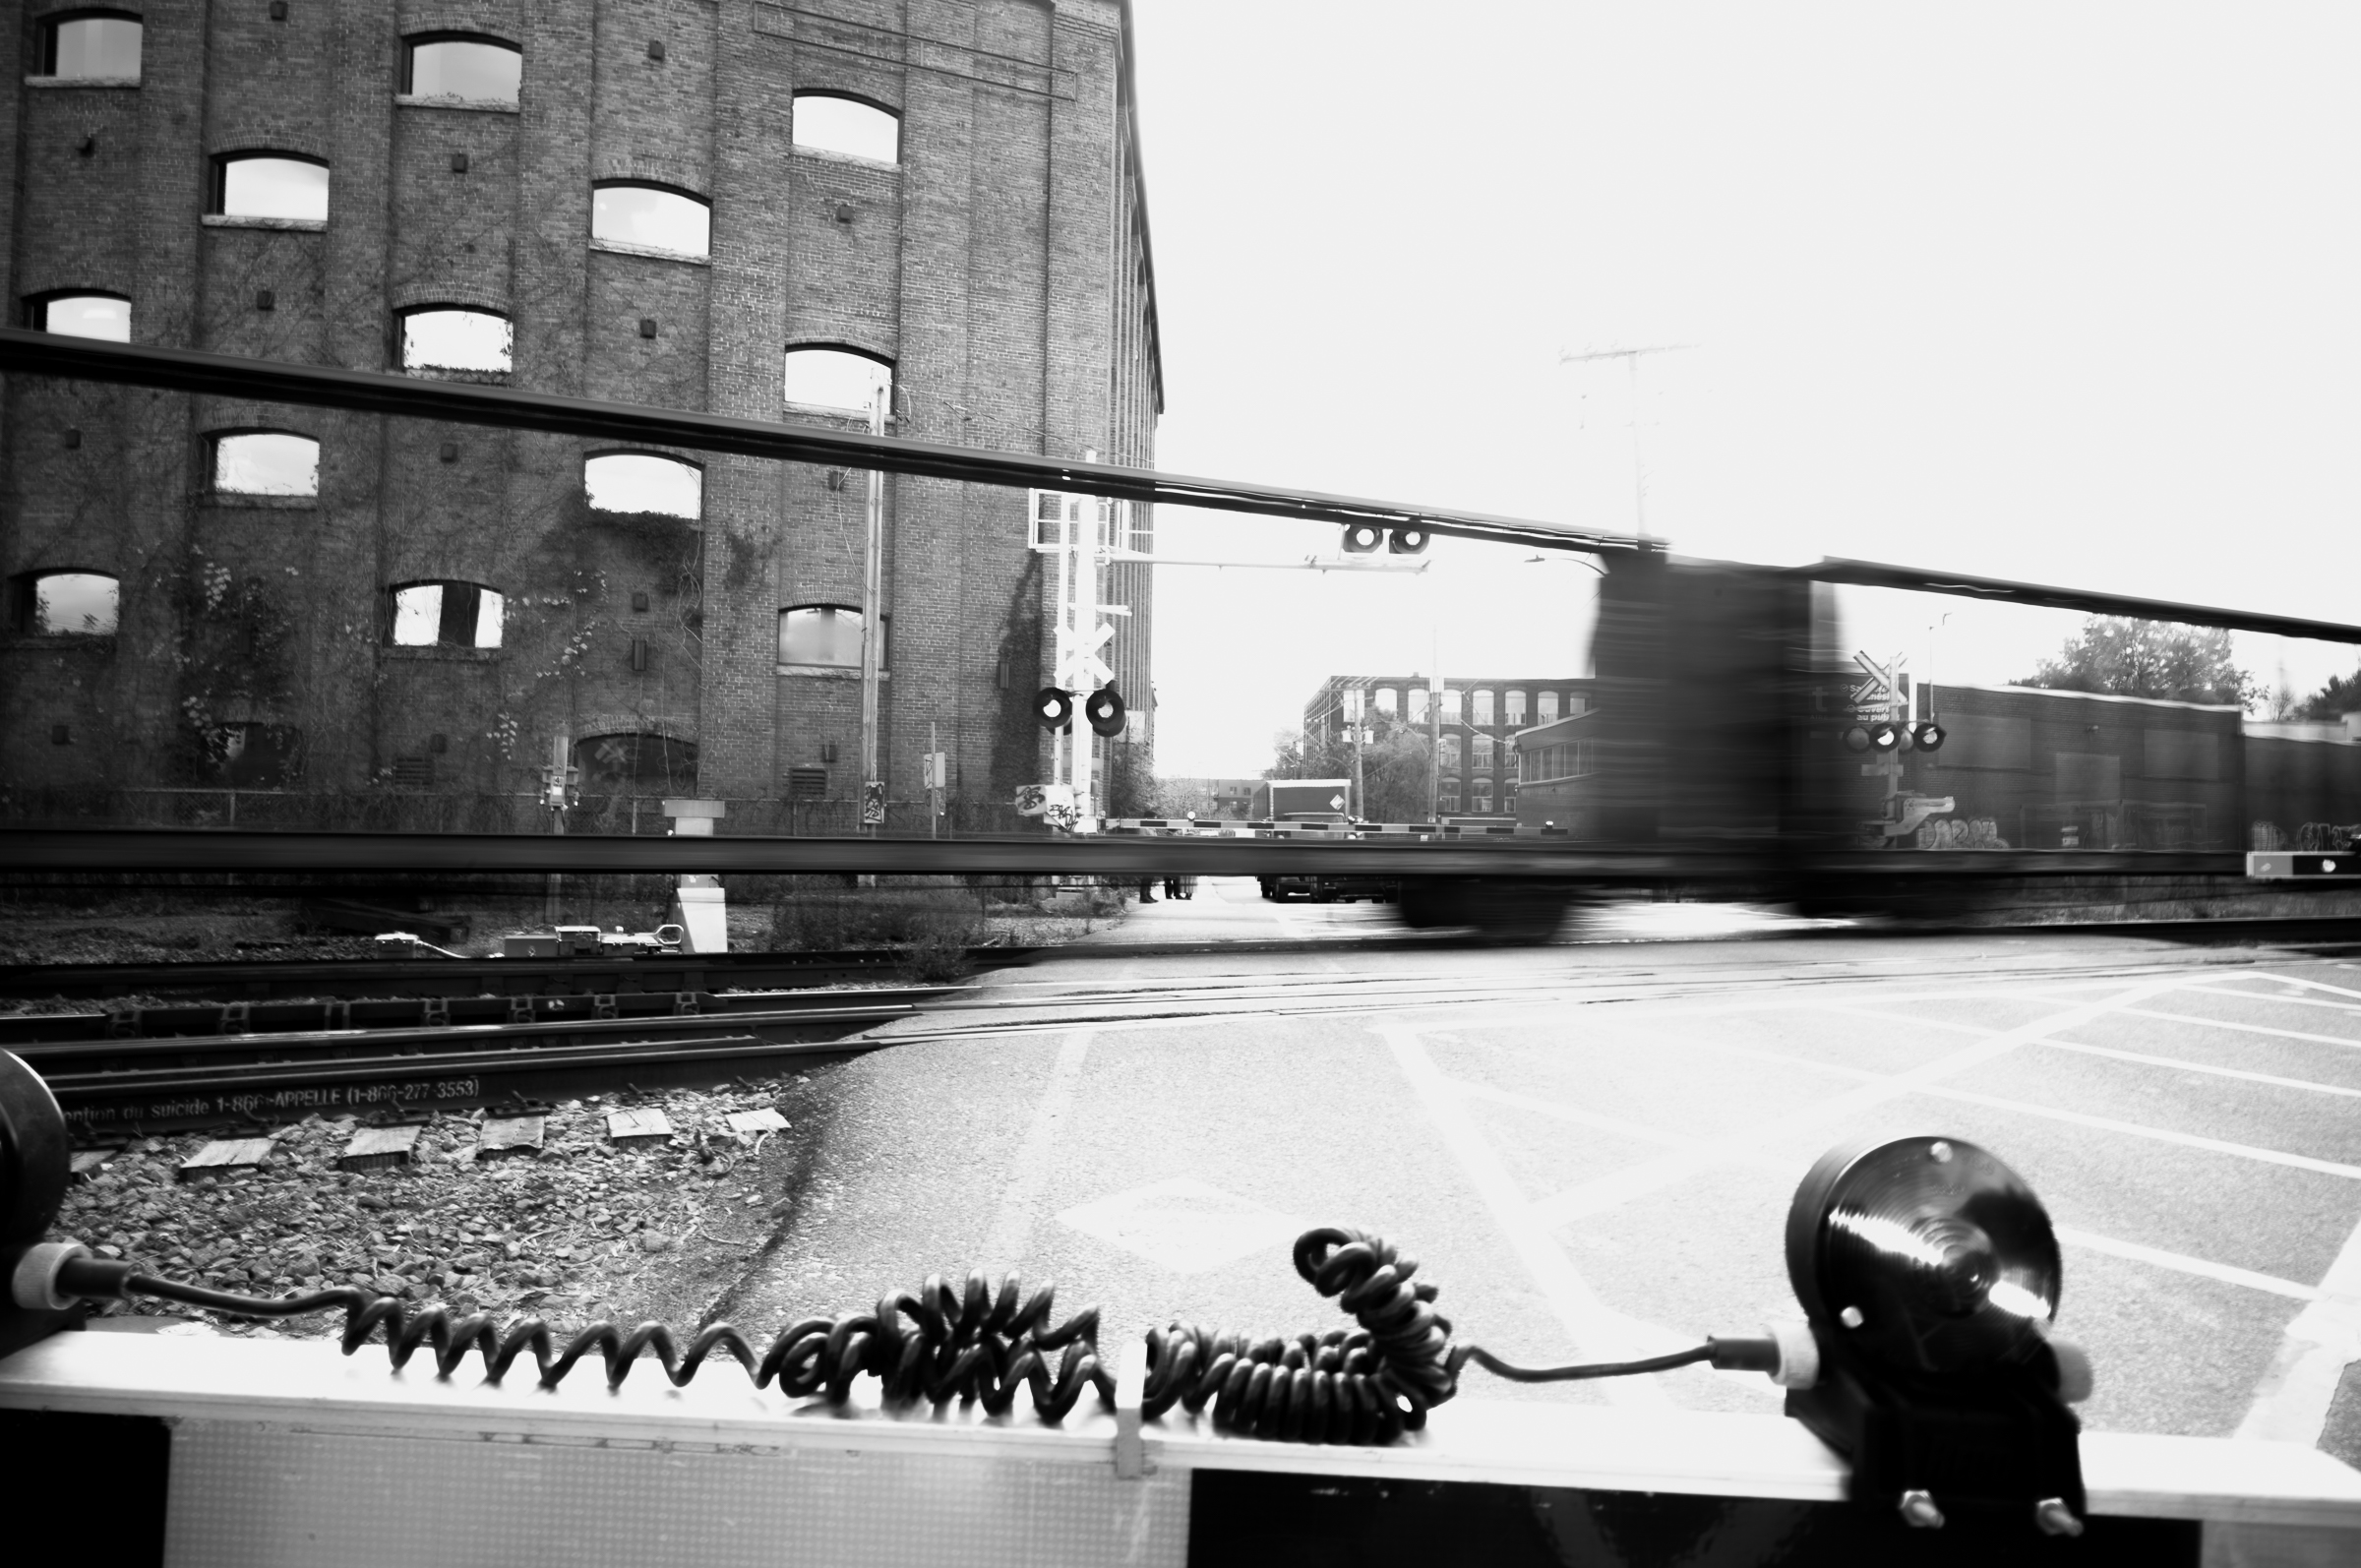
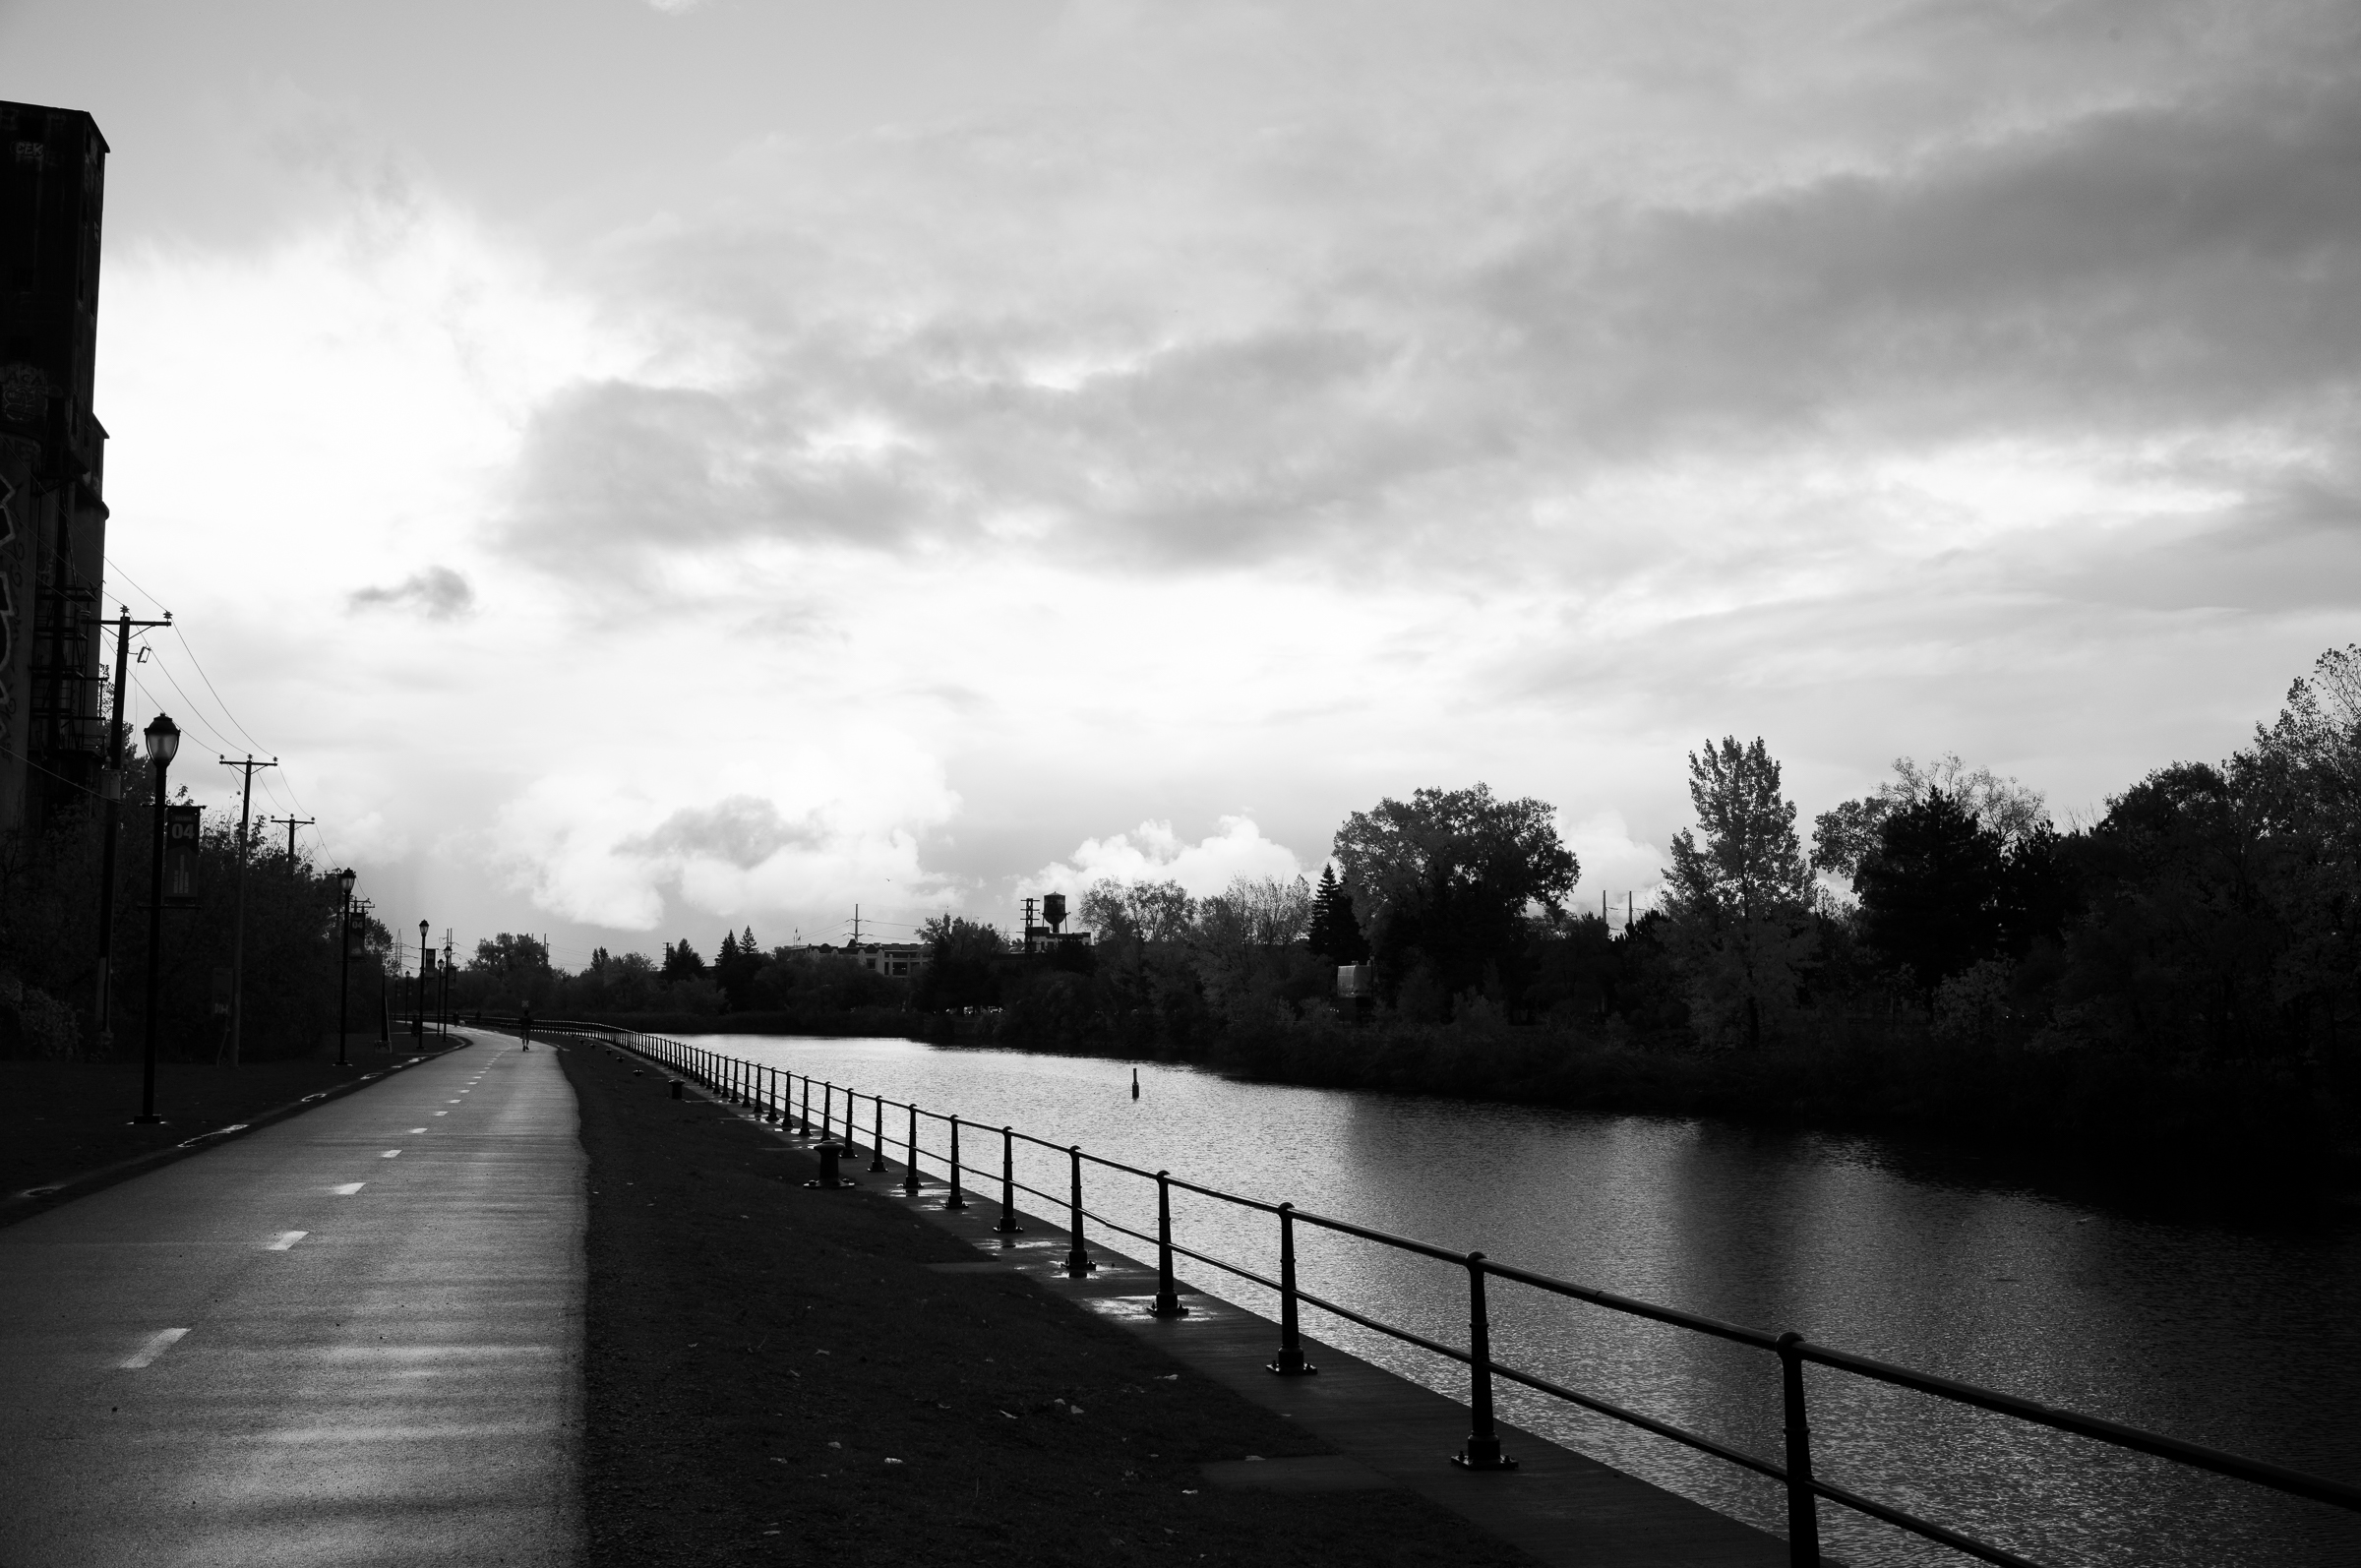
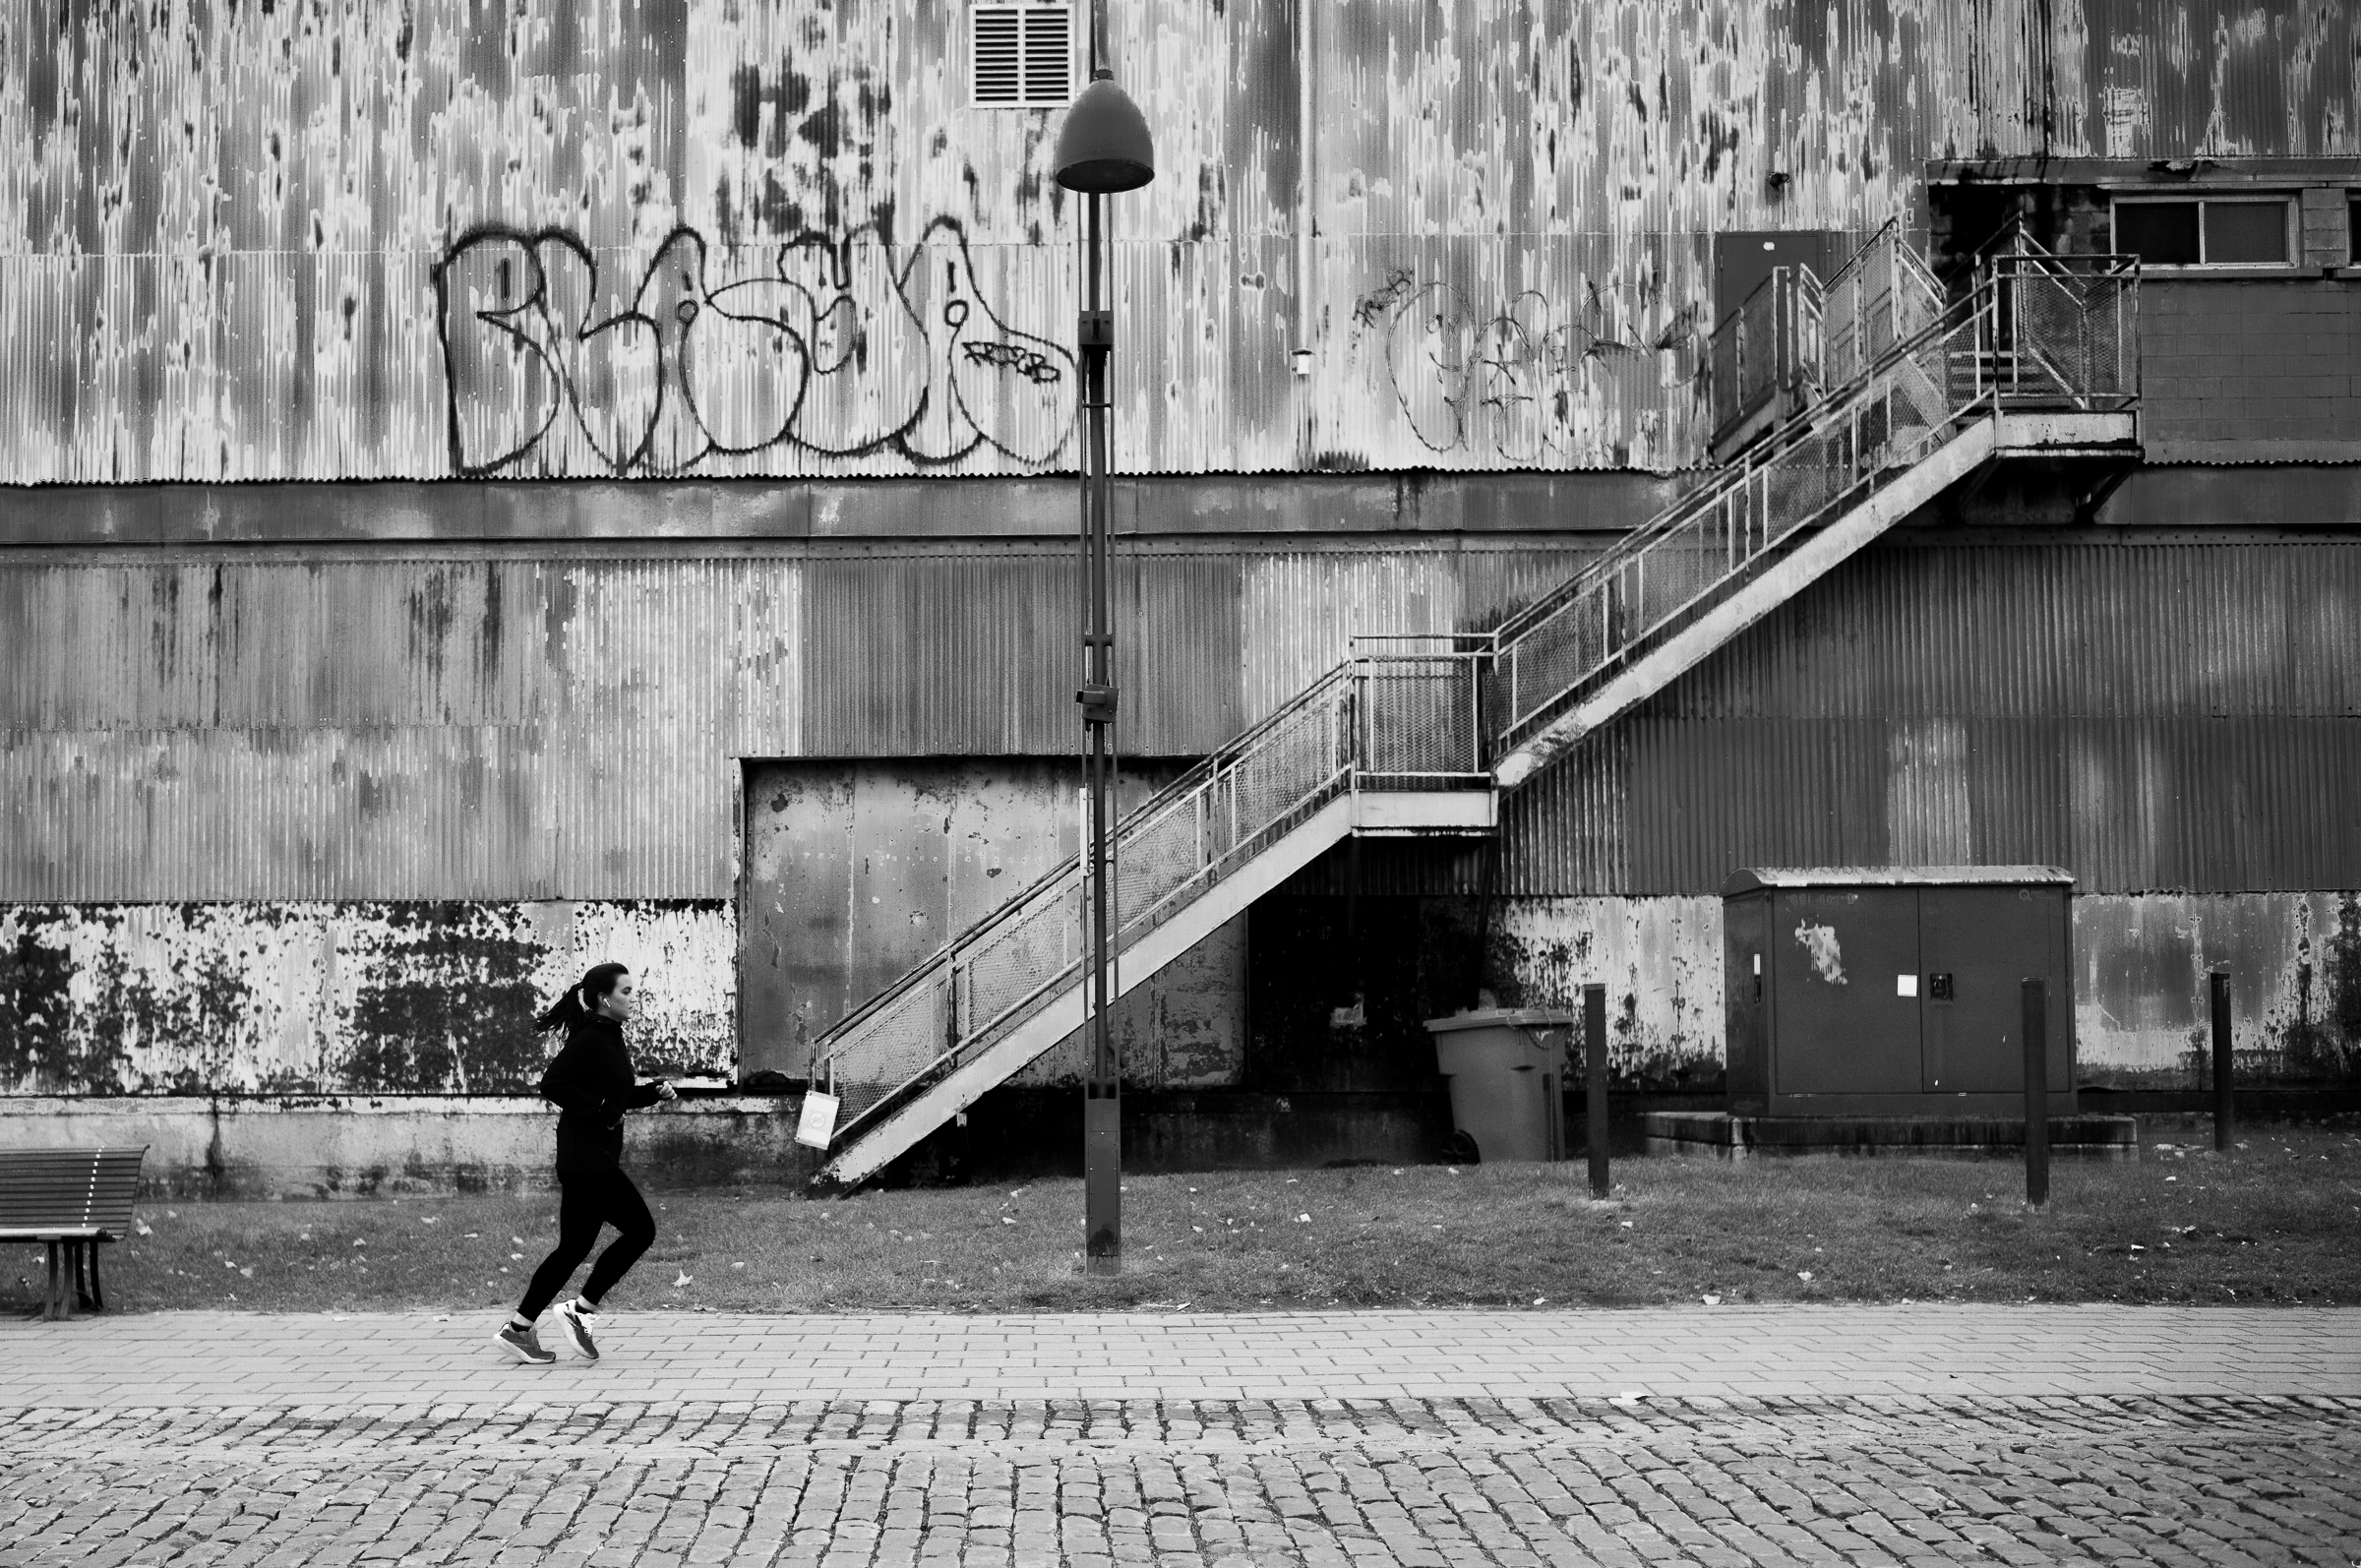
Day Three: M11 Monochrom and the Lachine Canal#
Yeah, I was that guy with multiple cameras hanging around my neck for a day. I started with the 35mm Summilux on the Monochrom and the 21mm SEM on the colour M11. This just made a lot of sense to me as I will typically use the 35mm for street photos which are more likely to be black and white and the 21mm for bigger landscape/urbanscape type shots. I think, if I were to buy the Monochrom, I would probably keep the 35mm on it most of the time and maybe buy a 28mm for the M11. Unfortunately, I am not made out of money, so this configuration is probably going to have to wait for a few years.
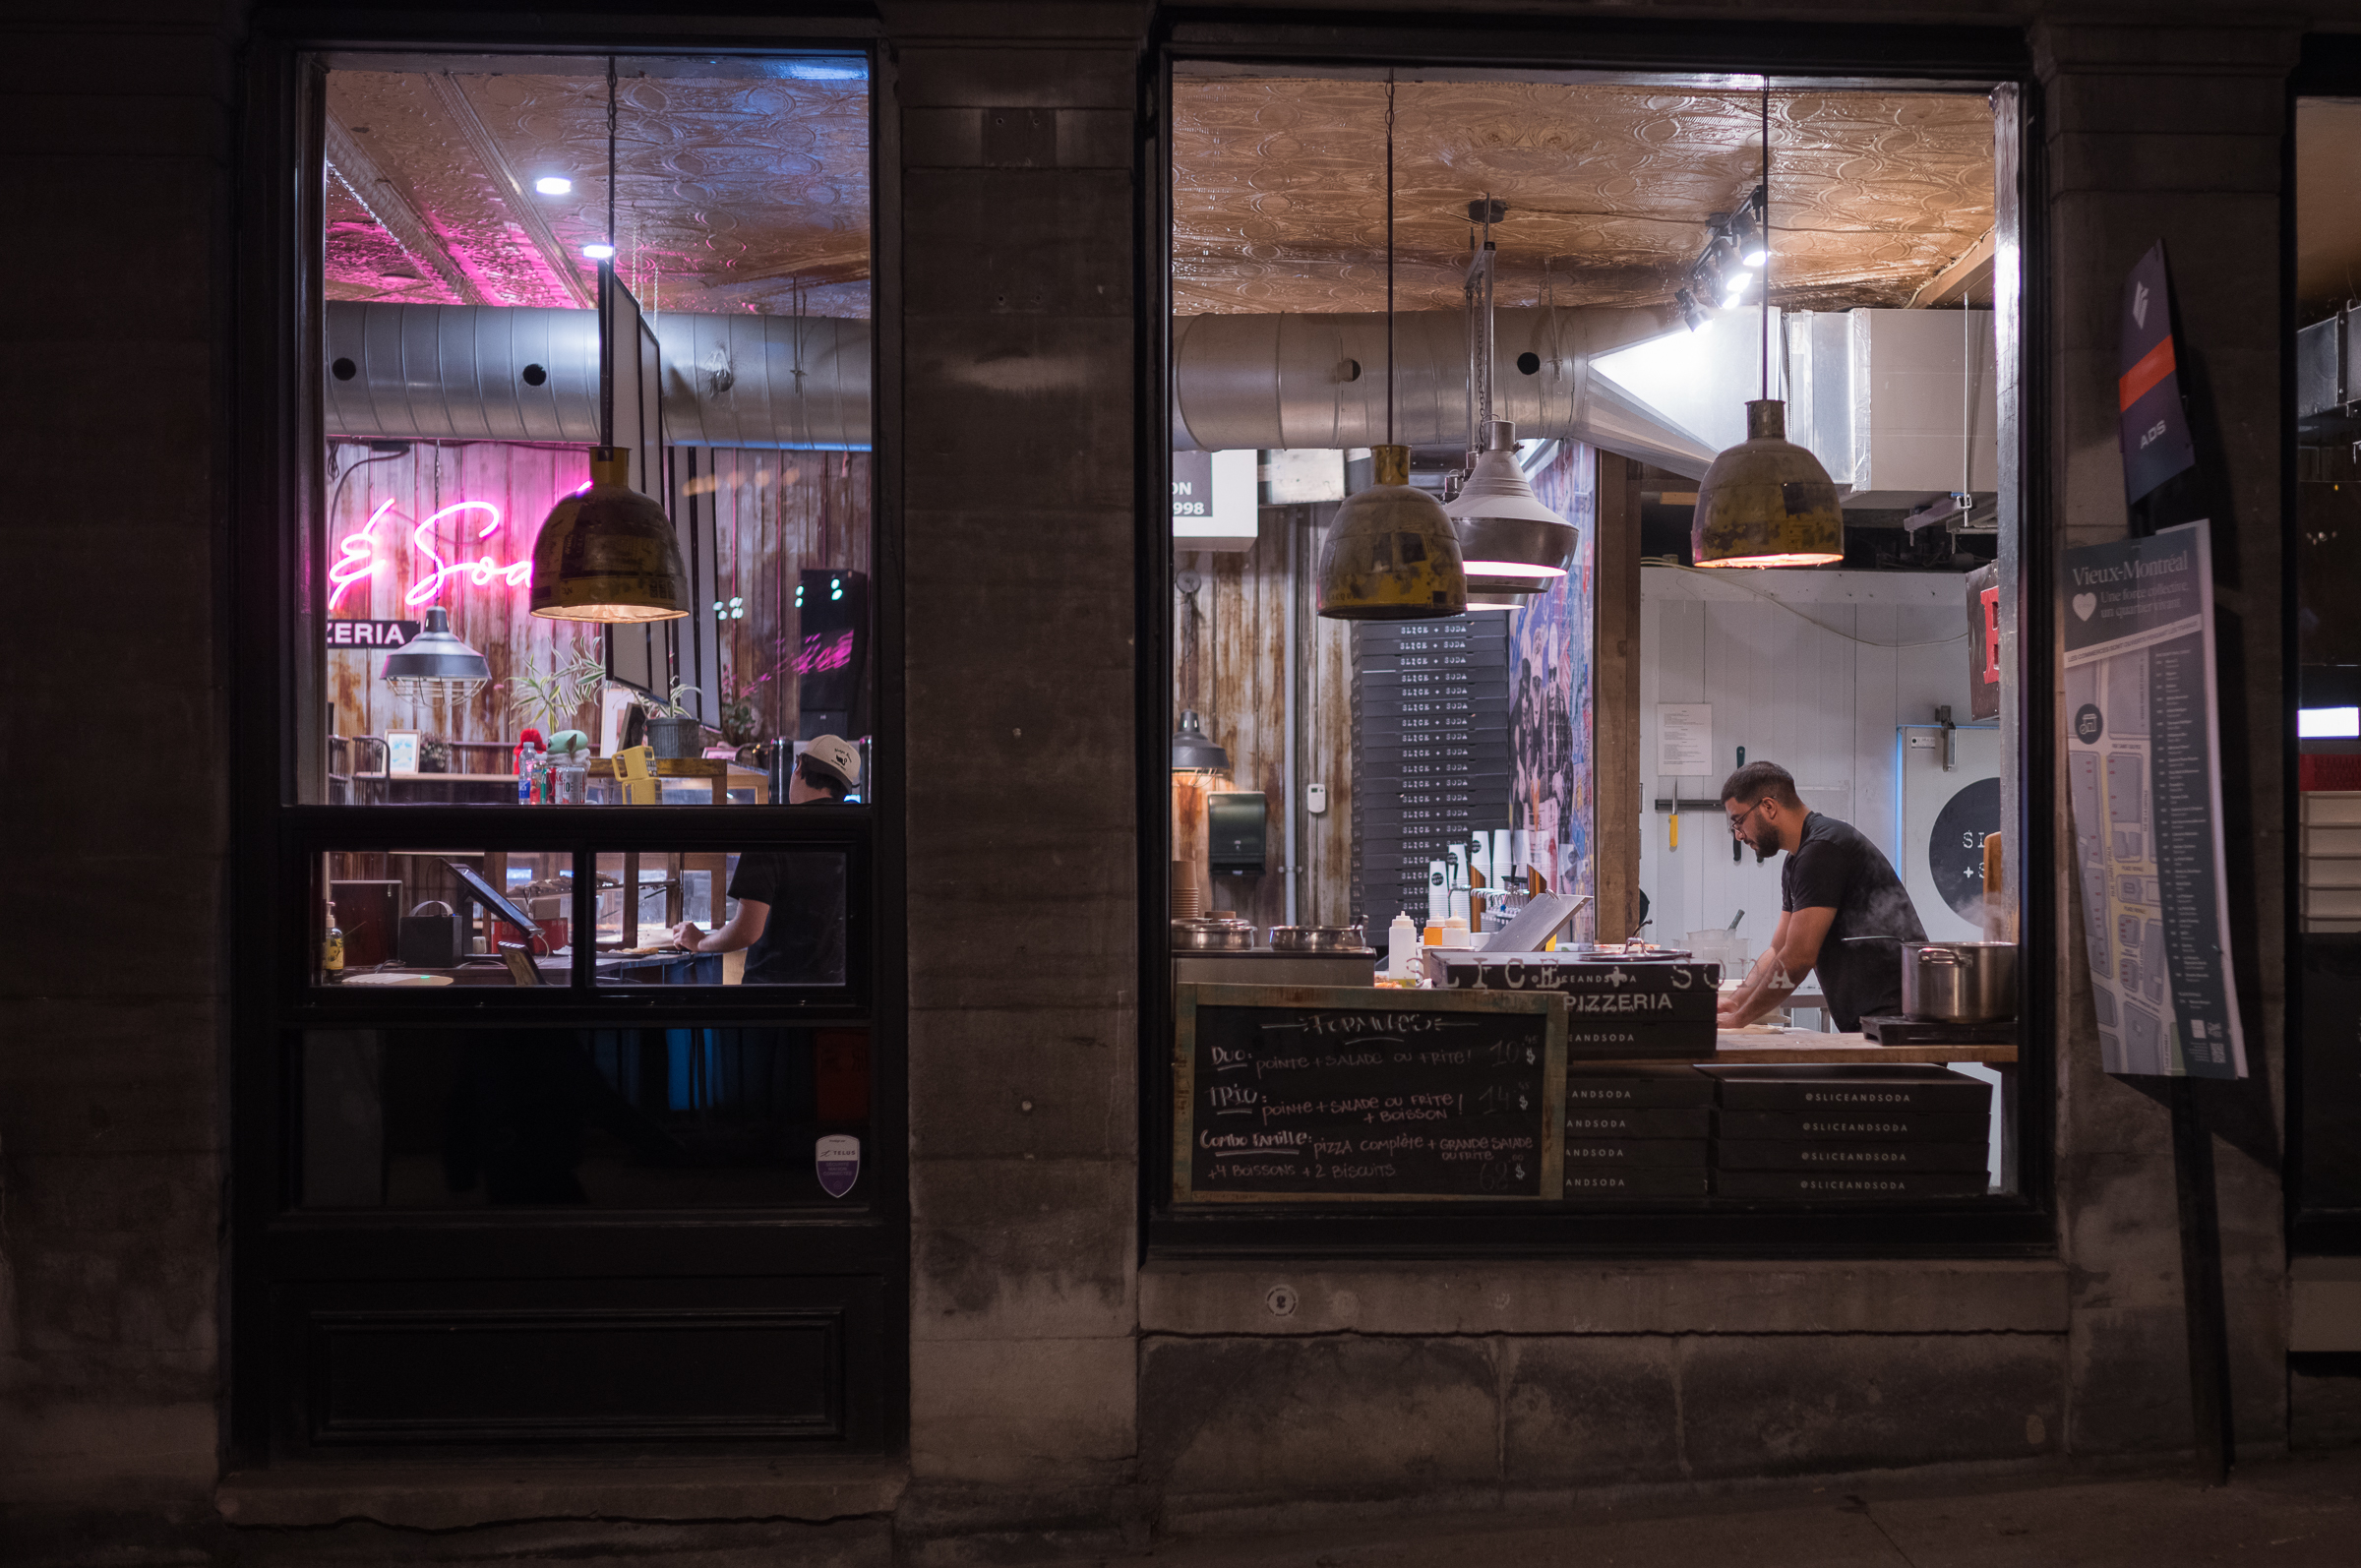
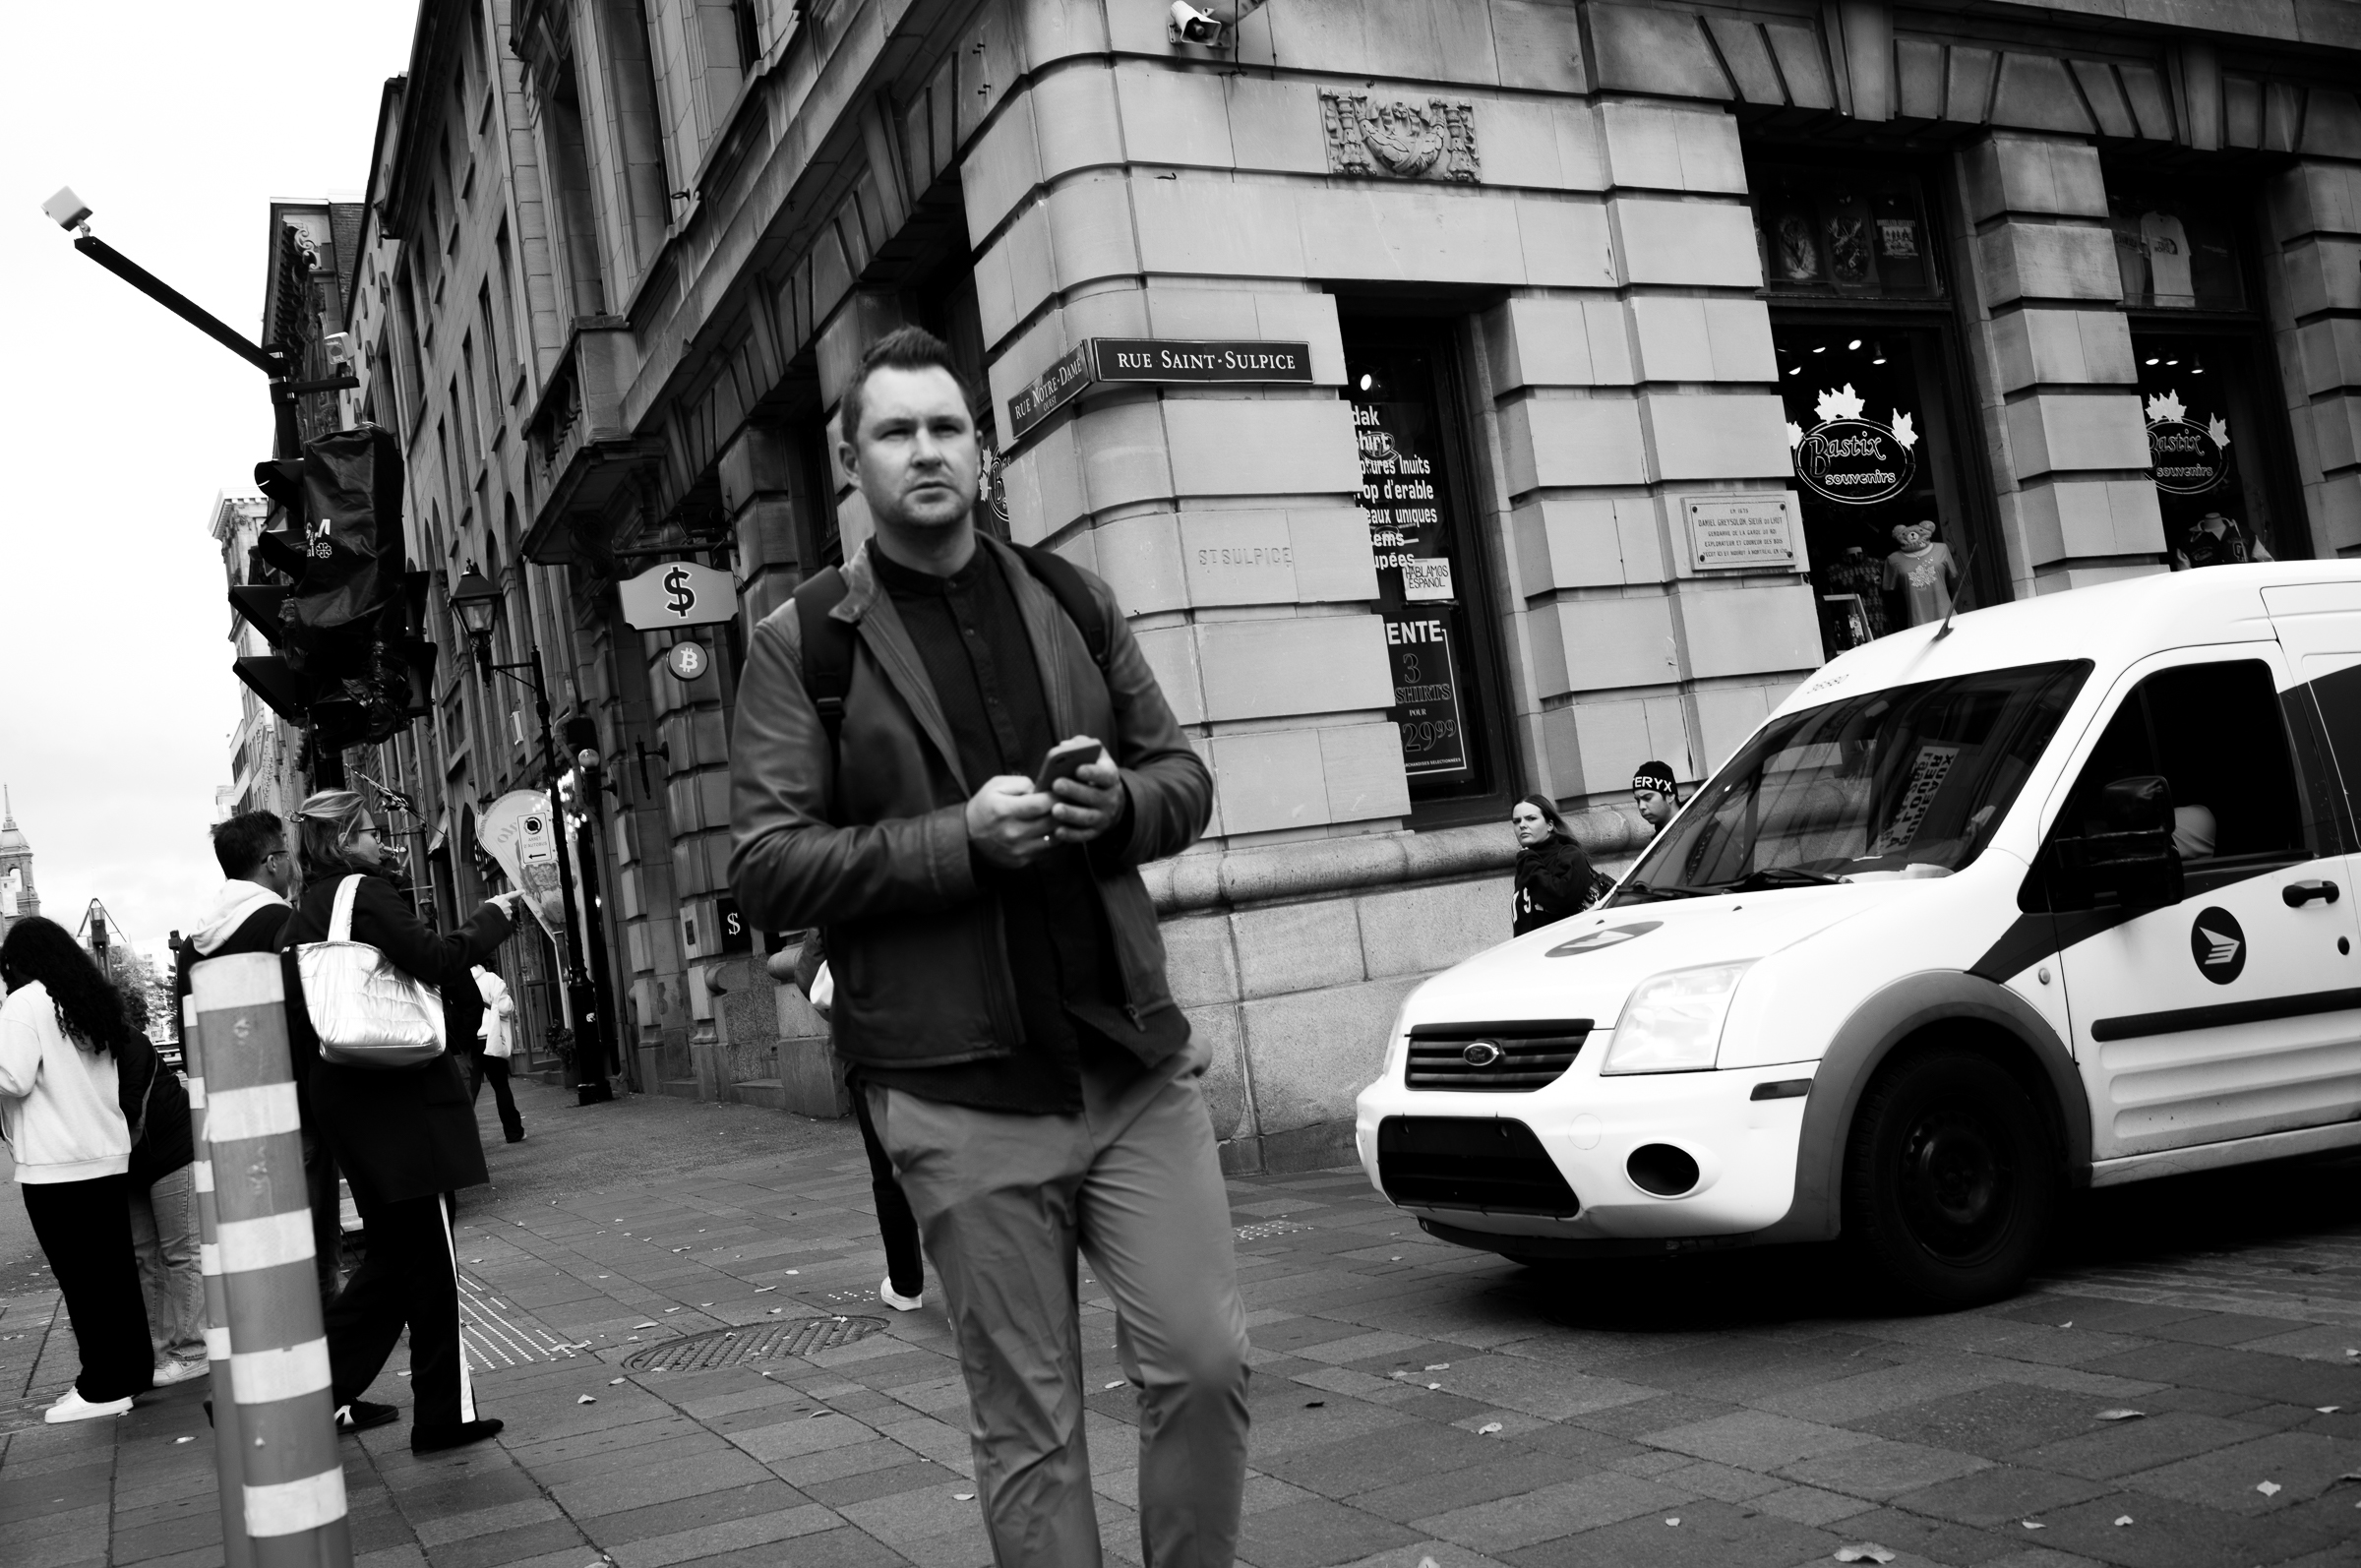
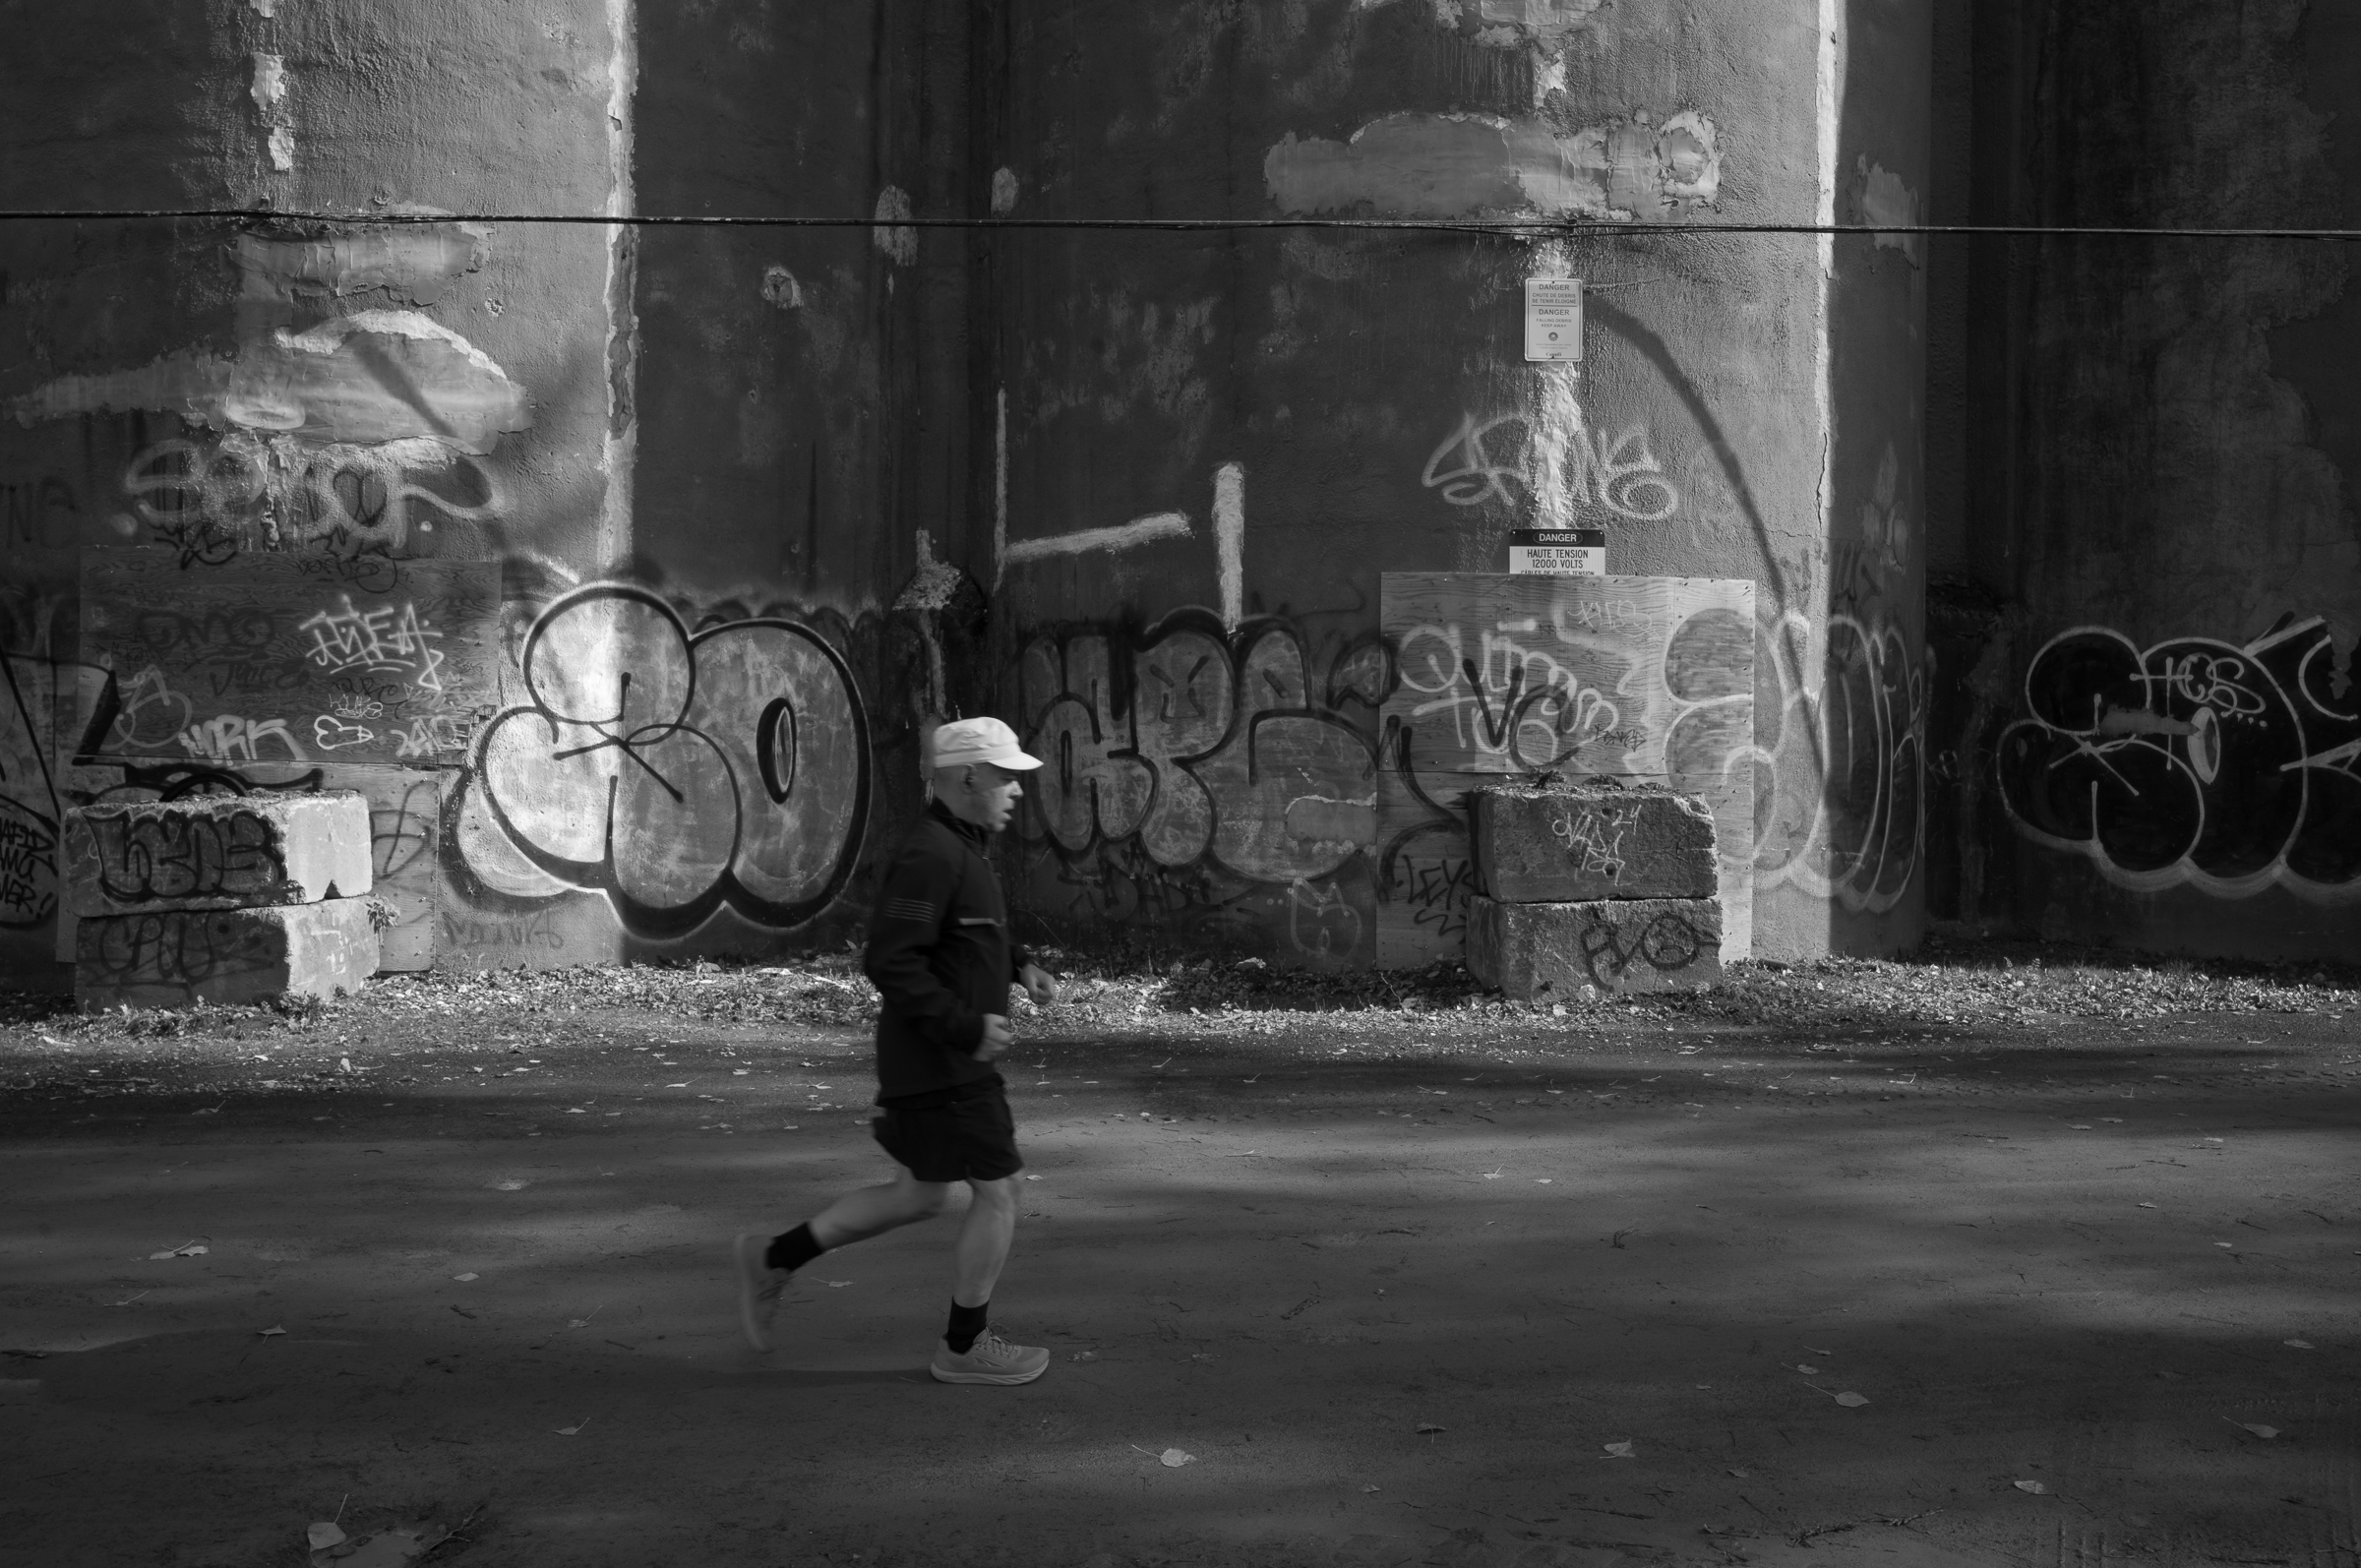
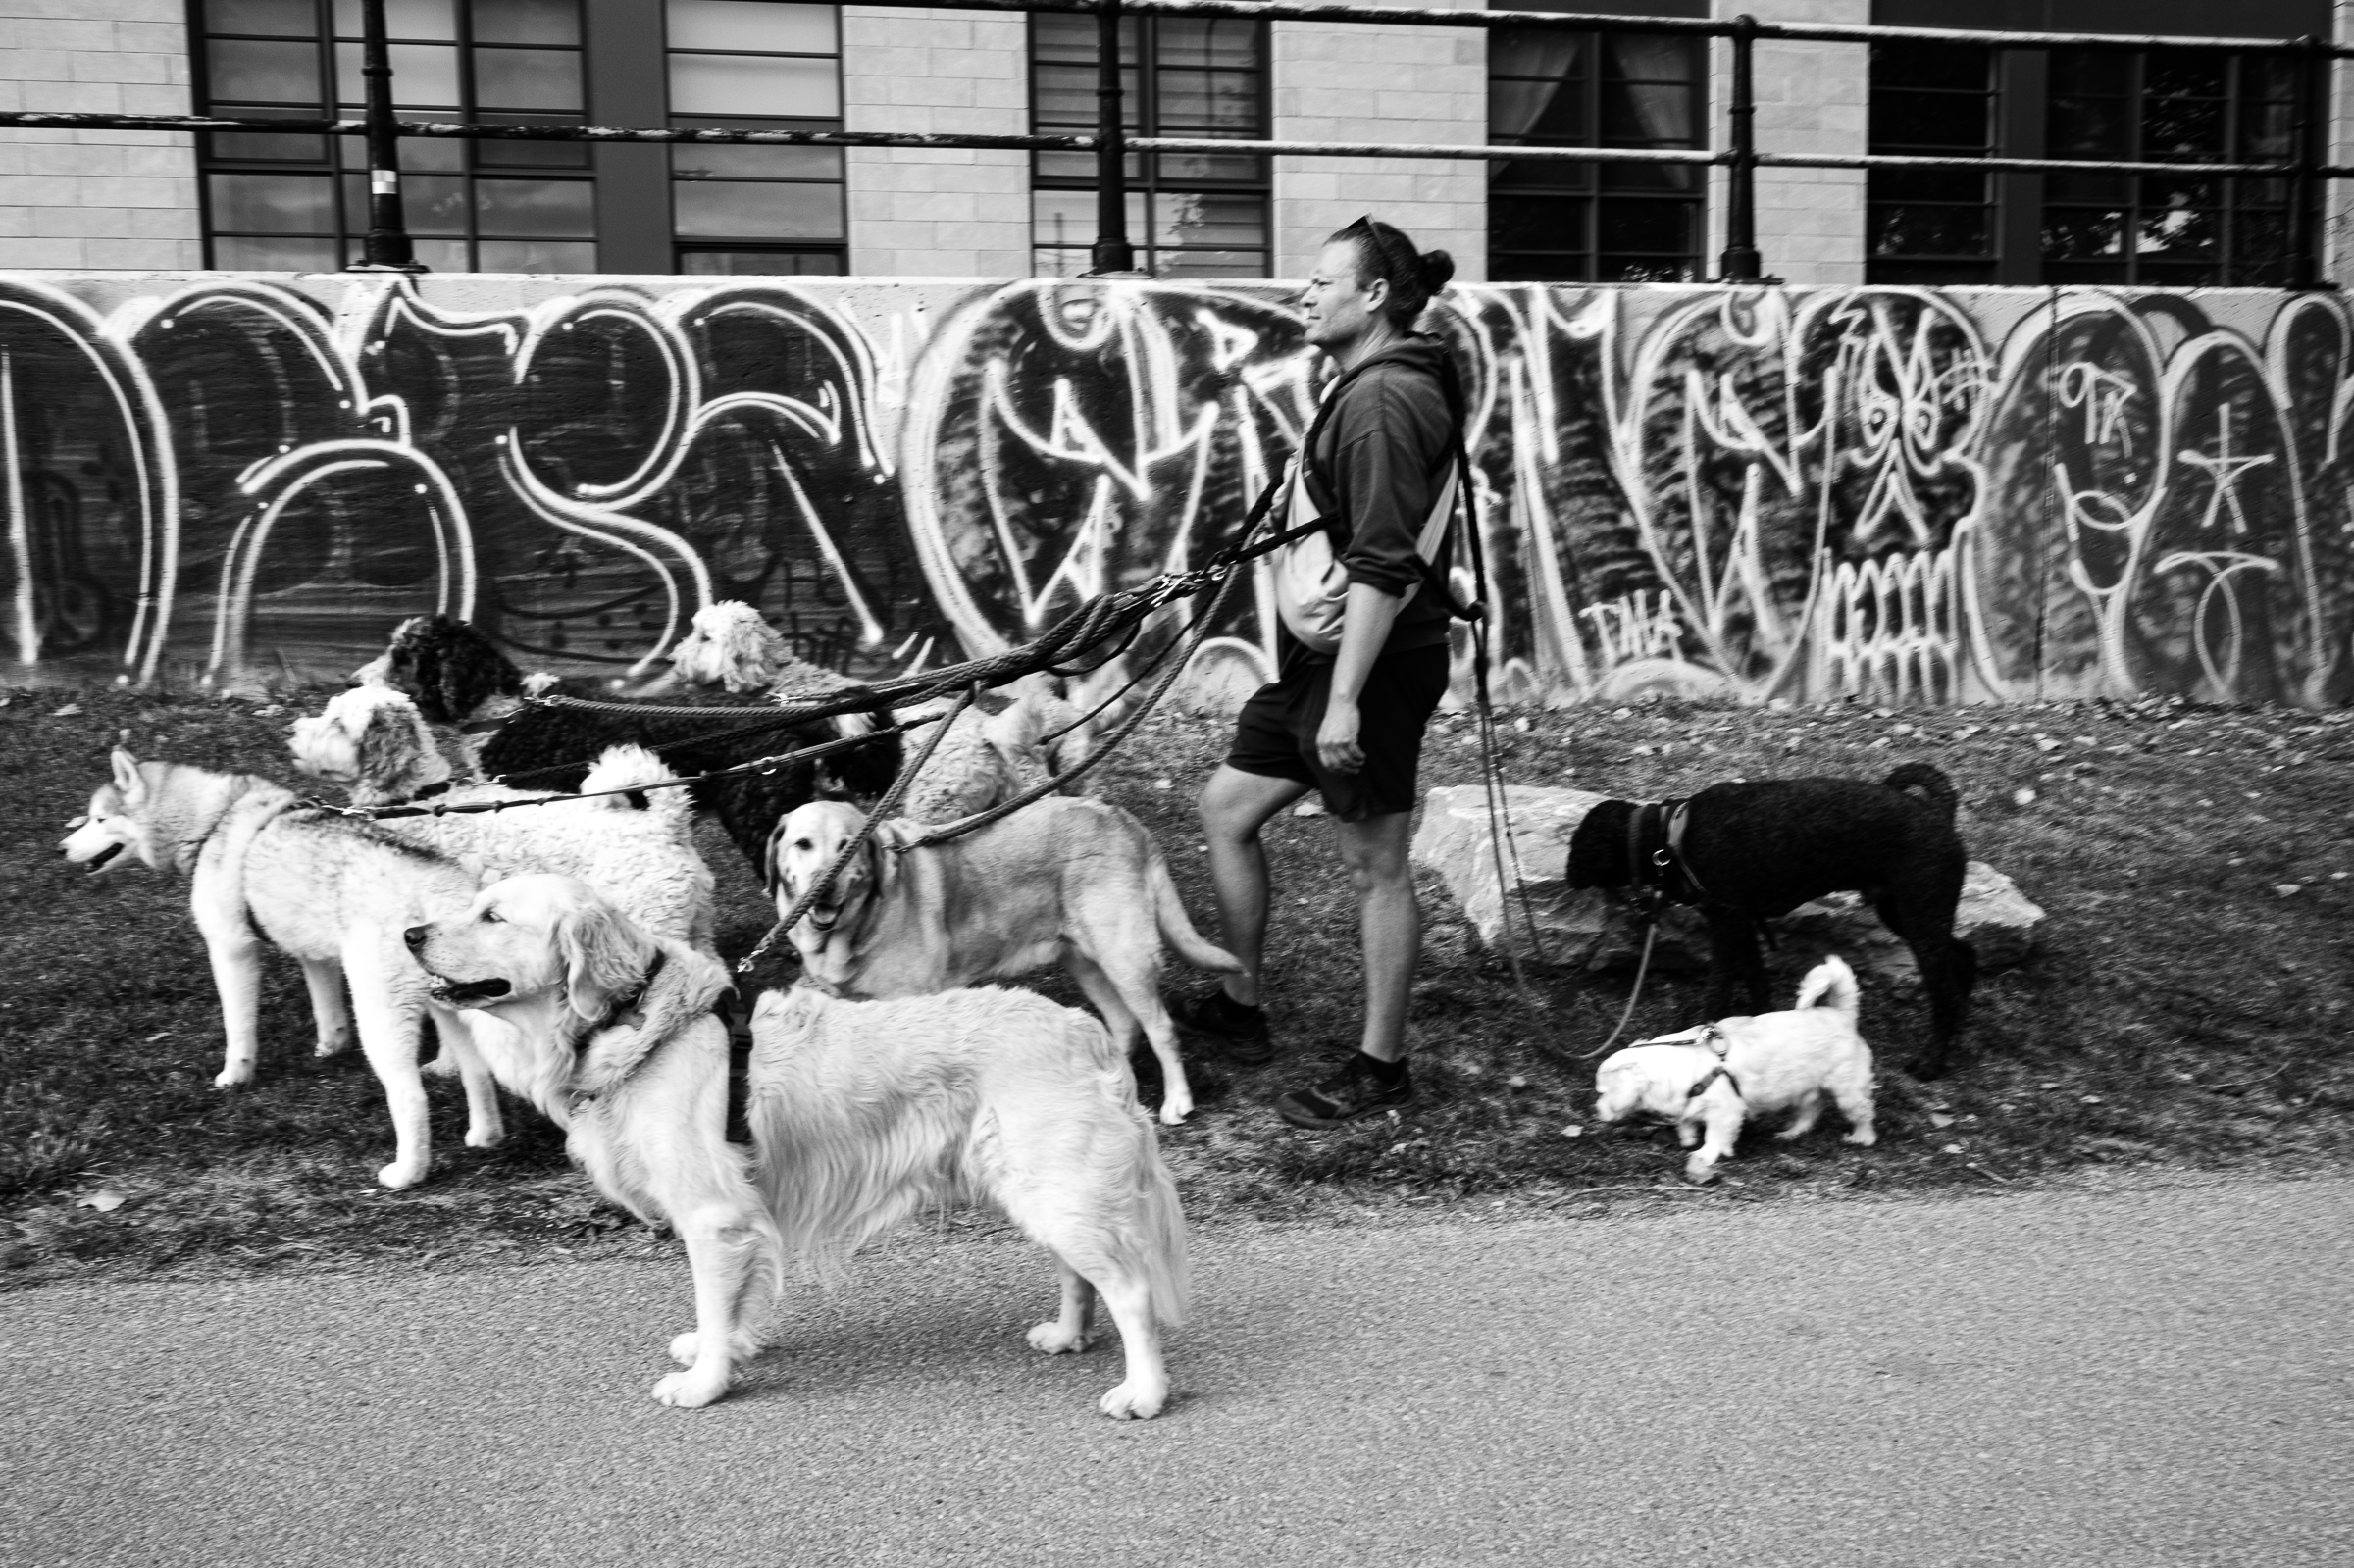
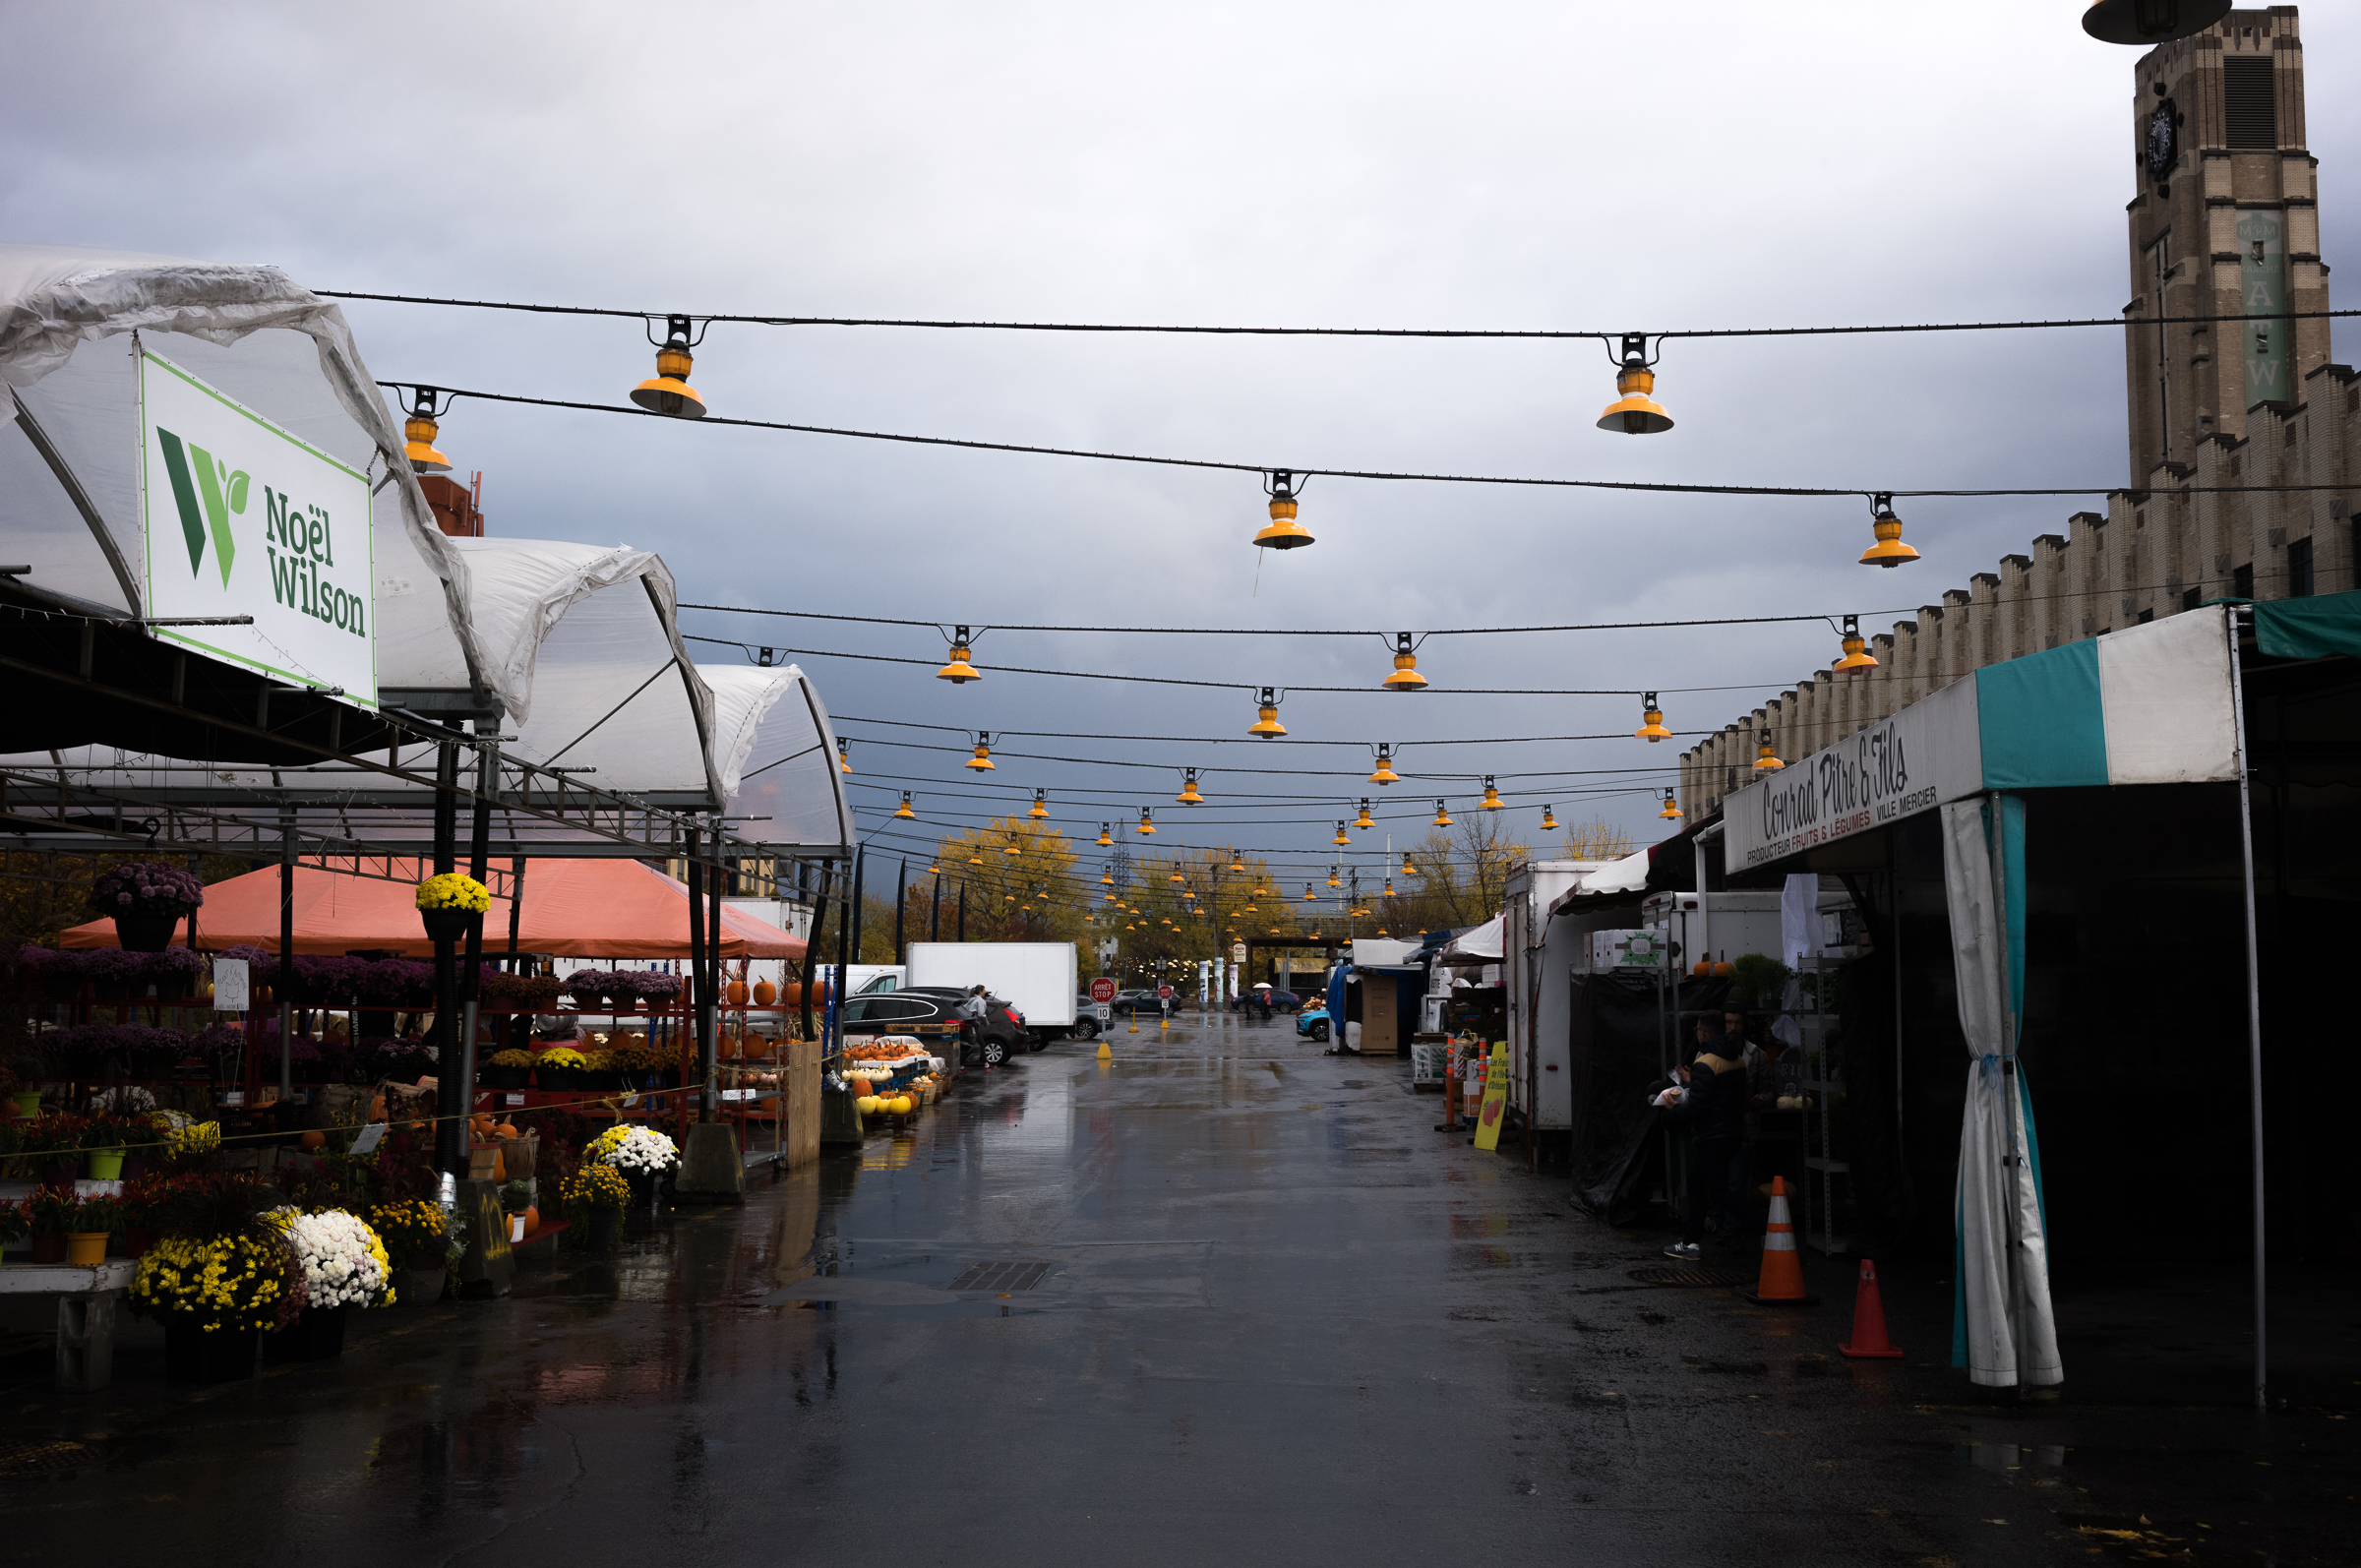
After the morning sessions in the conference, I grabbed both cameras in hit the street in Vieux Port. For some reason I was feeling a bit aggressive with the camera and manged to get quite a few shots of people out for lunch.

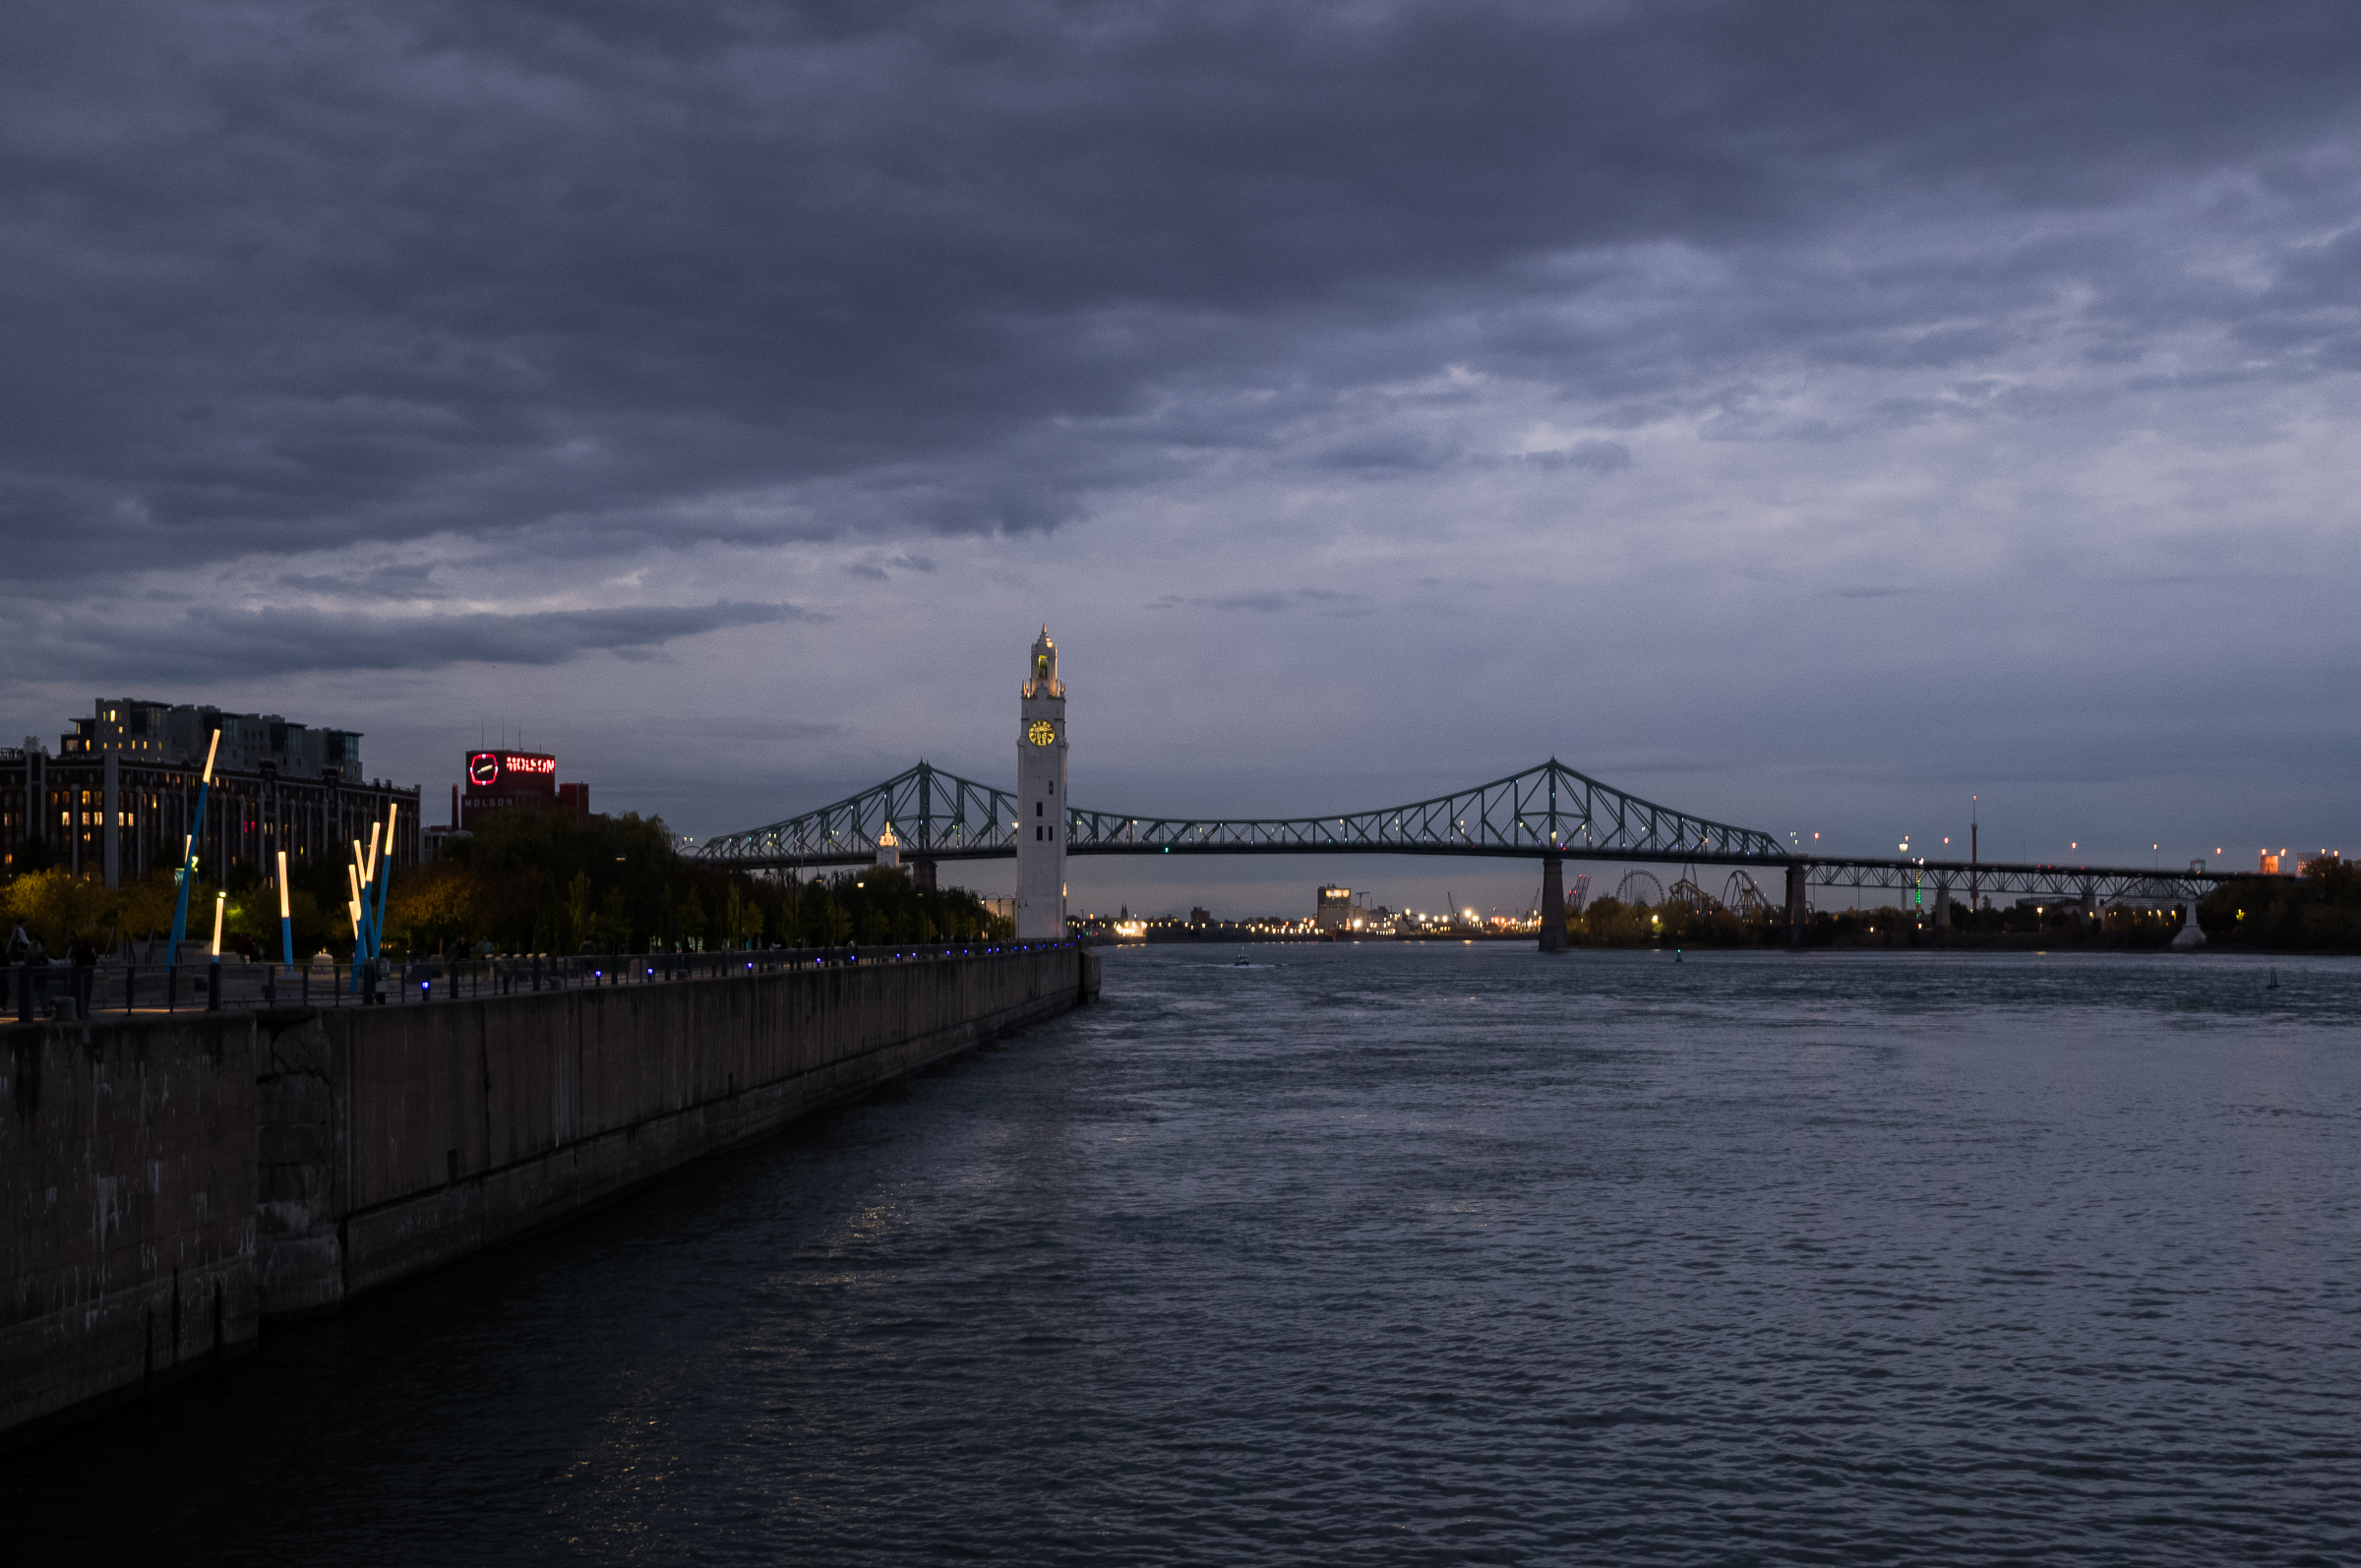
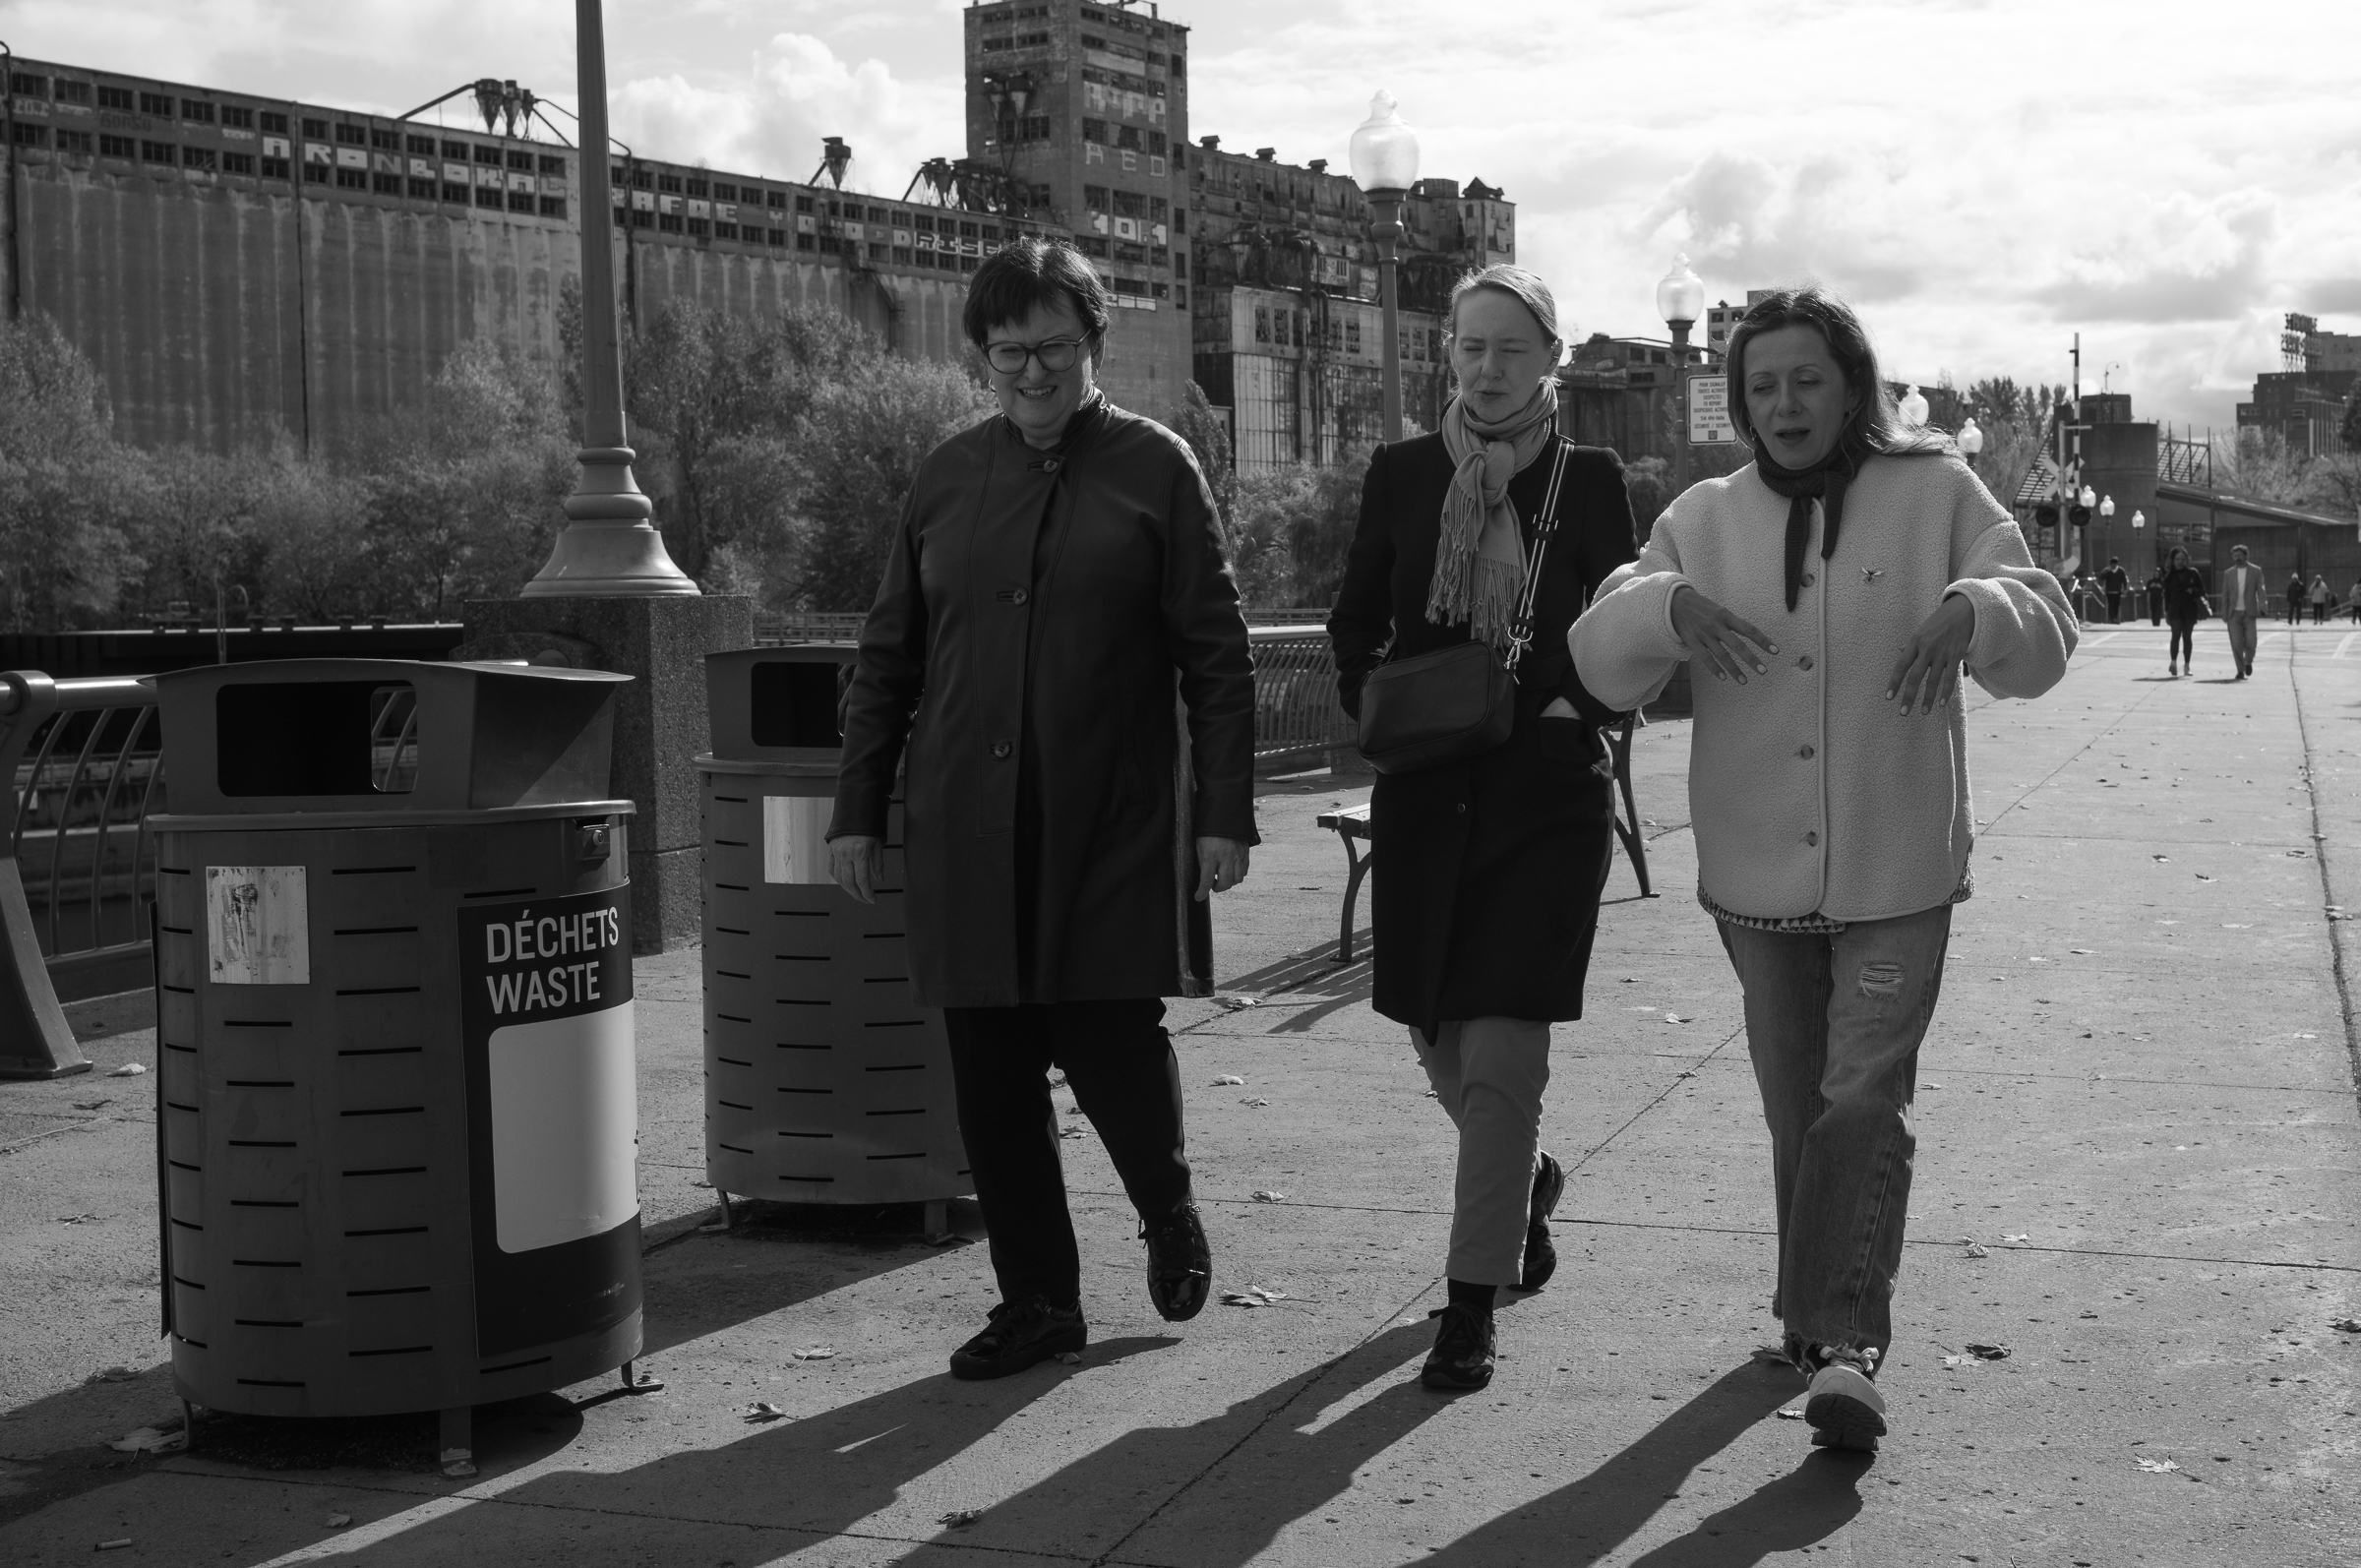
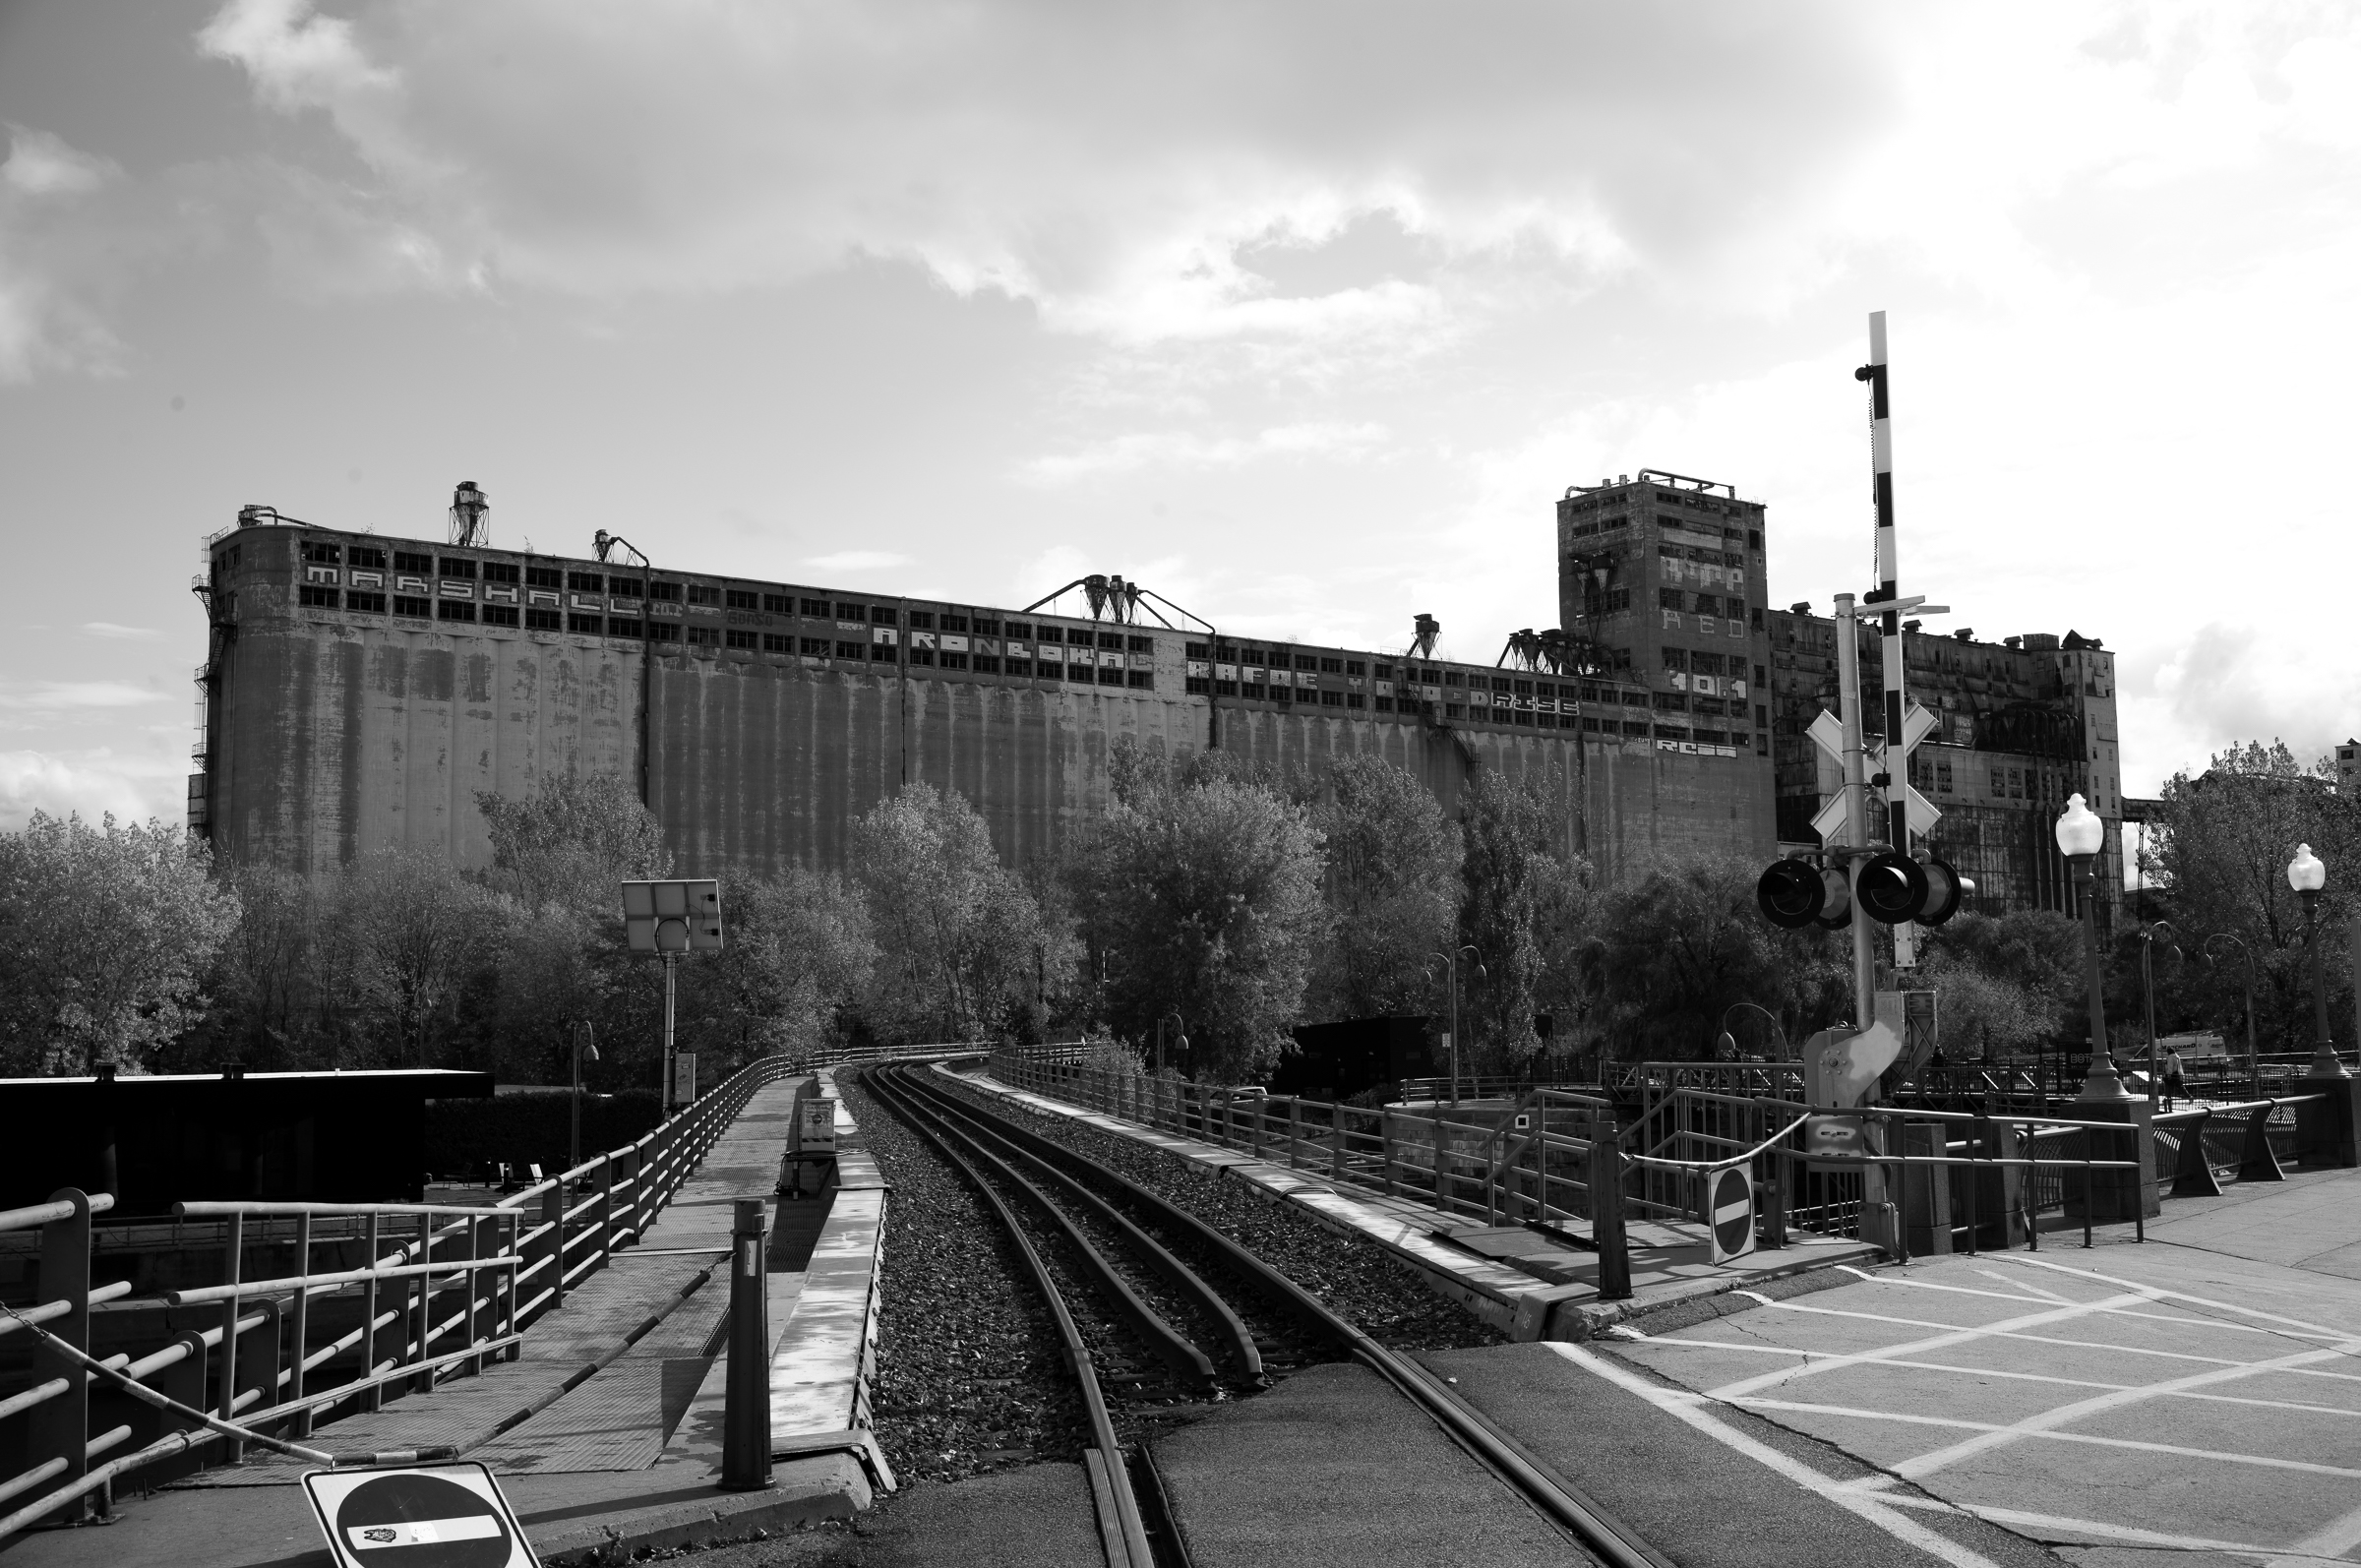
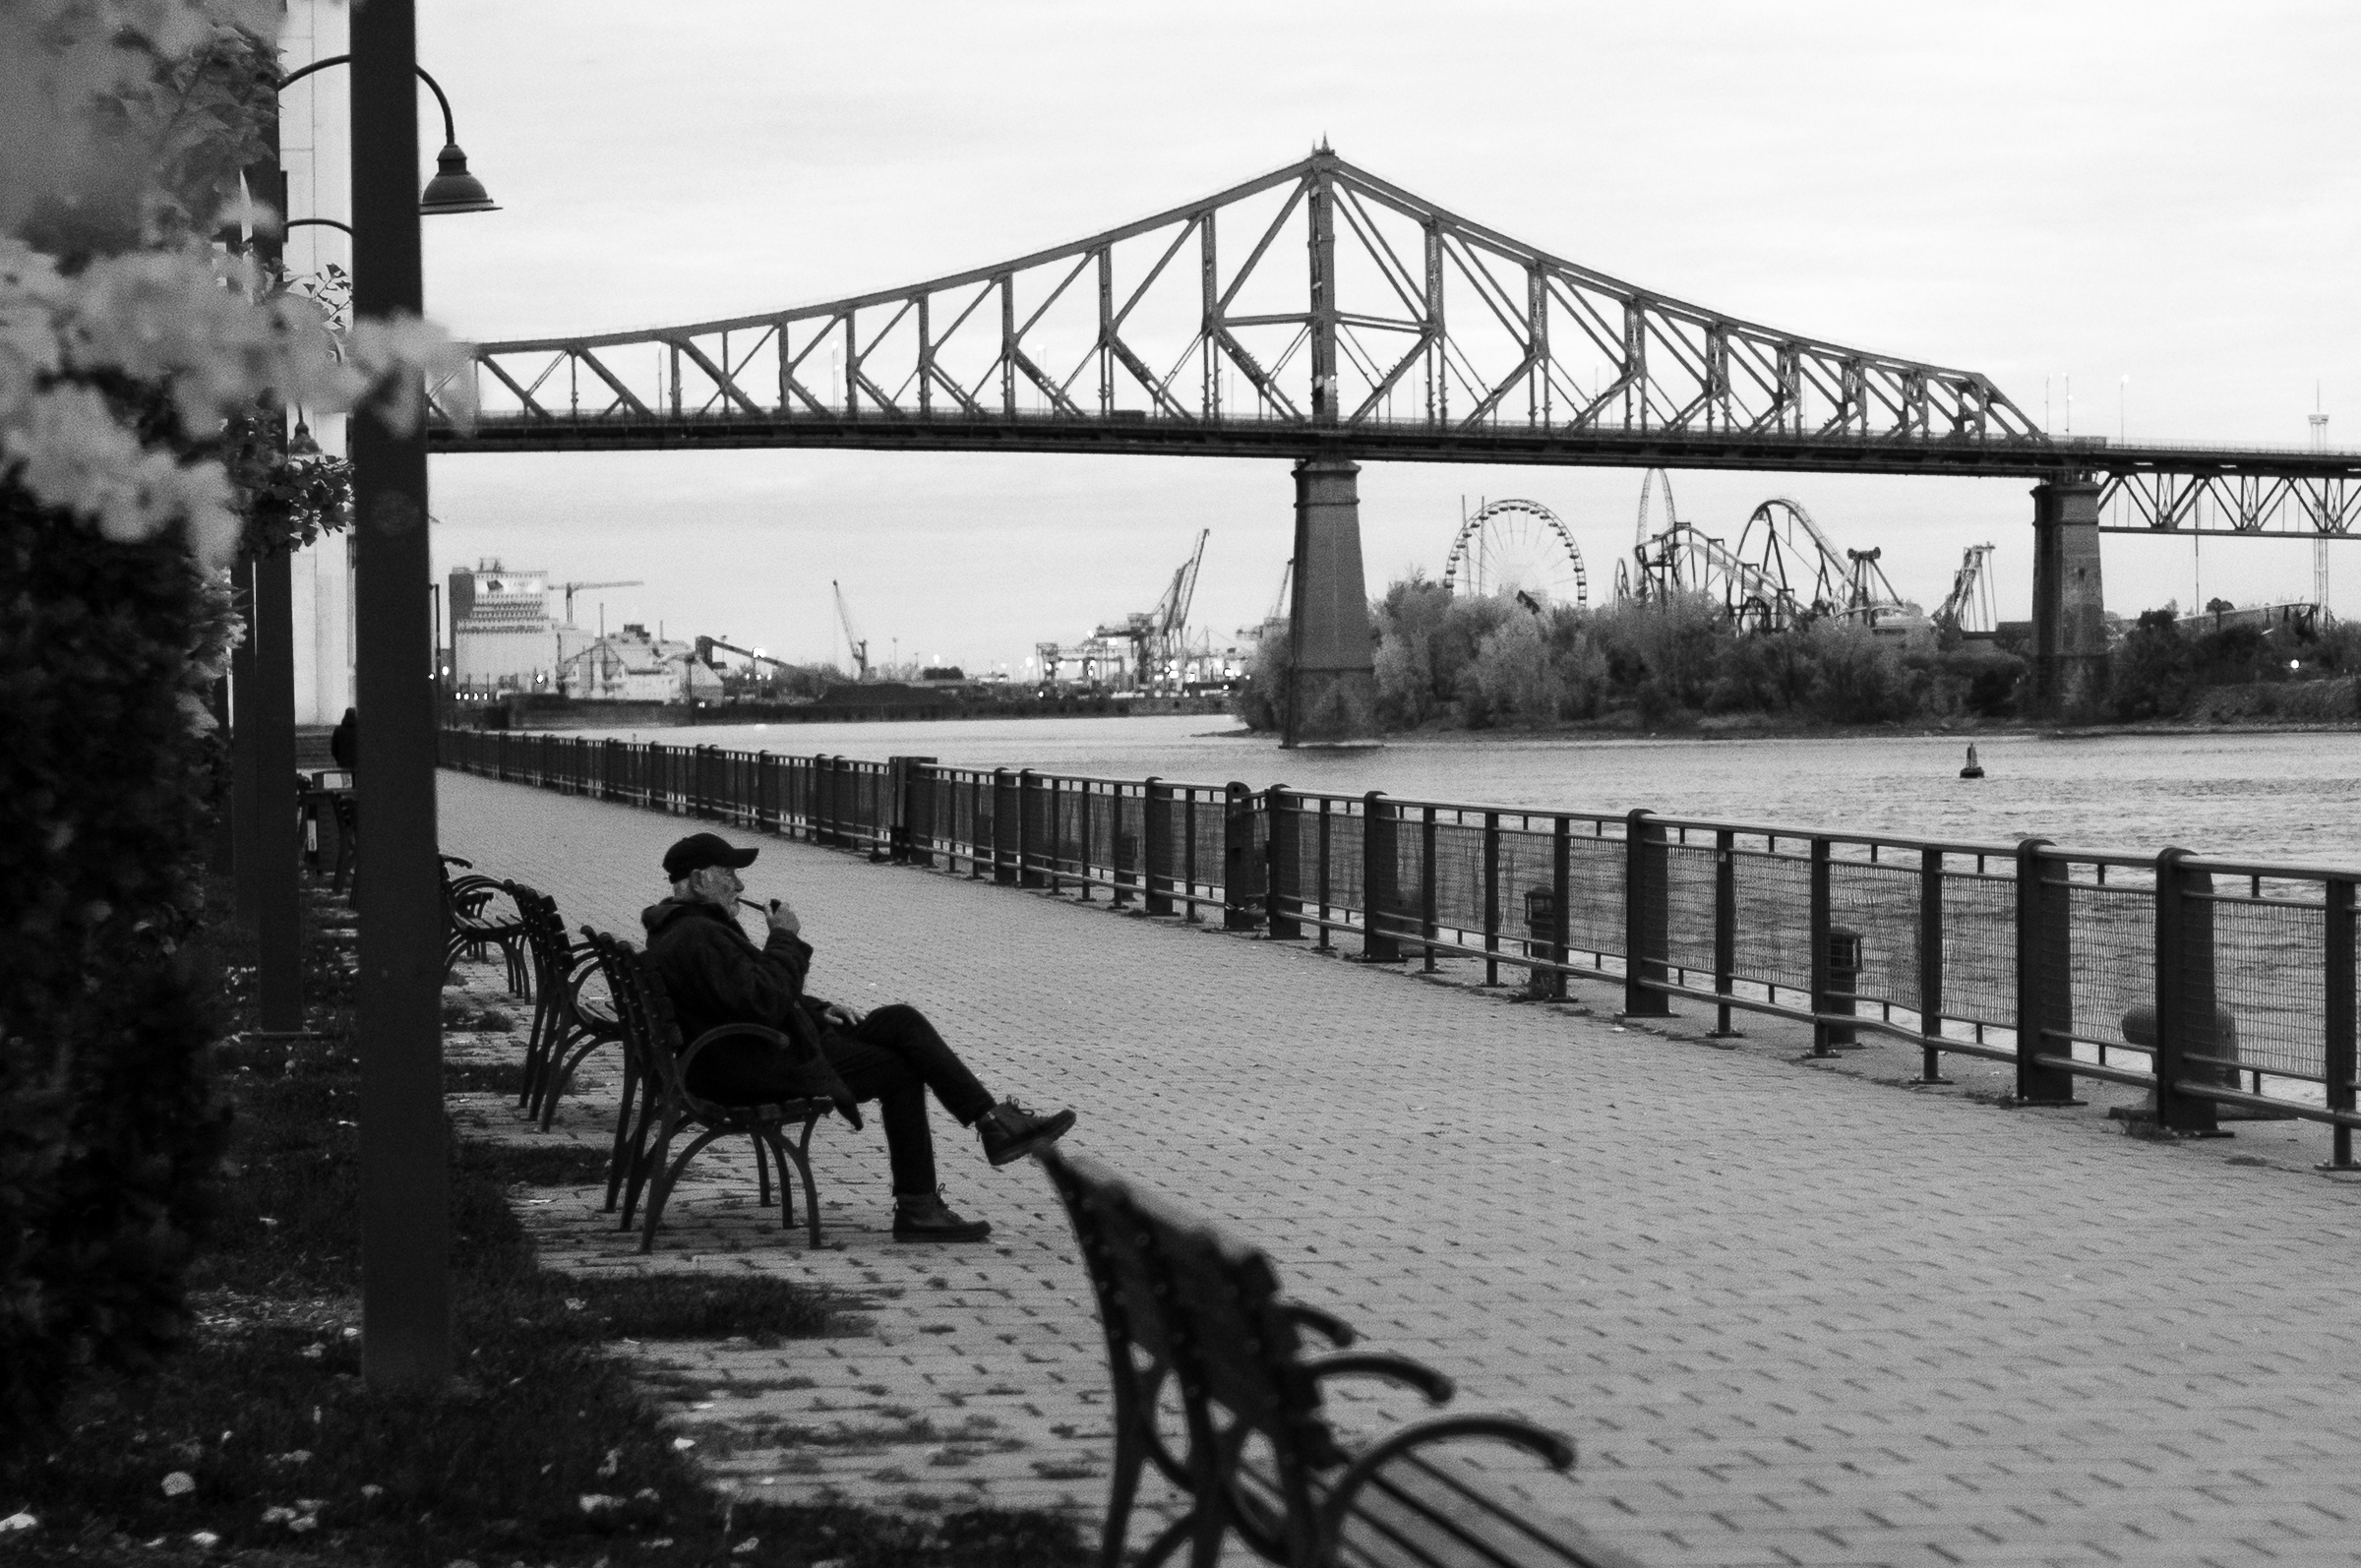
As I got down towards the waterfront, I started walking towards the old, I think abandoned, silos which are by the Lachine Canal. The reason I say “I think they were abandoned” is that there seemed to be a lot of security around, and they seemed to be keeping an eye on me as I walked around. Weird…I had no intention of breaching their fence, it just seemed like everytime I turned around there would be a security car there that was not there before.
I was originally planning on turning around here, but there were a lot of interesting clouds in the sky, and I really wanted to make the most of the day with the Monochrom, so I pushed onward.


It was around here at some point that I swapped lenses on the two cameras. So now I have
the 21mm on the Monochrom. I figured that I would be doing a lot more urbanscape type photos
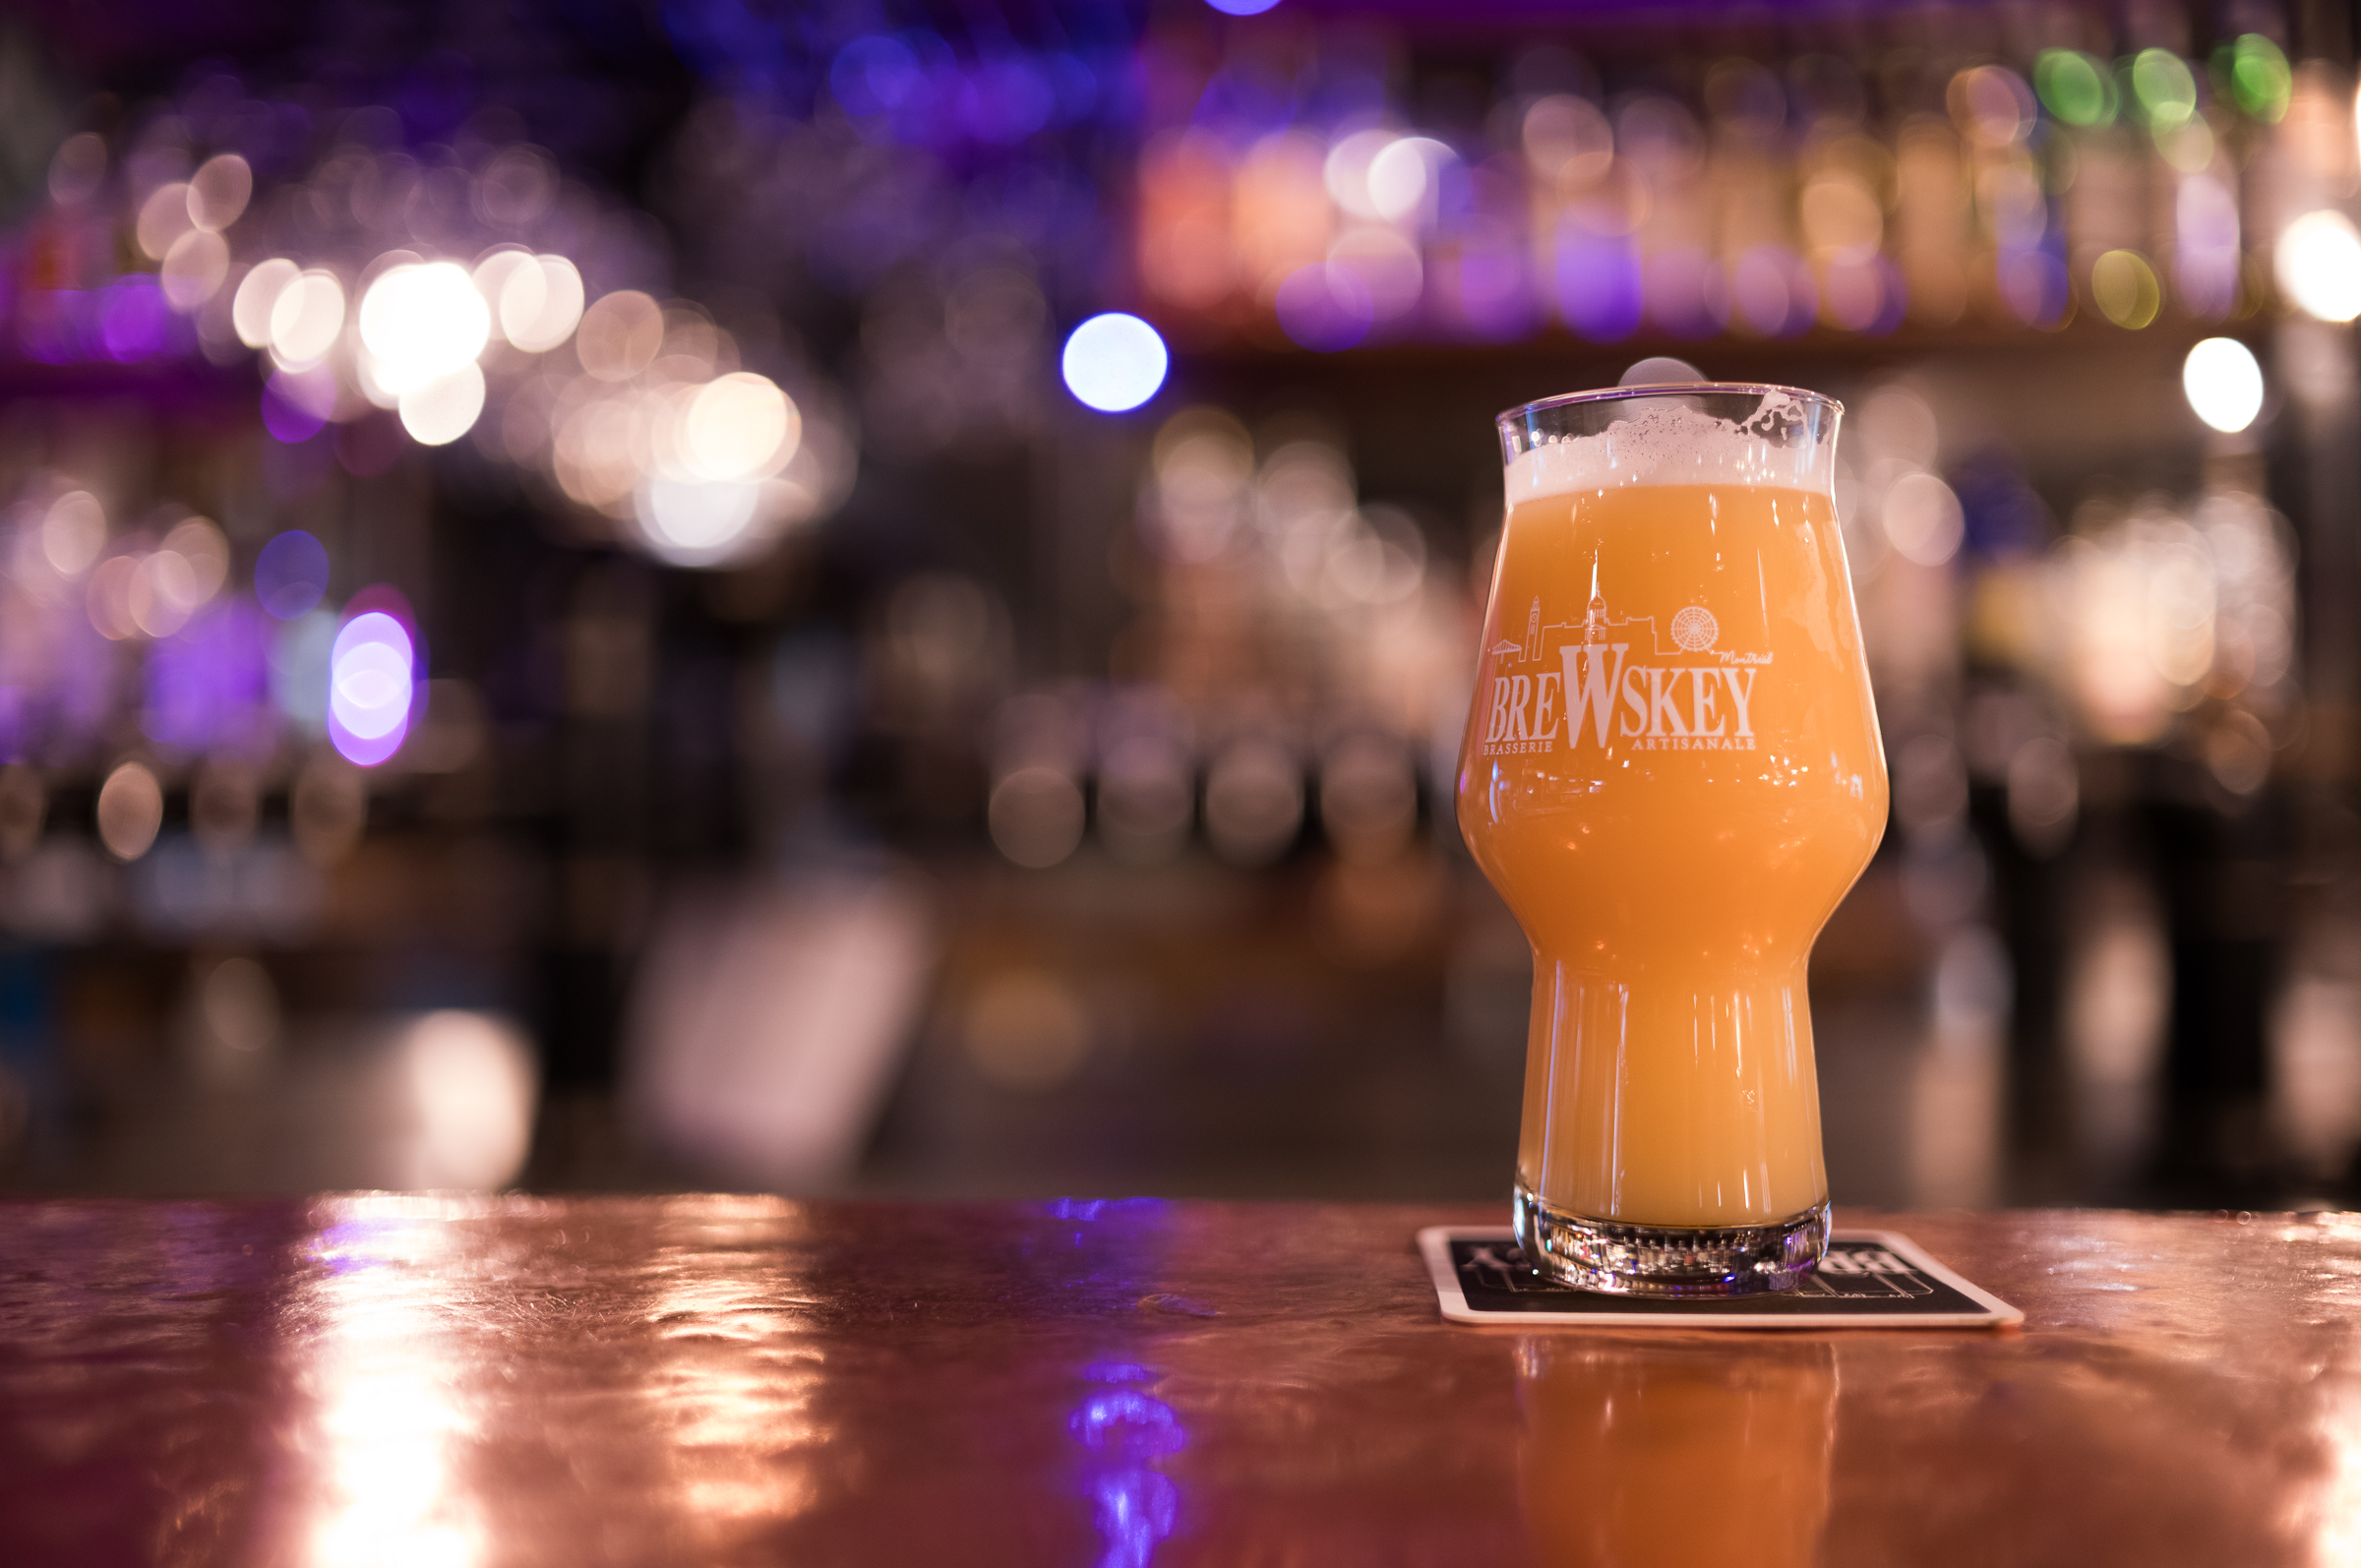
for the next little while. I check with Siri…“Hey Siri, find brewpubs near me!”. She responds
with Brasserie Mcauslan, one that I am very familiar with from my days living in Toronto years ago.
According to Siri, it’s going to be about an hour’s
walking along the canal to get there, so probably about two or three hours in photographer’s time.
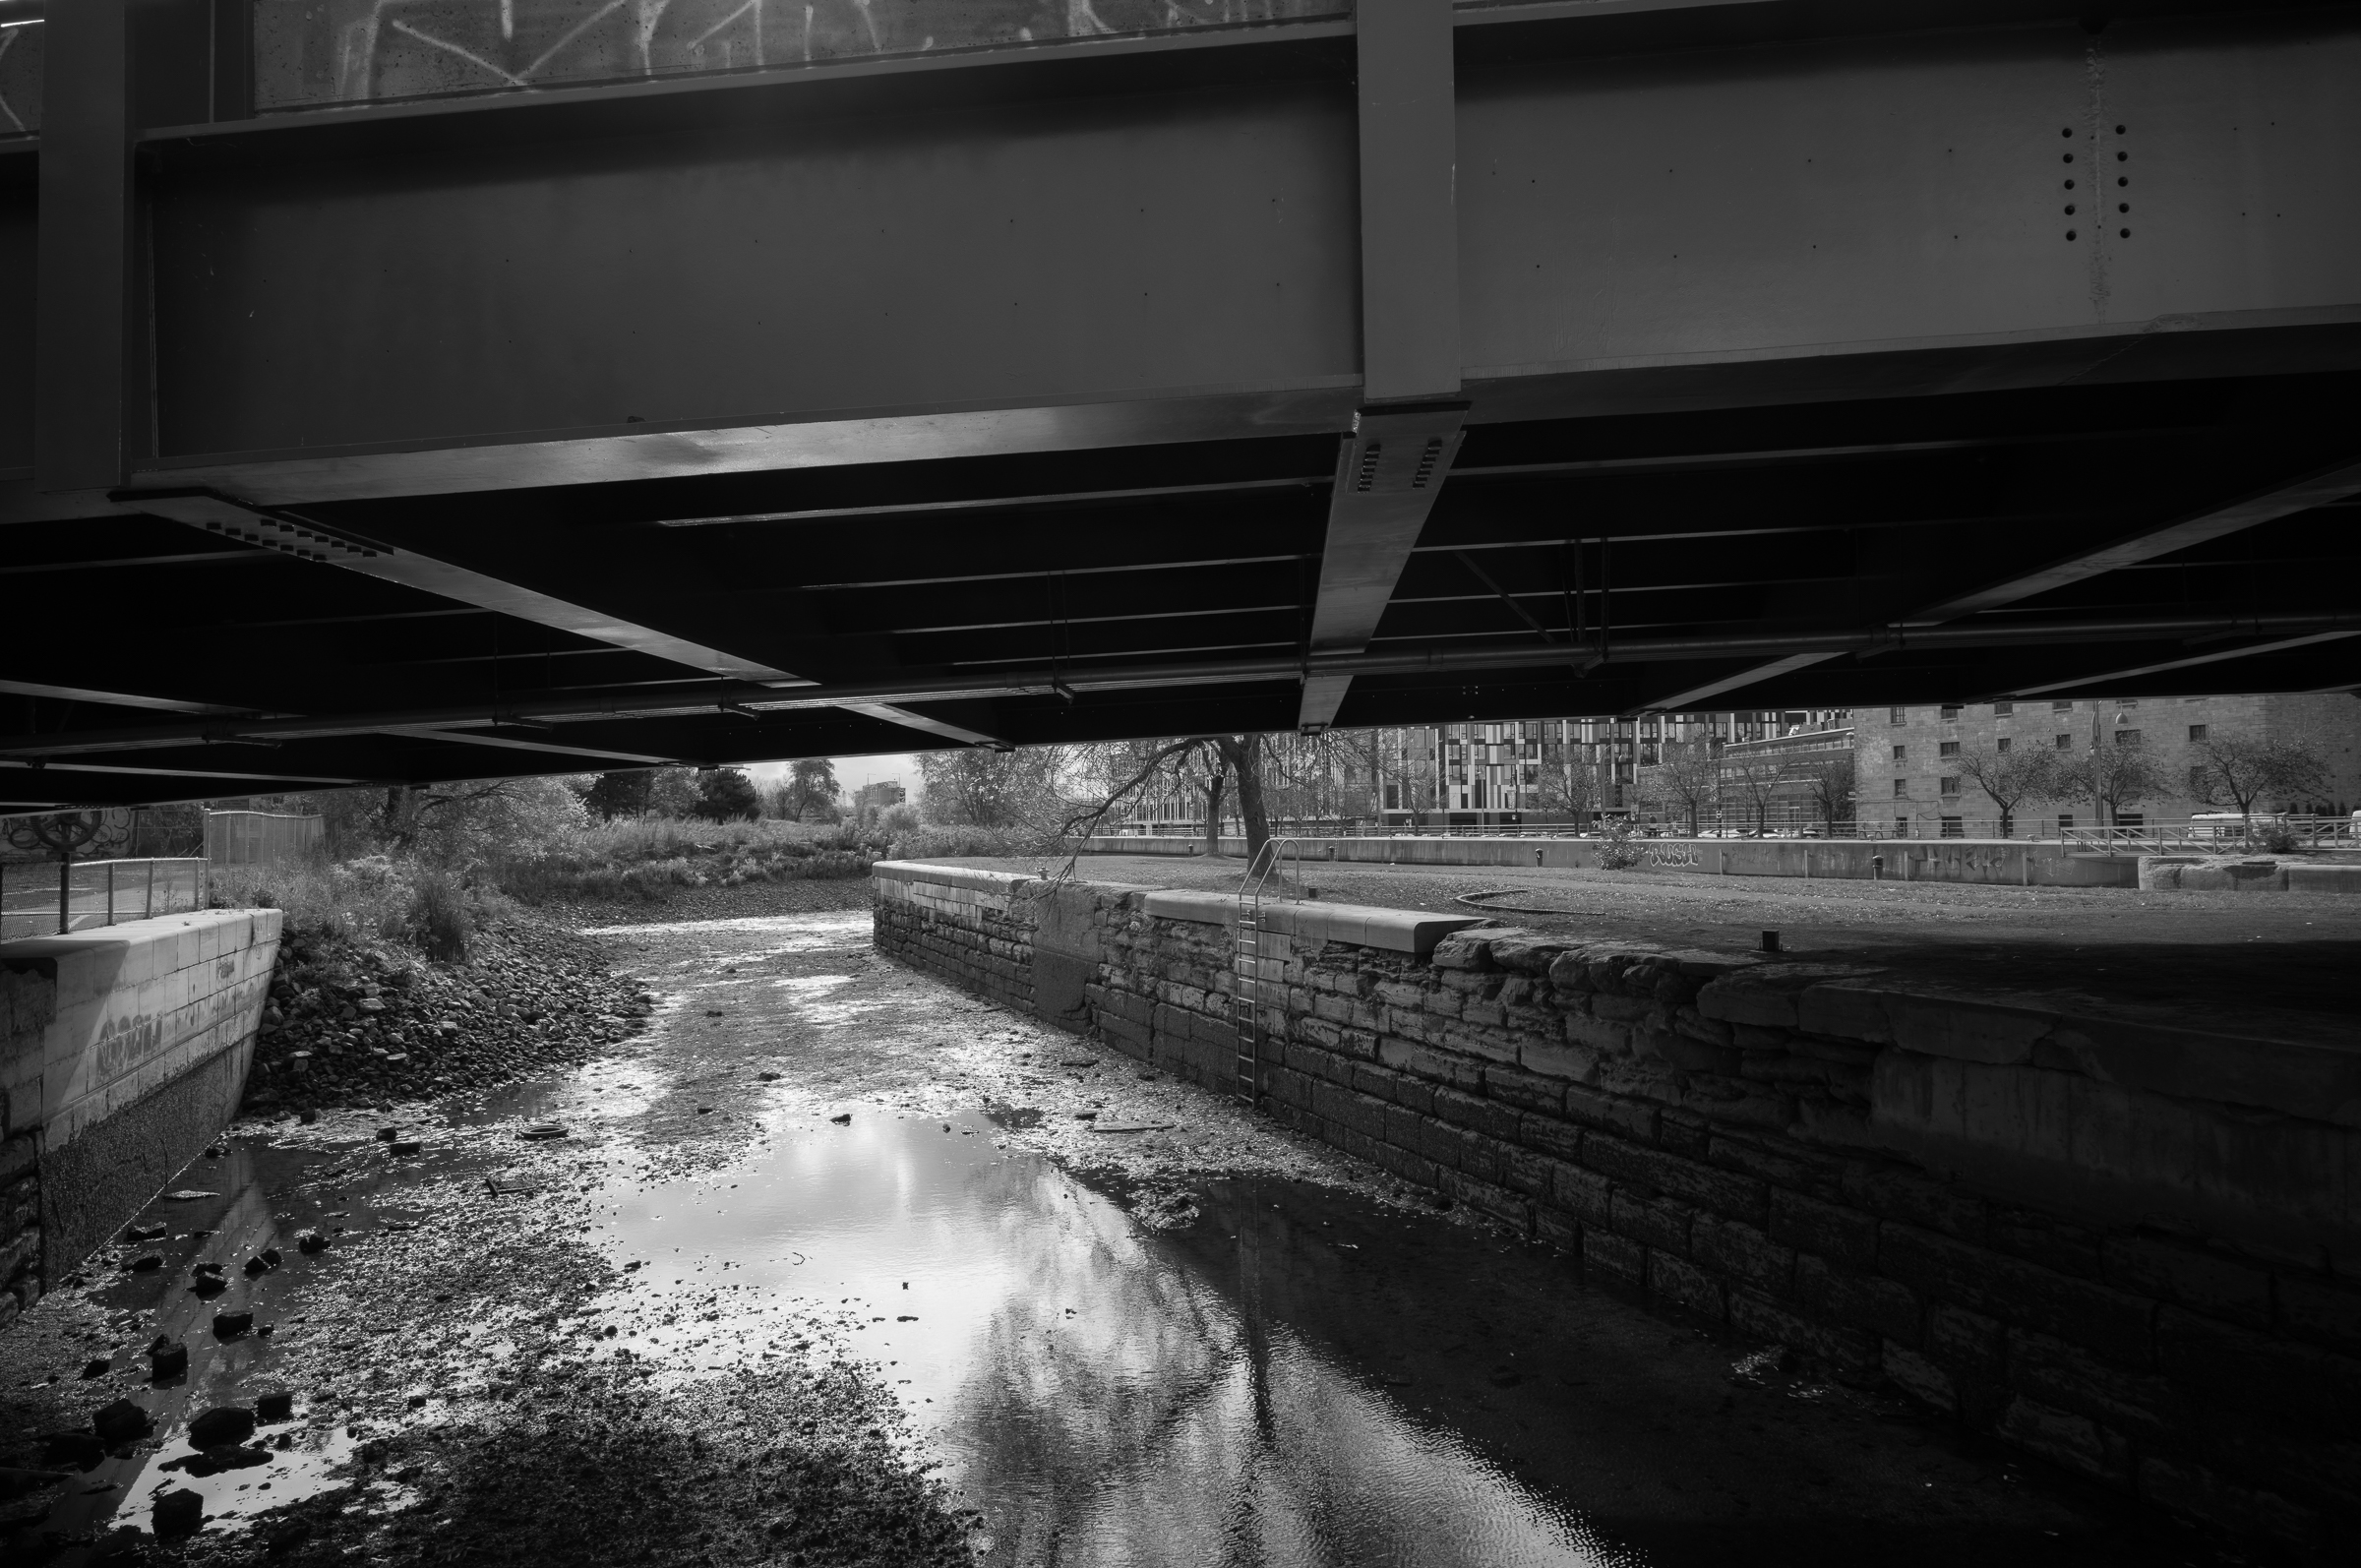


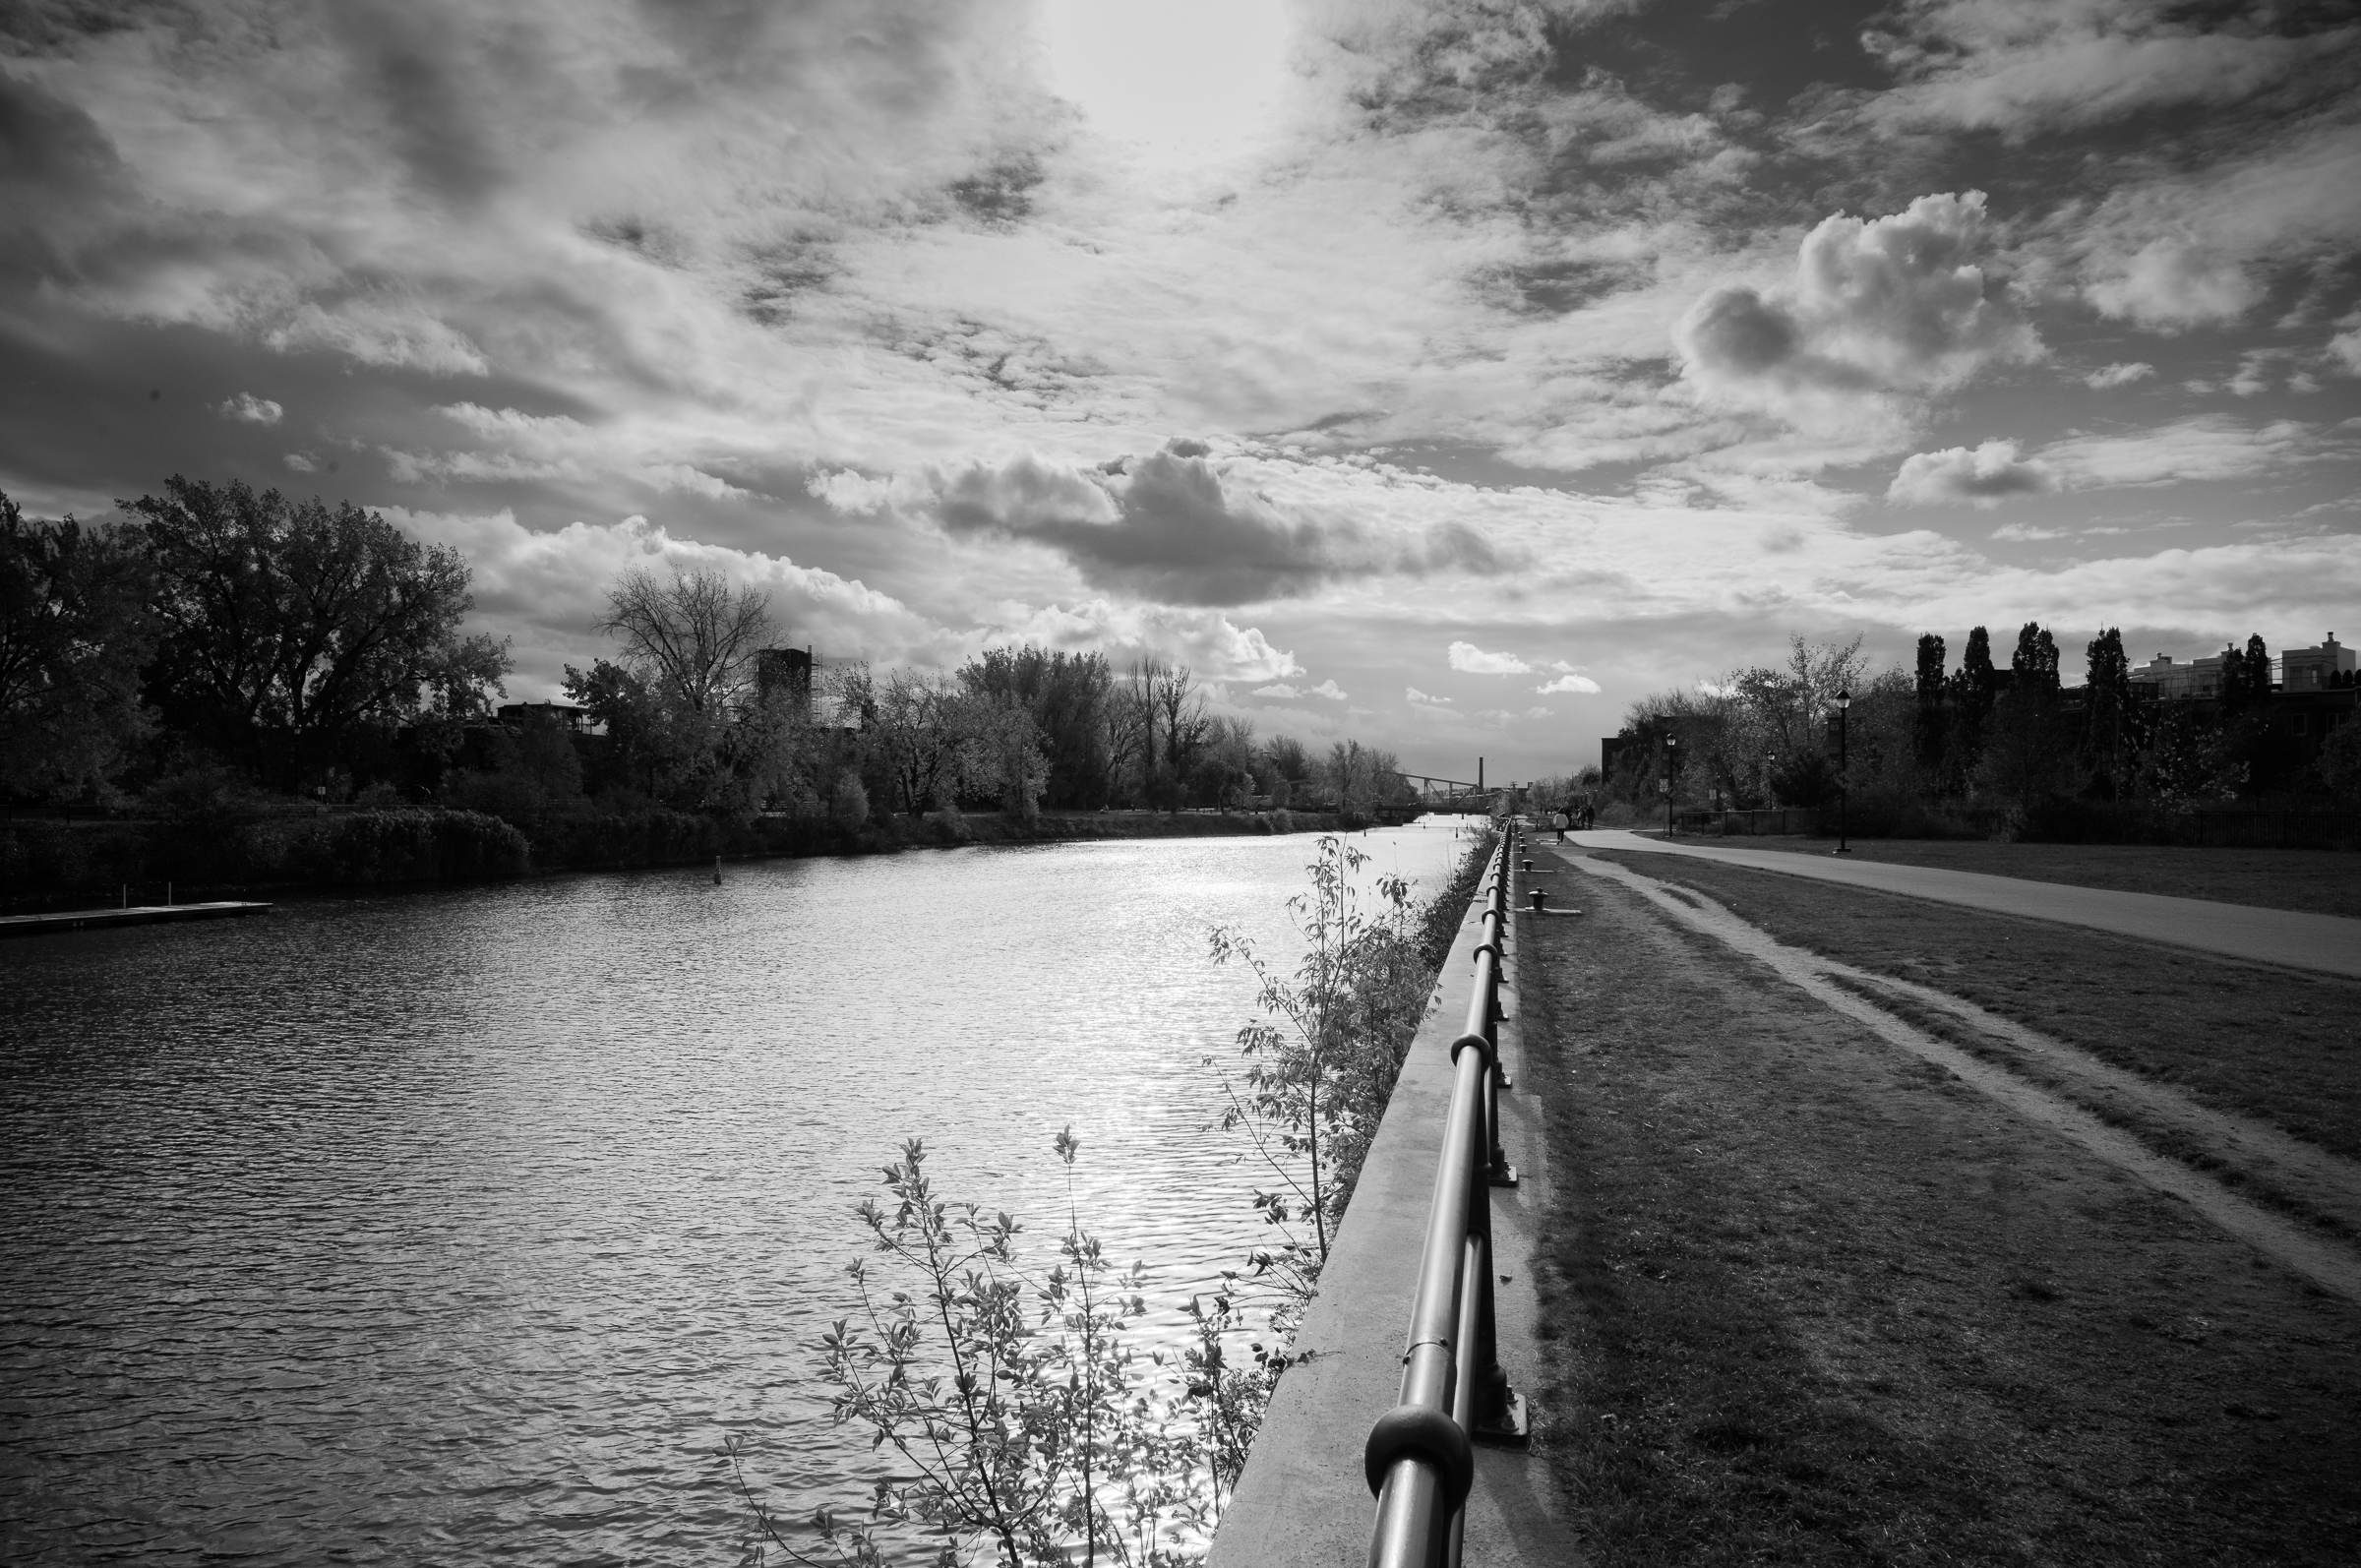
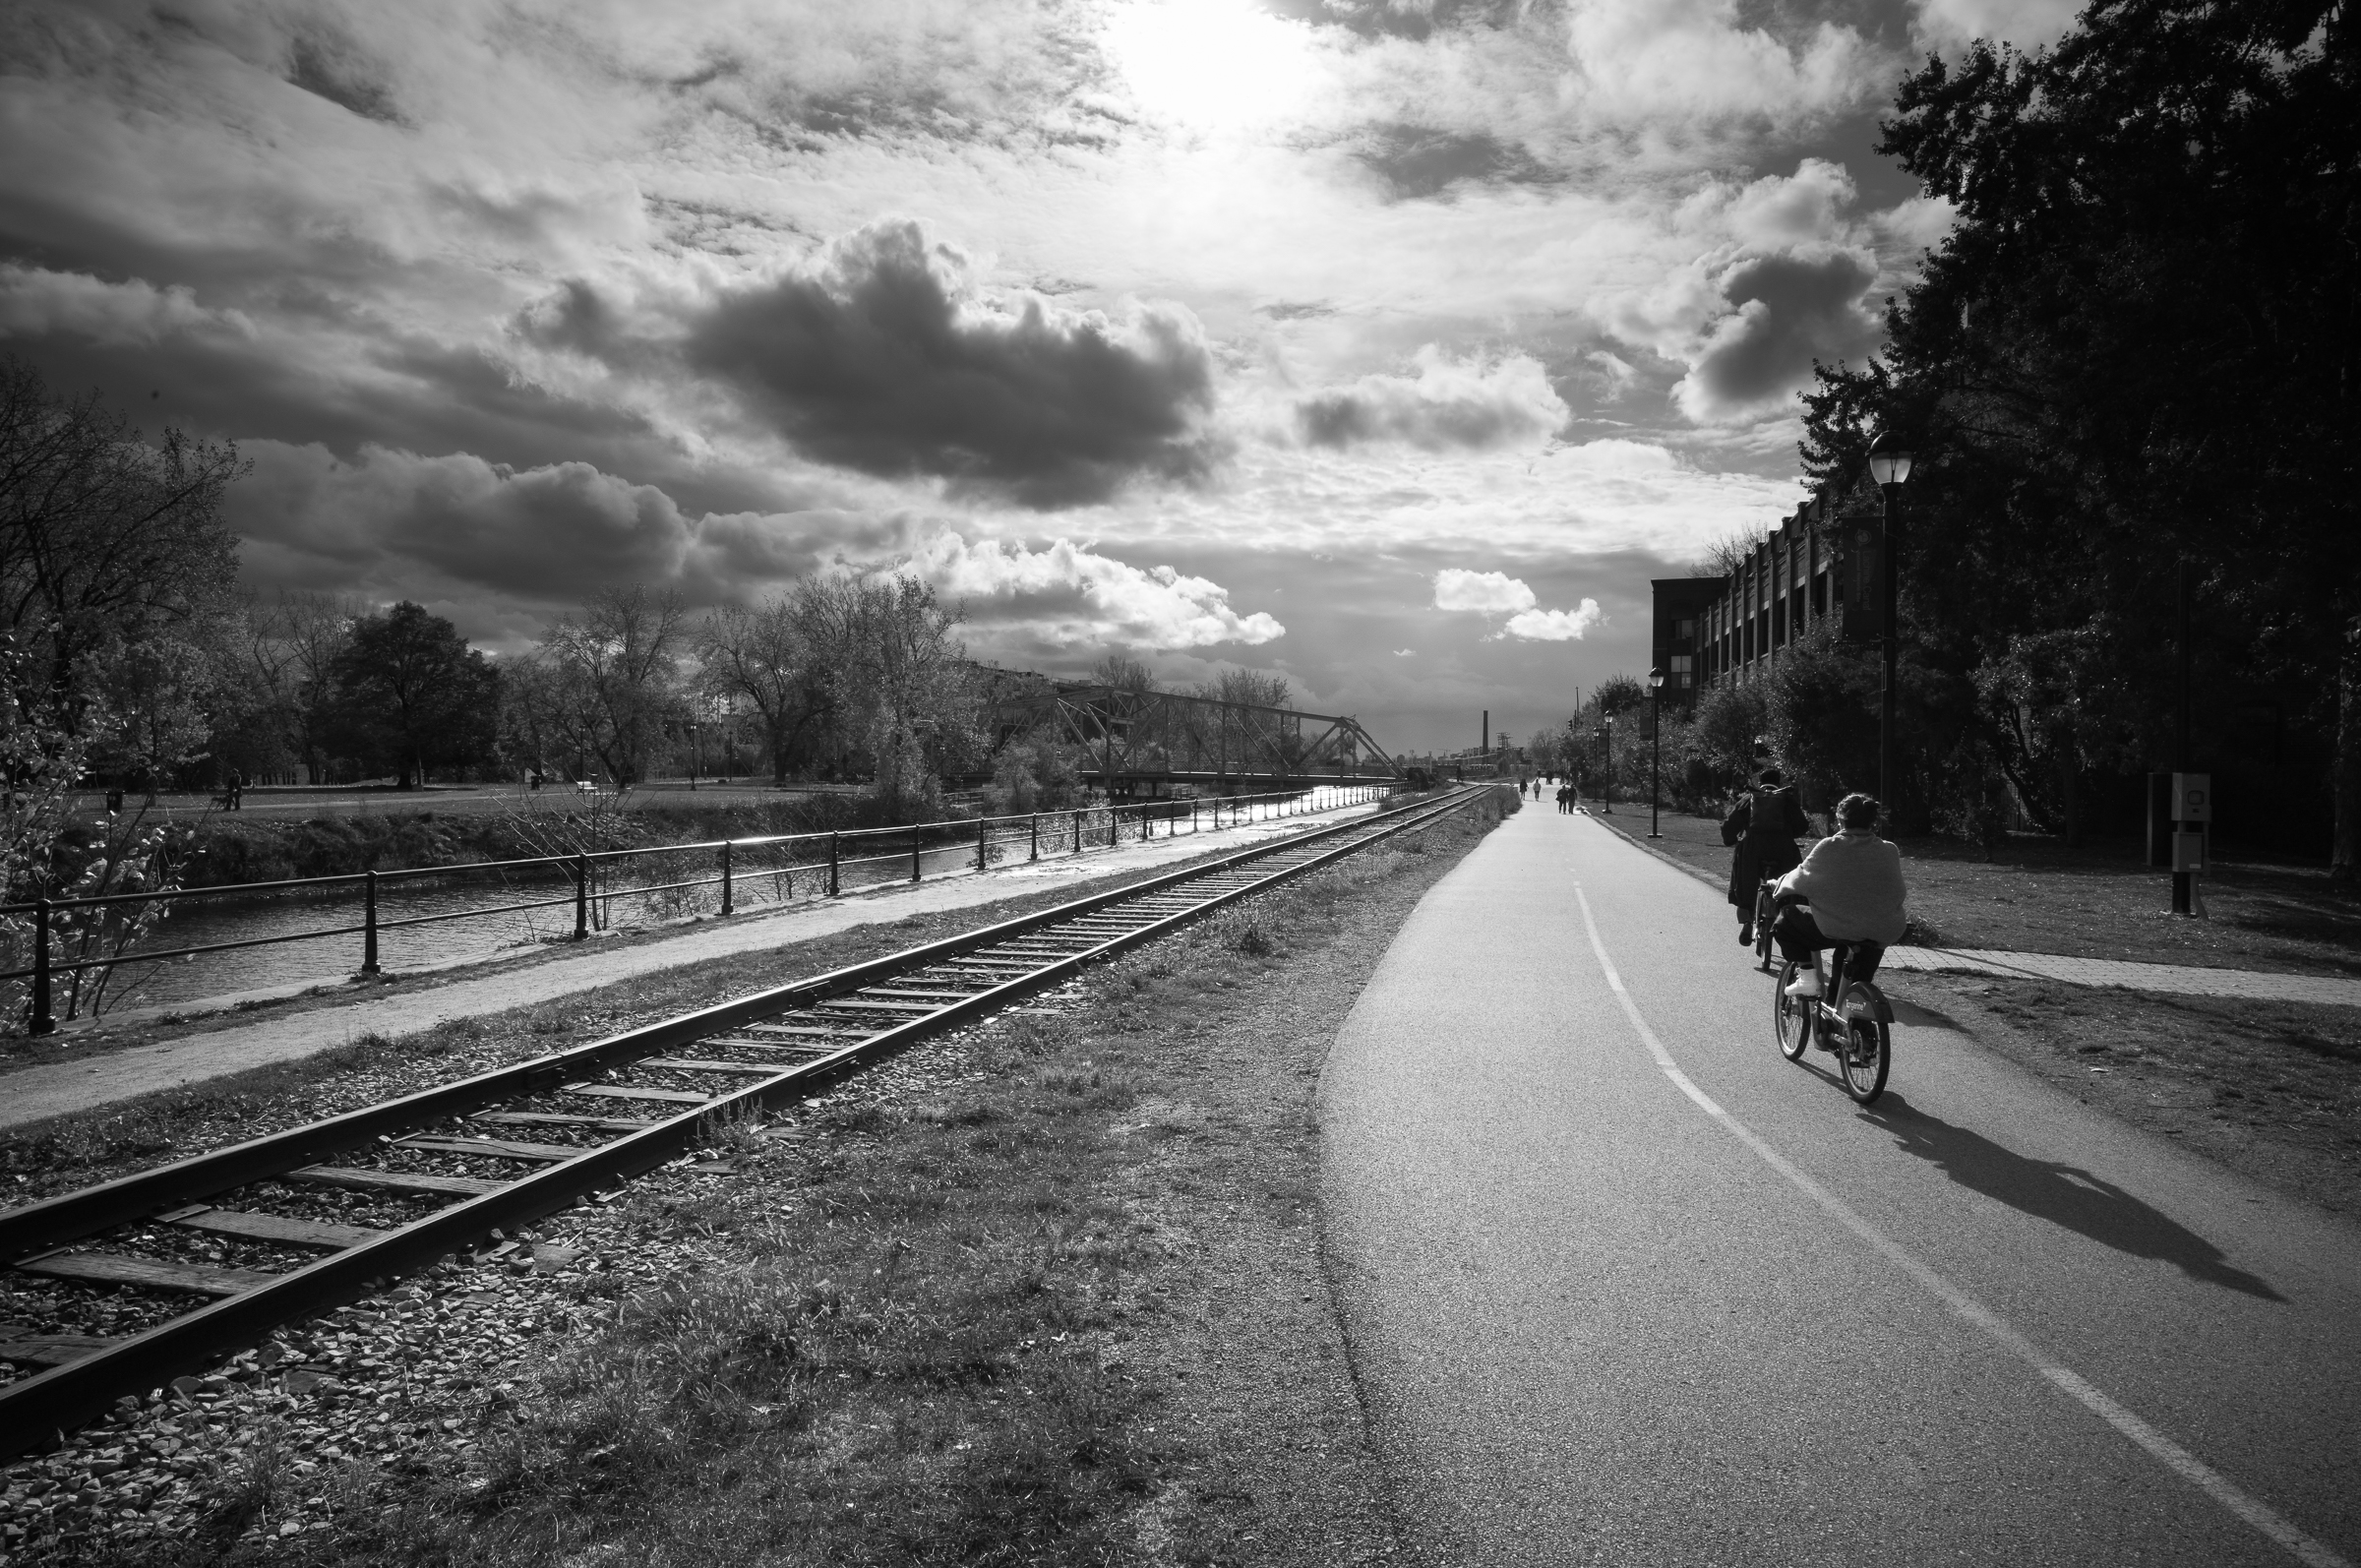
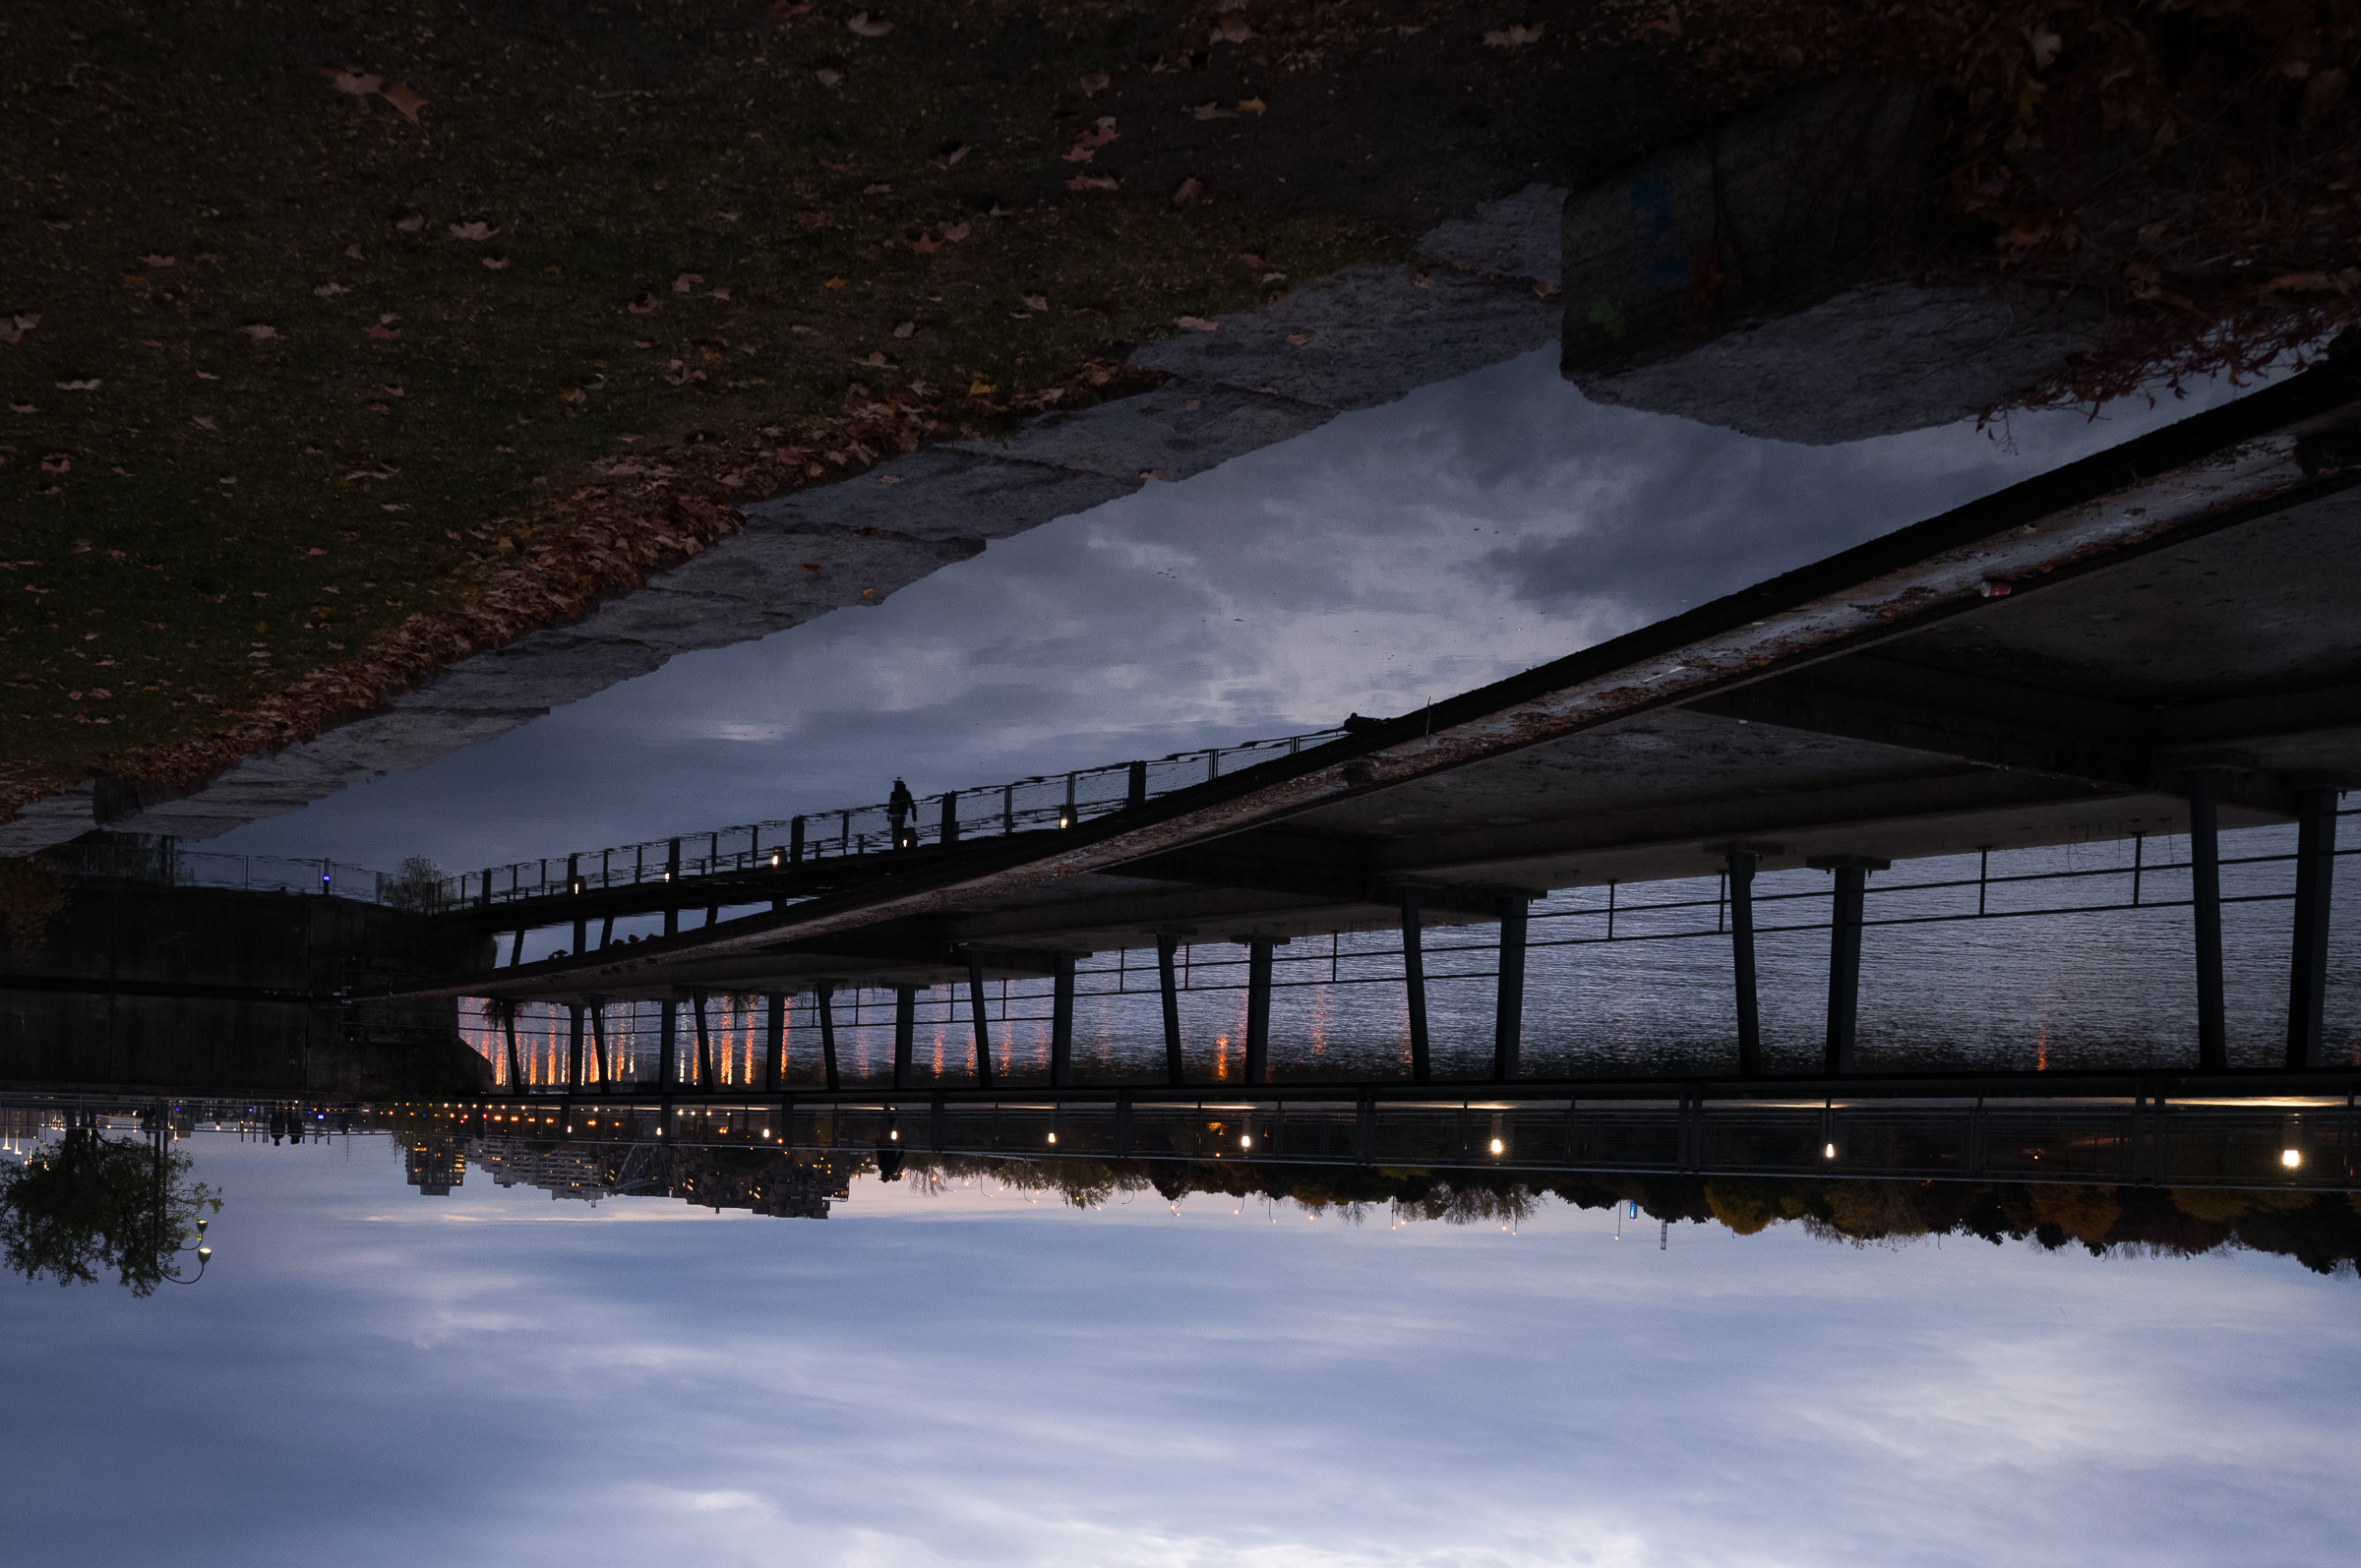
The canal itself is 14.5km (9 miles) long. The bike path is really great as it’s pretty much continuous with lots of under/over passes and just few road crossings. The canal was built in the early 1820s and closed in 1970 and is now operated by Park’s Canada. I did not walk the entire length of the canal but when I got back to the hotel my phone had me down for walking about 25km for the day.
Yes, the clouds were really starting to look a bit ominous and I’m walking around with enough camera gear around my neck to buy a small island country. I’m mostly prepared but it’s going to be a tight squeeze to get both cameras into my bag, which usually only fits one.


Unfortunately, Siri led my wrong. The brewery was closed for the season. So, so far, great walk, soaking wet, no beer, and a very long way back to the hotel.
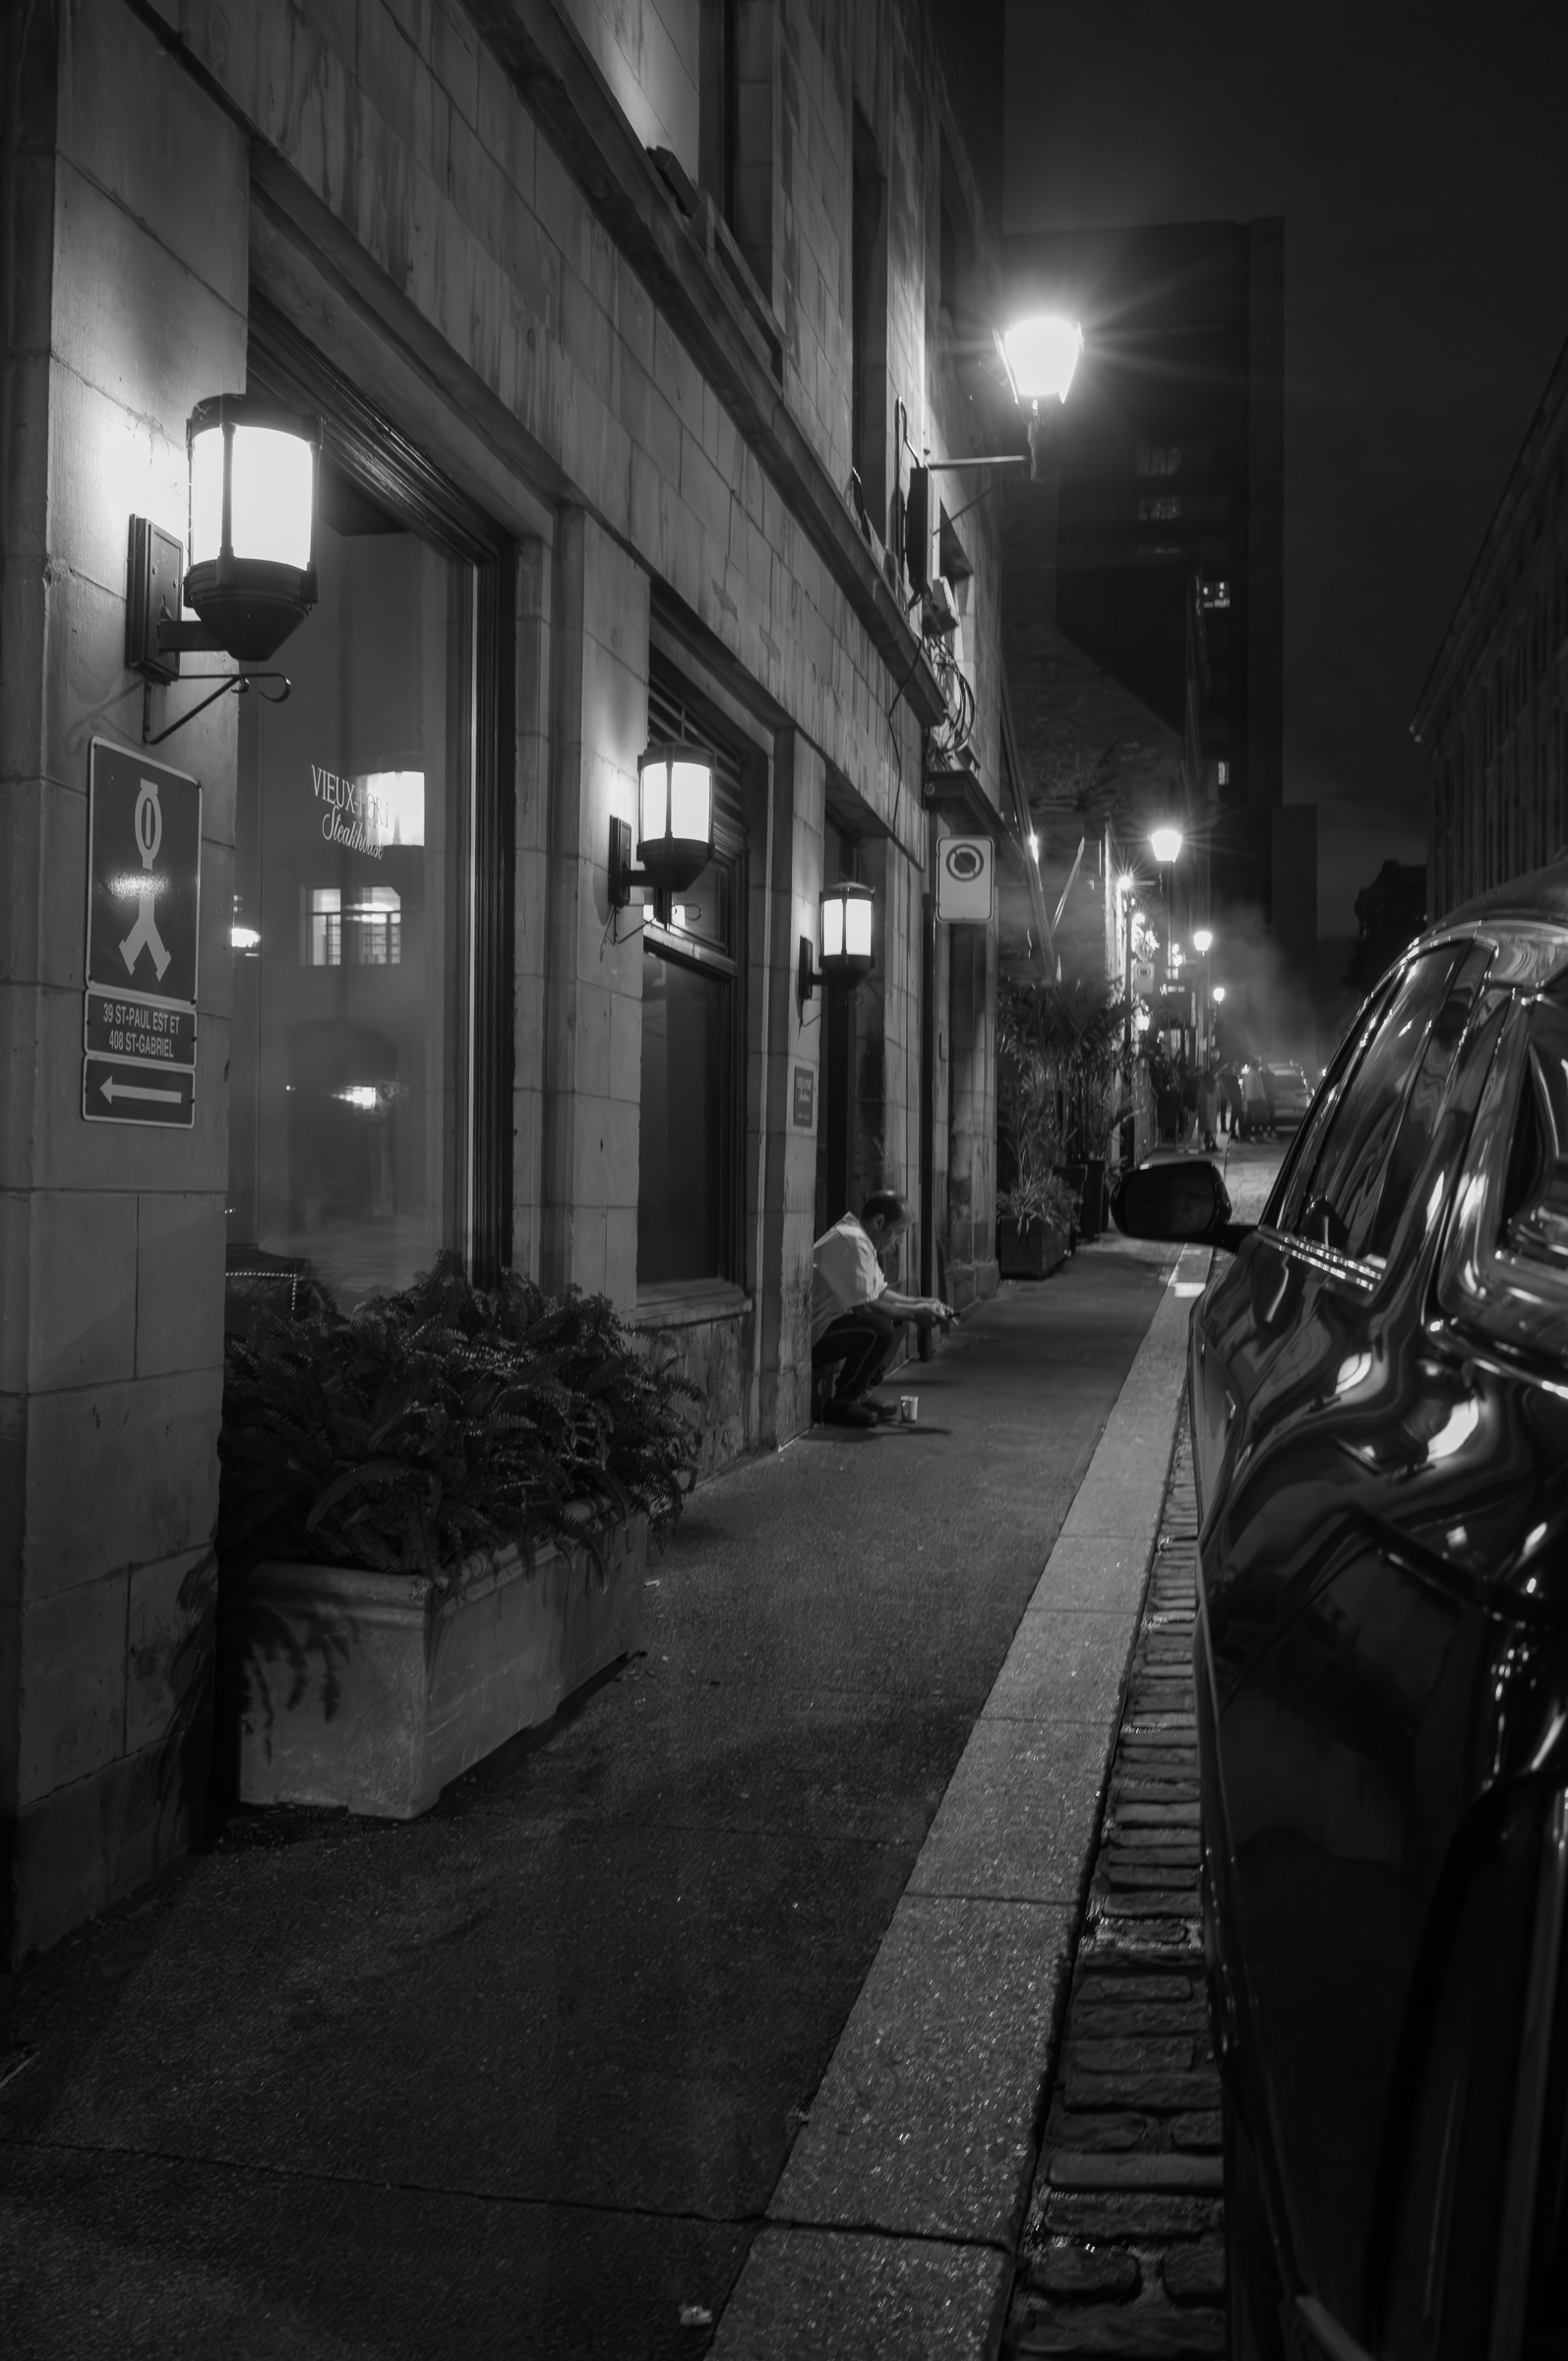
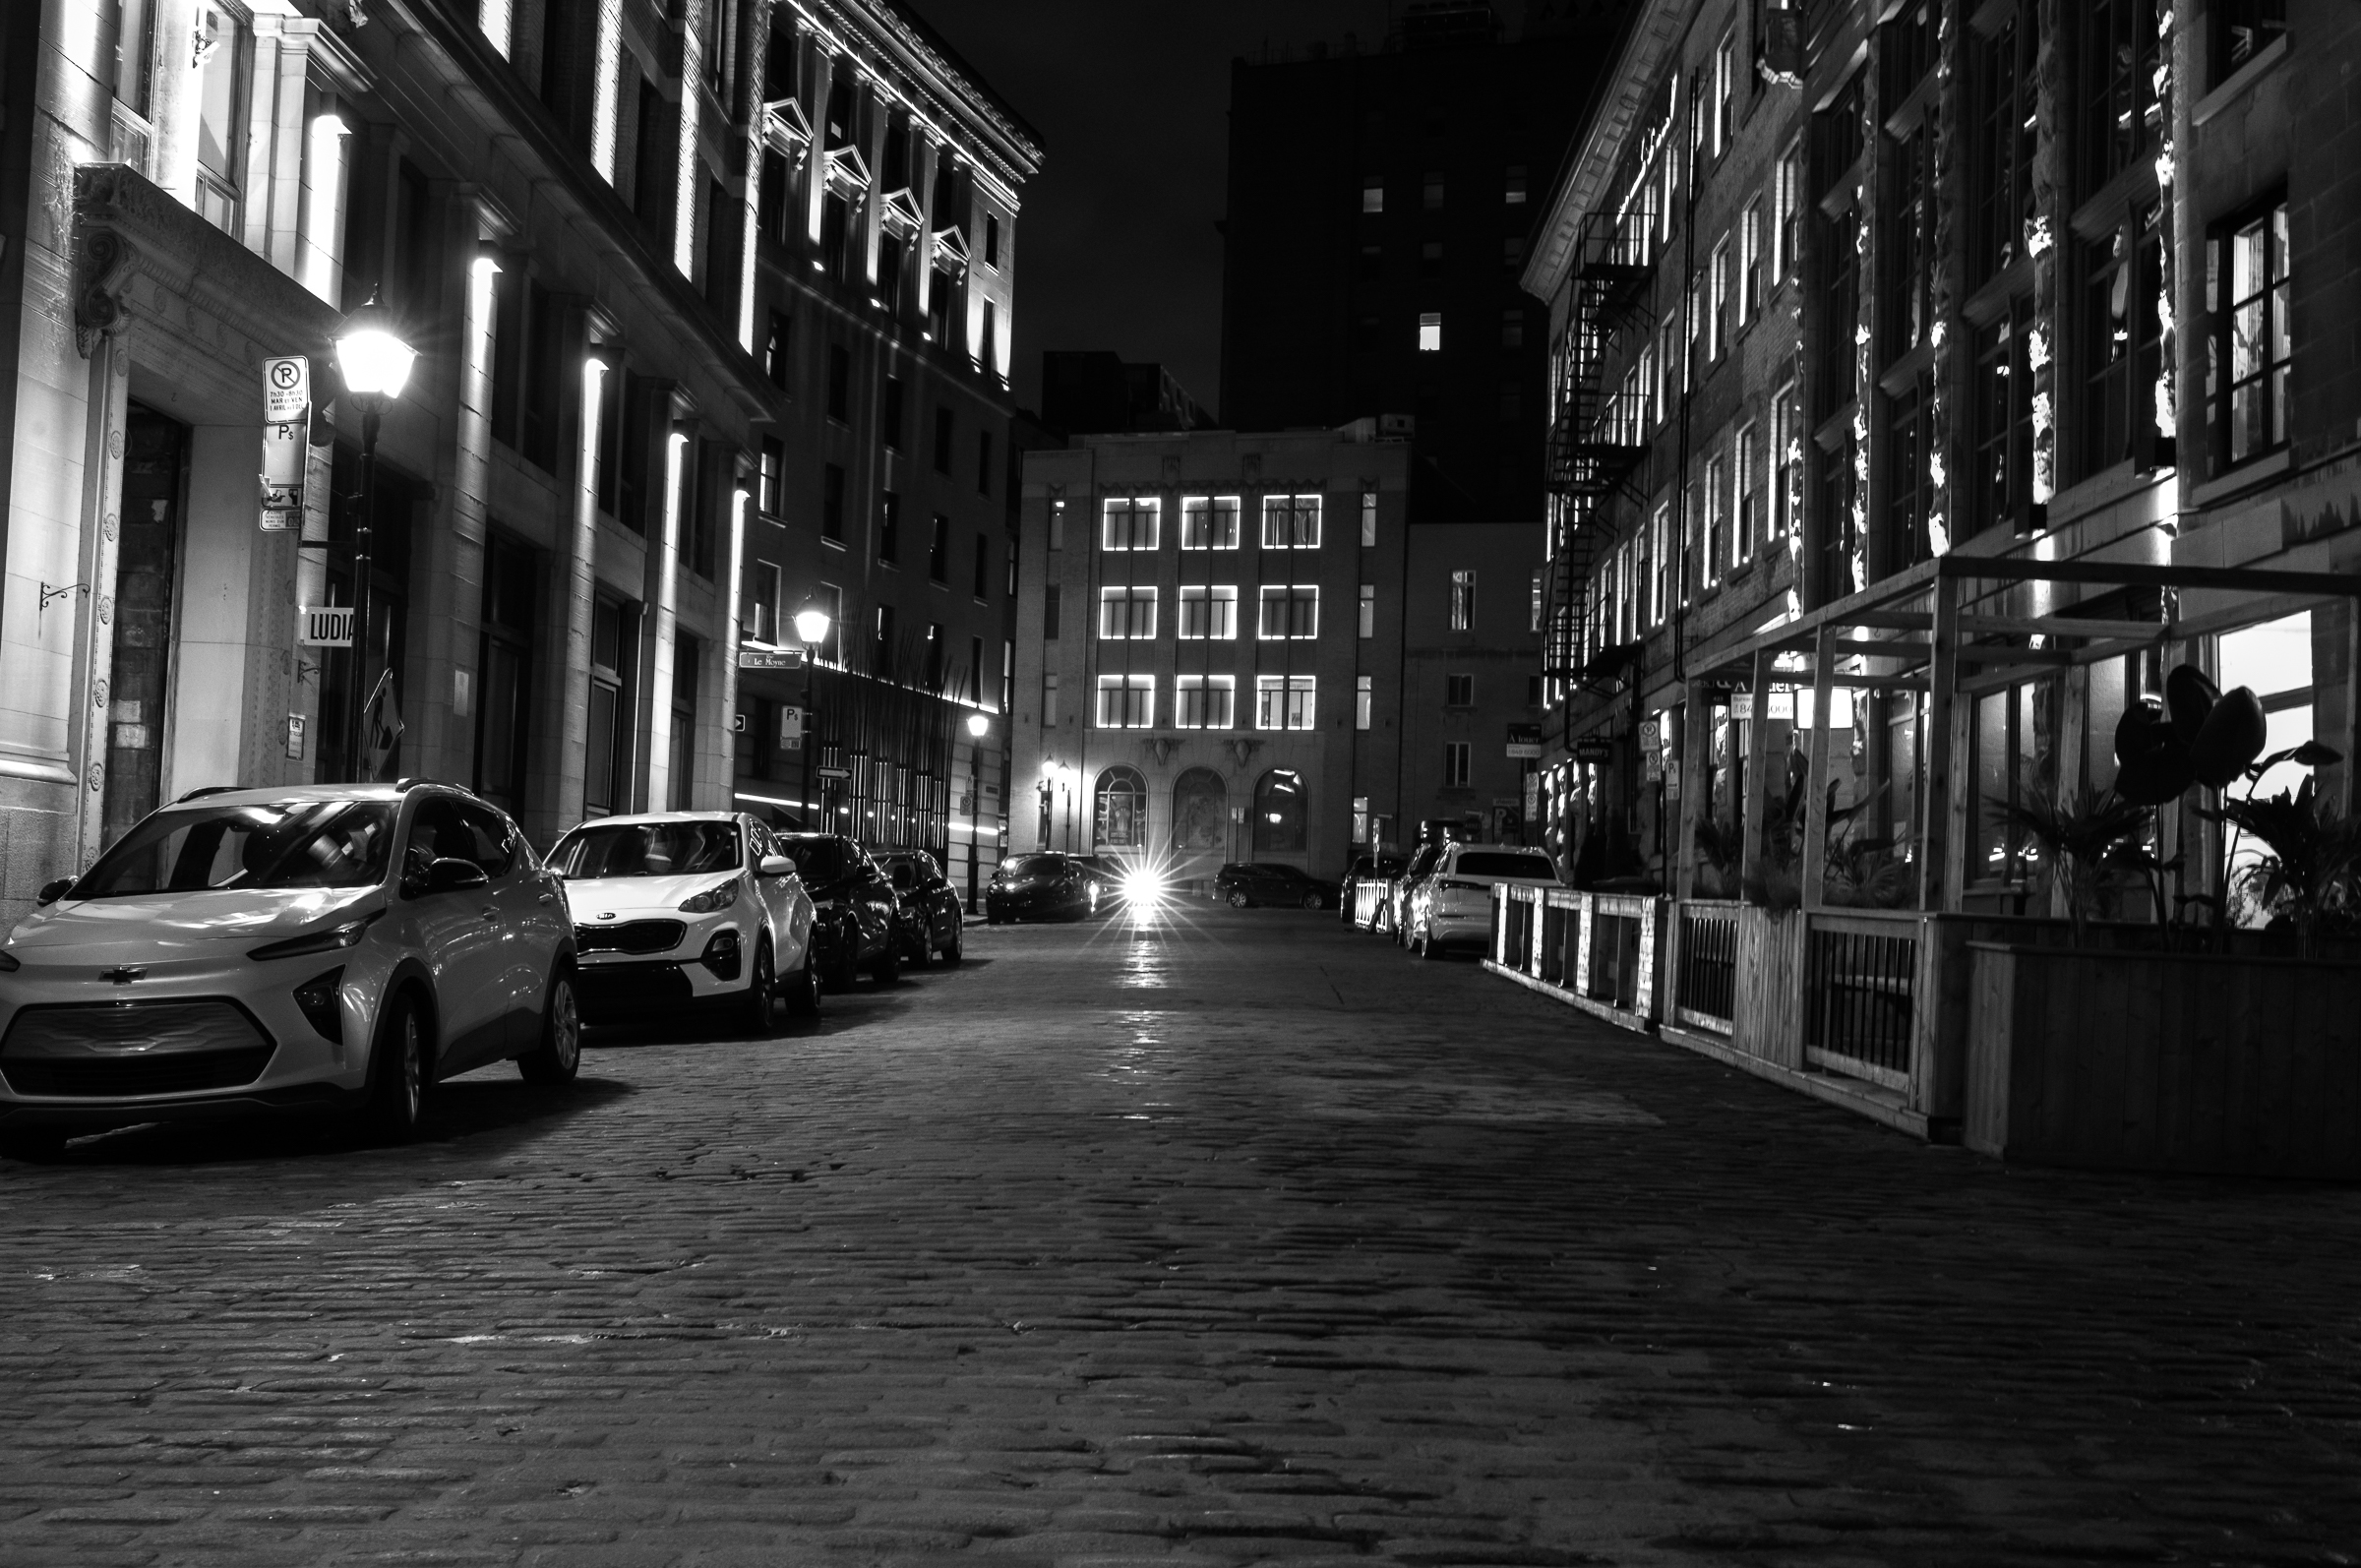
Monochrom at Night#
From what I understand, the Monochrom really performs well in low-light conditions. So I figured I would take it out for a night on the town, see how things work out, maybe this could be the beginning of a wonderful new relationship :-). I left my M11 behind, she was jealous and drained her battery just to piss me off…
I have to admit, I rarely, if ever shoot my M11 at 1600 (or above) so this is a totally new experience for me. Maybe we should get a glass of wine and see where things lead?
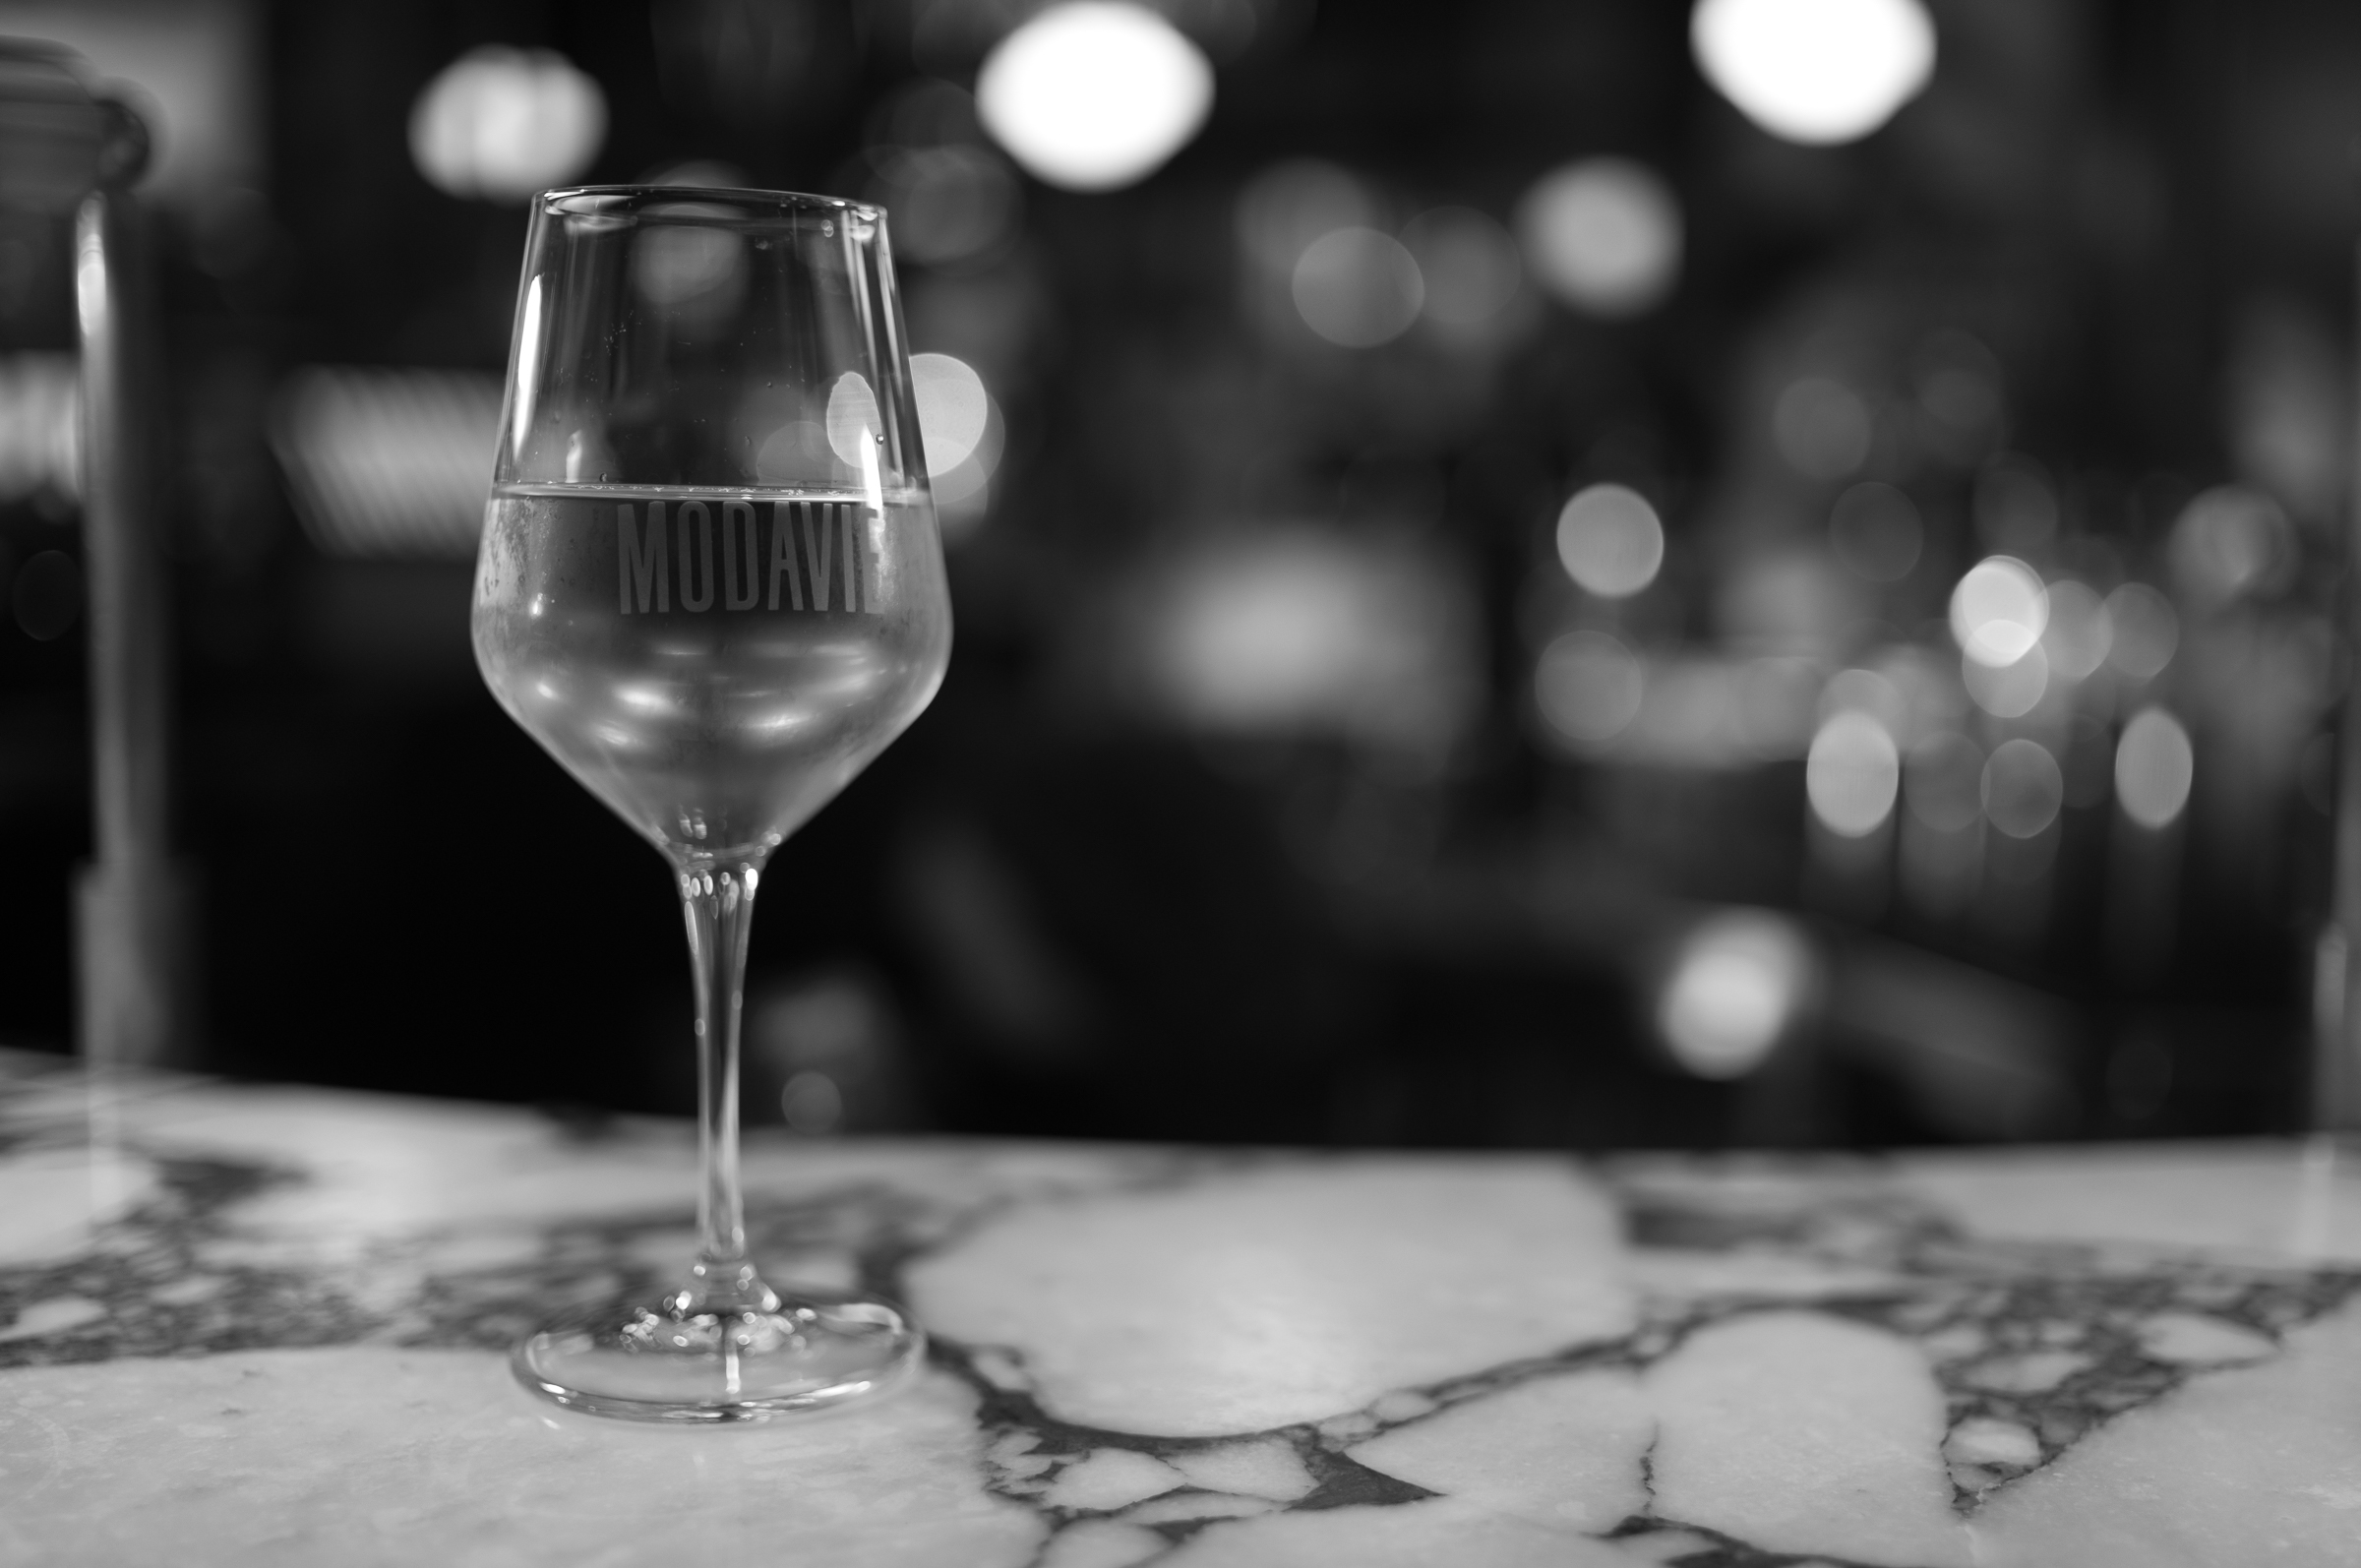
It handled the wine well, time to hit the street again - maybe jack the ISO up a few stops to 12,500. This should allow me to shoot a bit faster without sacrificing too much depth of field. Going from 1600 to 12,500 about three stops, so instead of shooting at 1/30s I can go up to 1/250, or go for more depth and still shoot at 1/60.
The Monochrom’s top ISO is 200,000. I just can’t do it, though. I don’t really have a reason to push it much higher. Going from 12,500 to 200,000 is roughly 4 stops. That’s a massive range and I’m kicking myself a bit for not really pushing the limits on the camera. Anyway, two more shots and then it’s time to go to bed.

Speaking of shots, it was around this time that I would end up at a bar sitting between two guys from Calgary and two local guys from Montréal watching the Montréal/Calgary hockey game. Lots of friendly banter and lots of fun until they figured out I was from Toronto…it seems that everybody in Canada hates Toronto - what is that about?
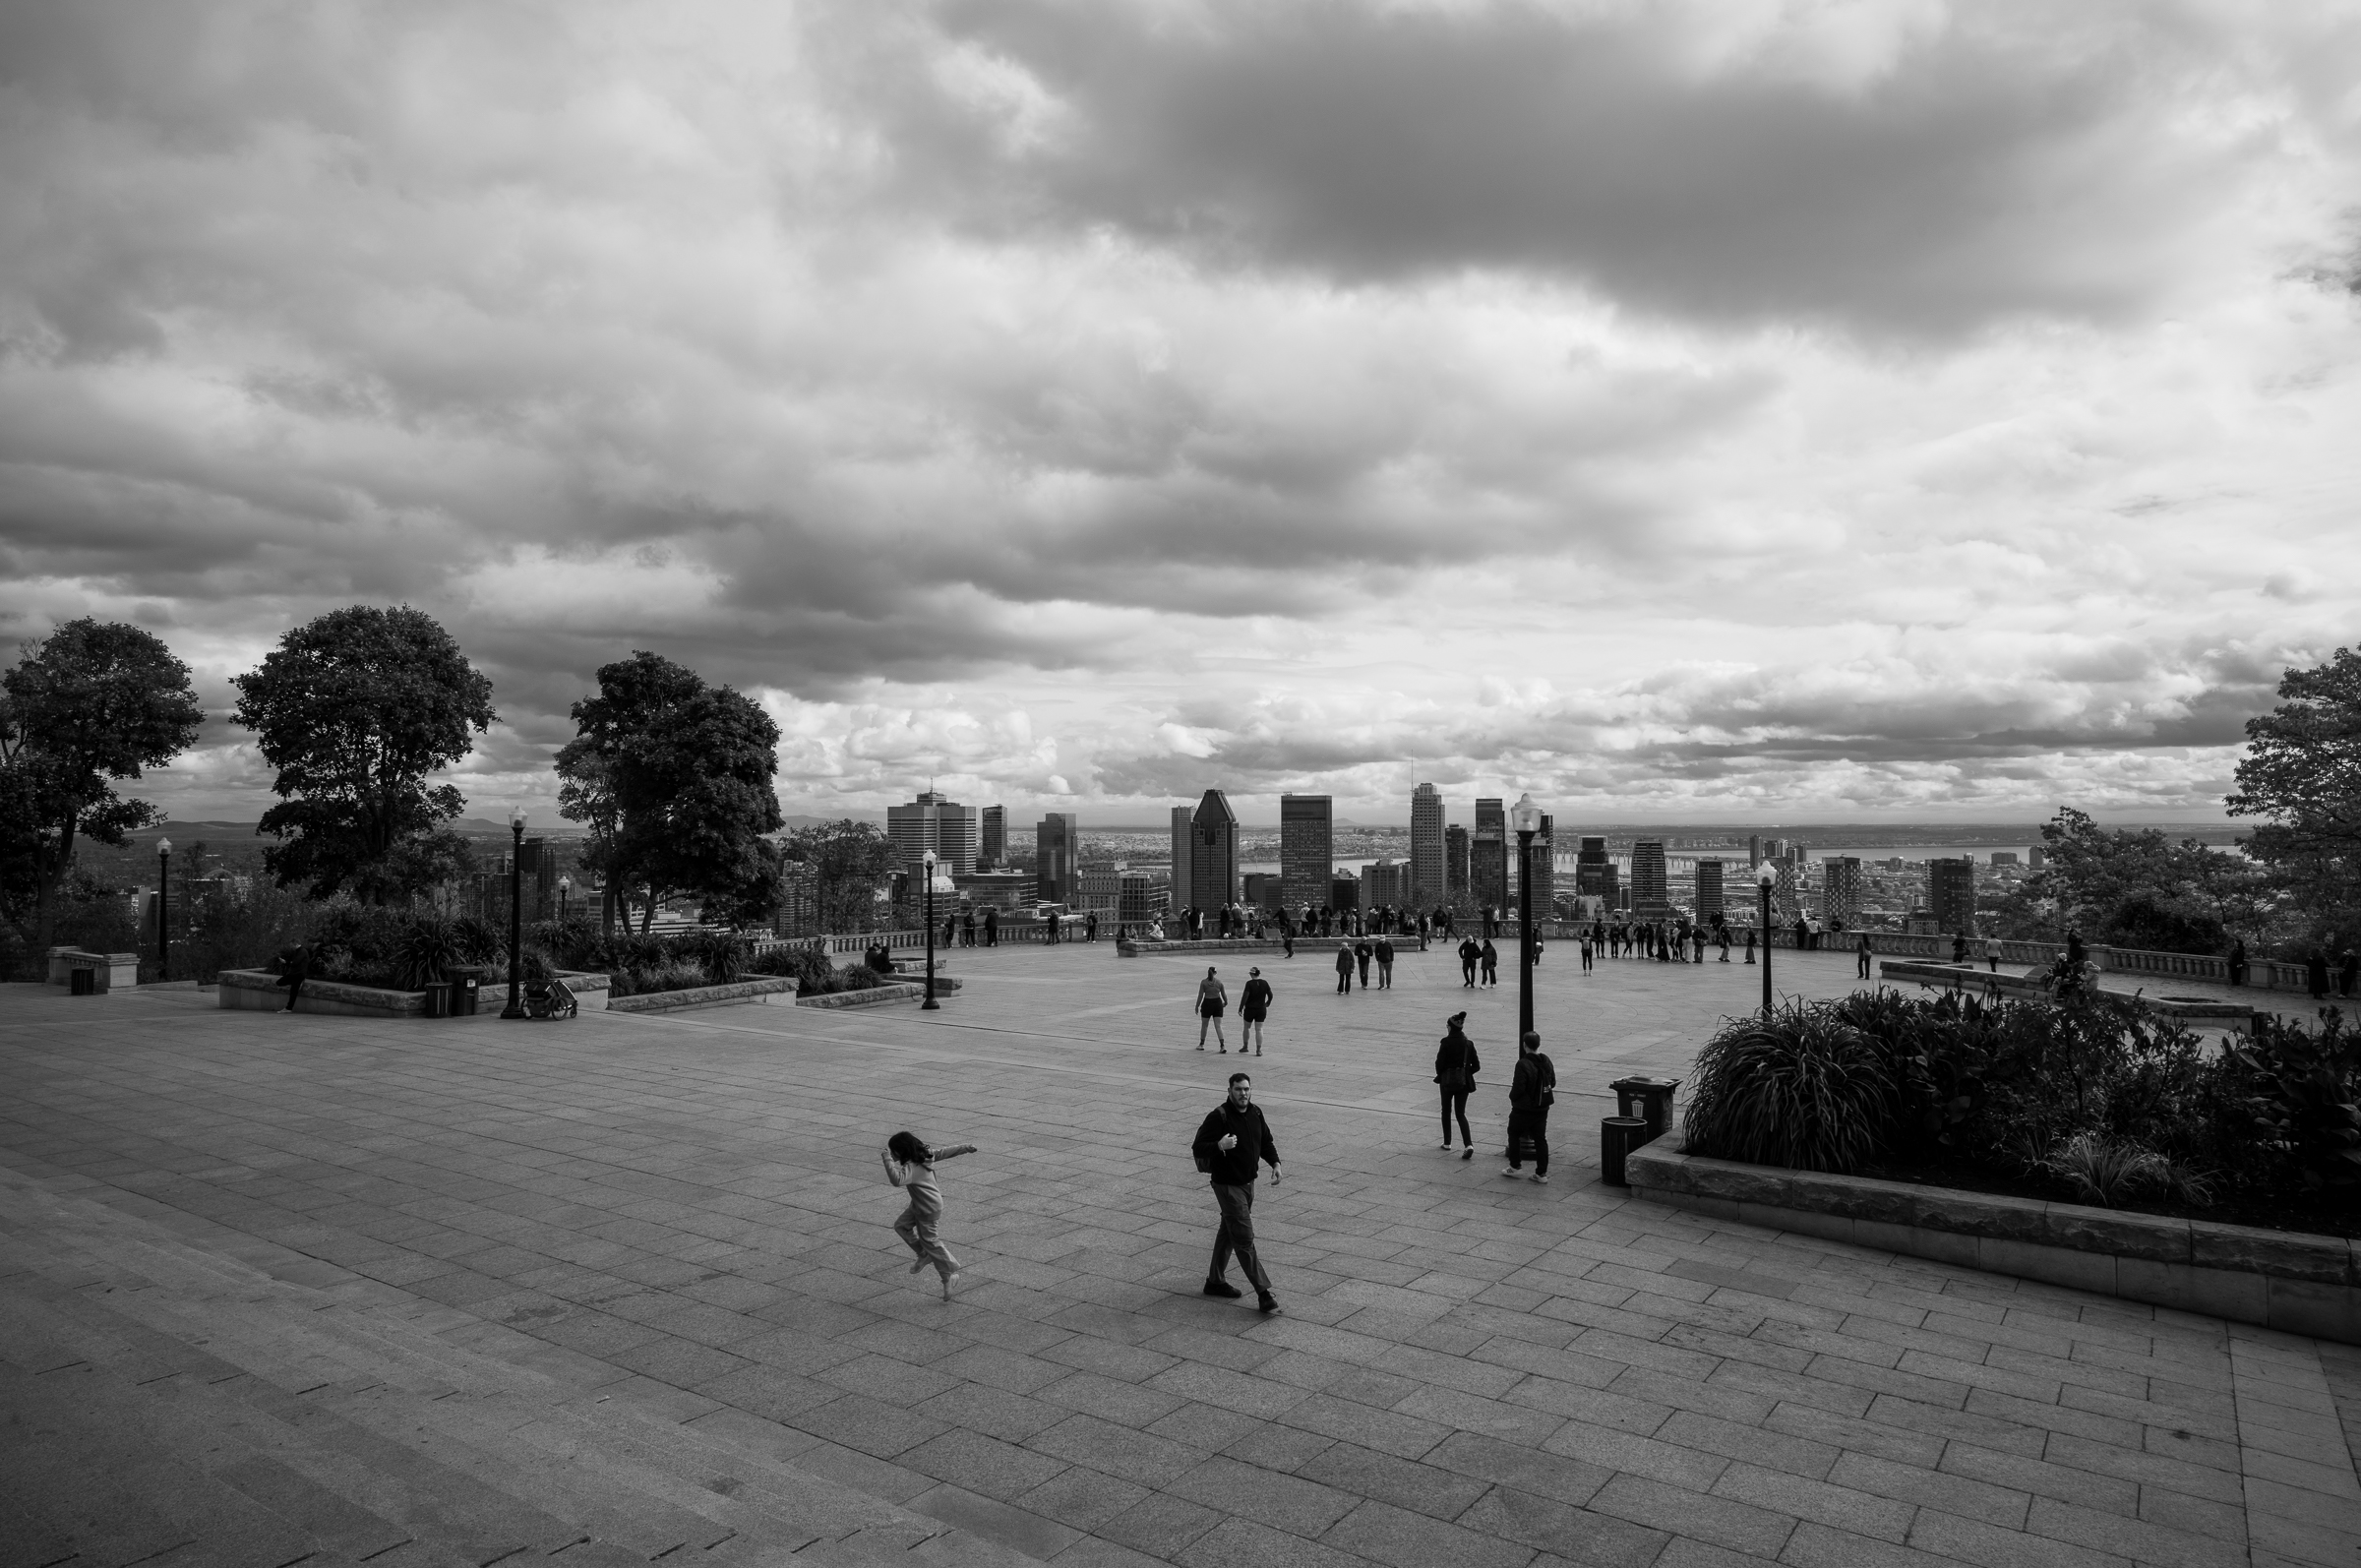
Day Four: Climb Every Mountain!#
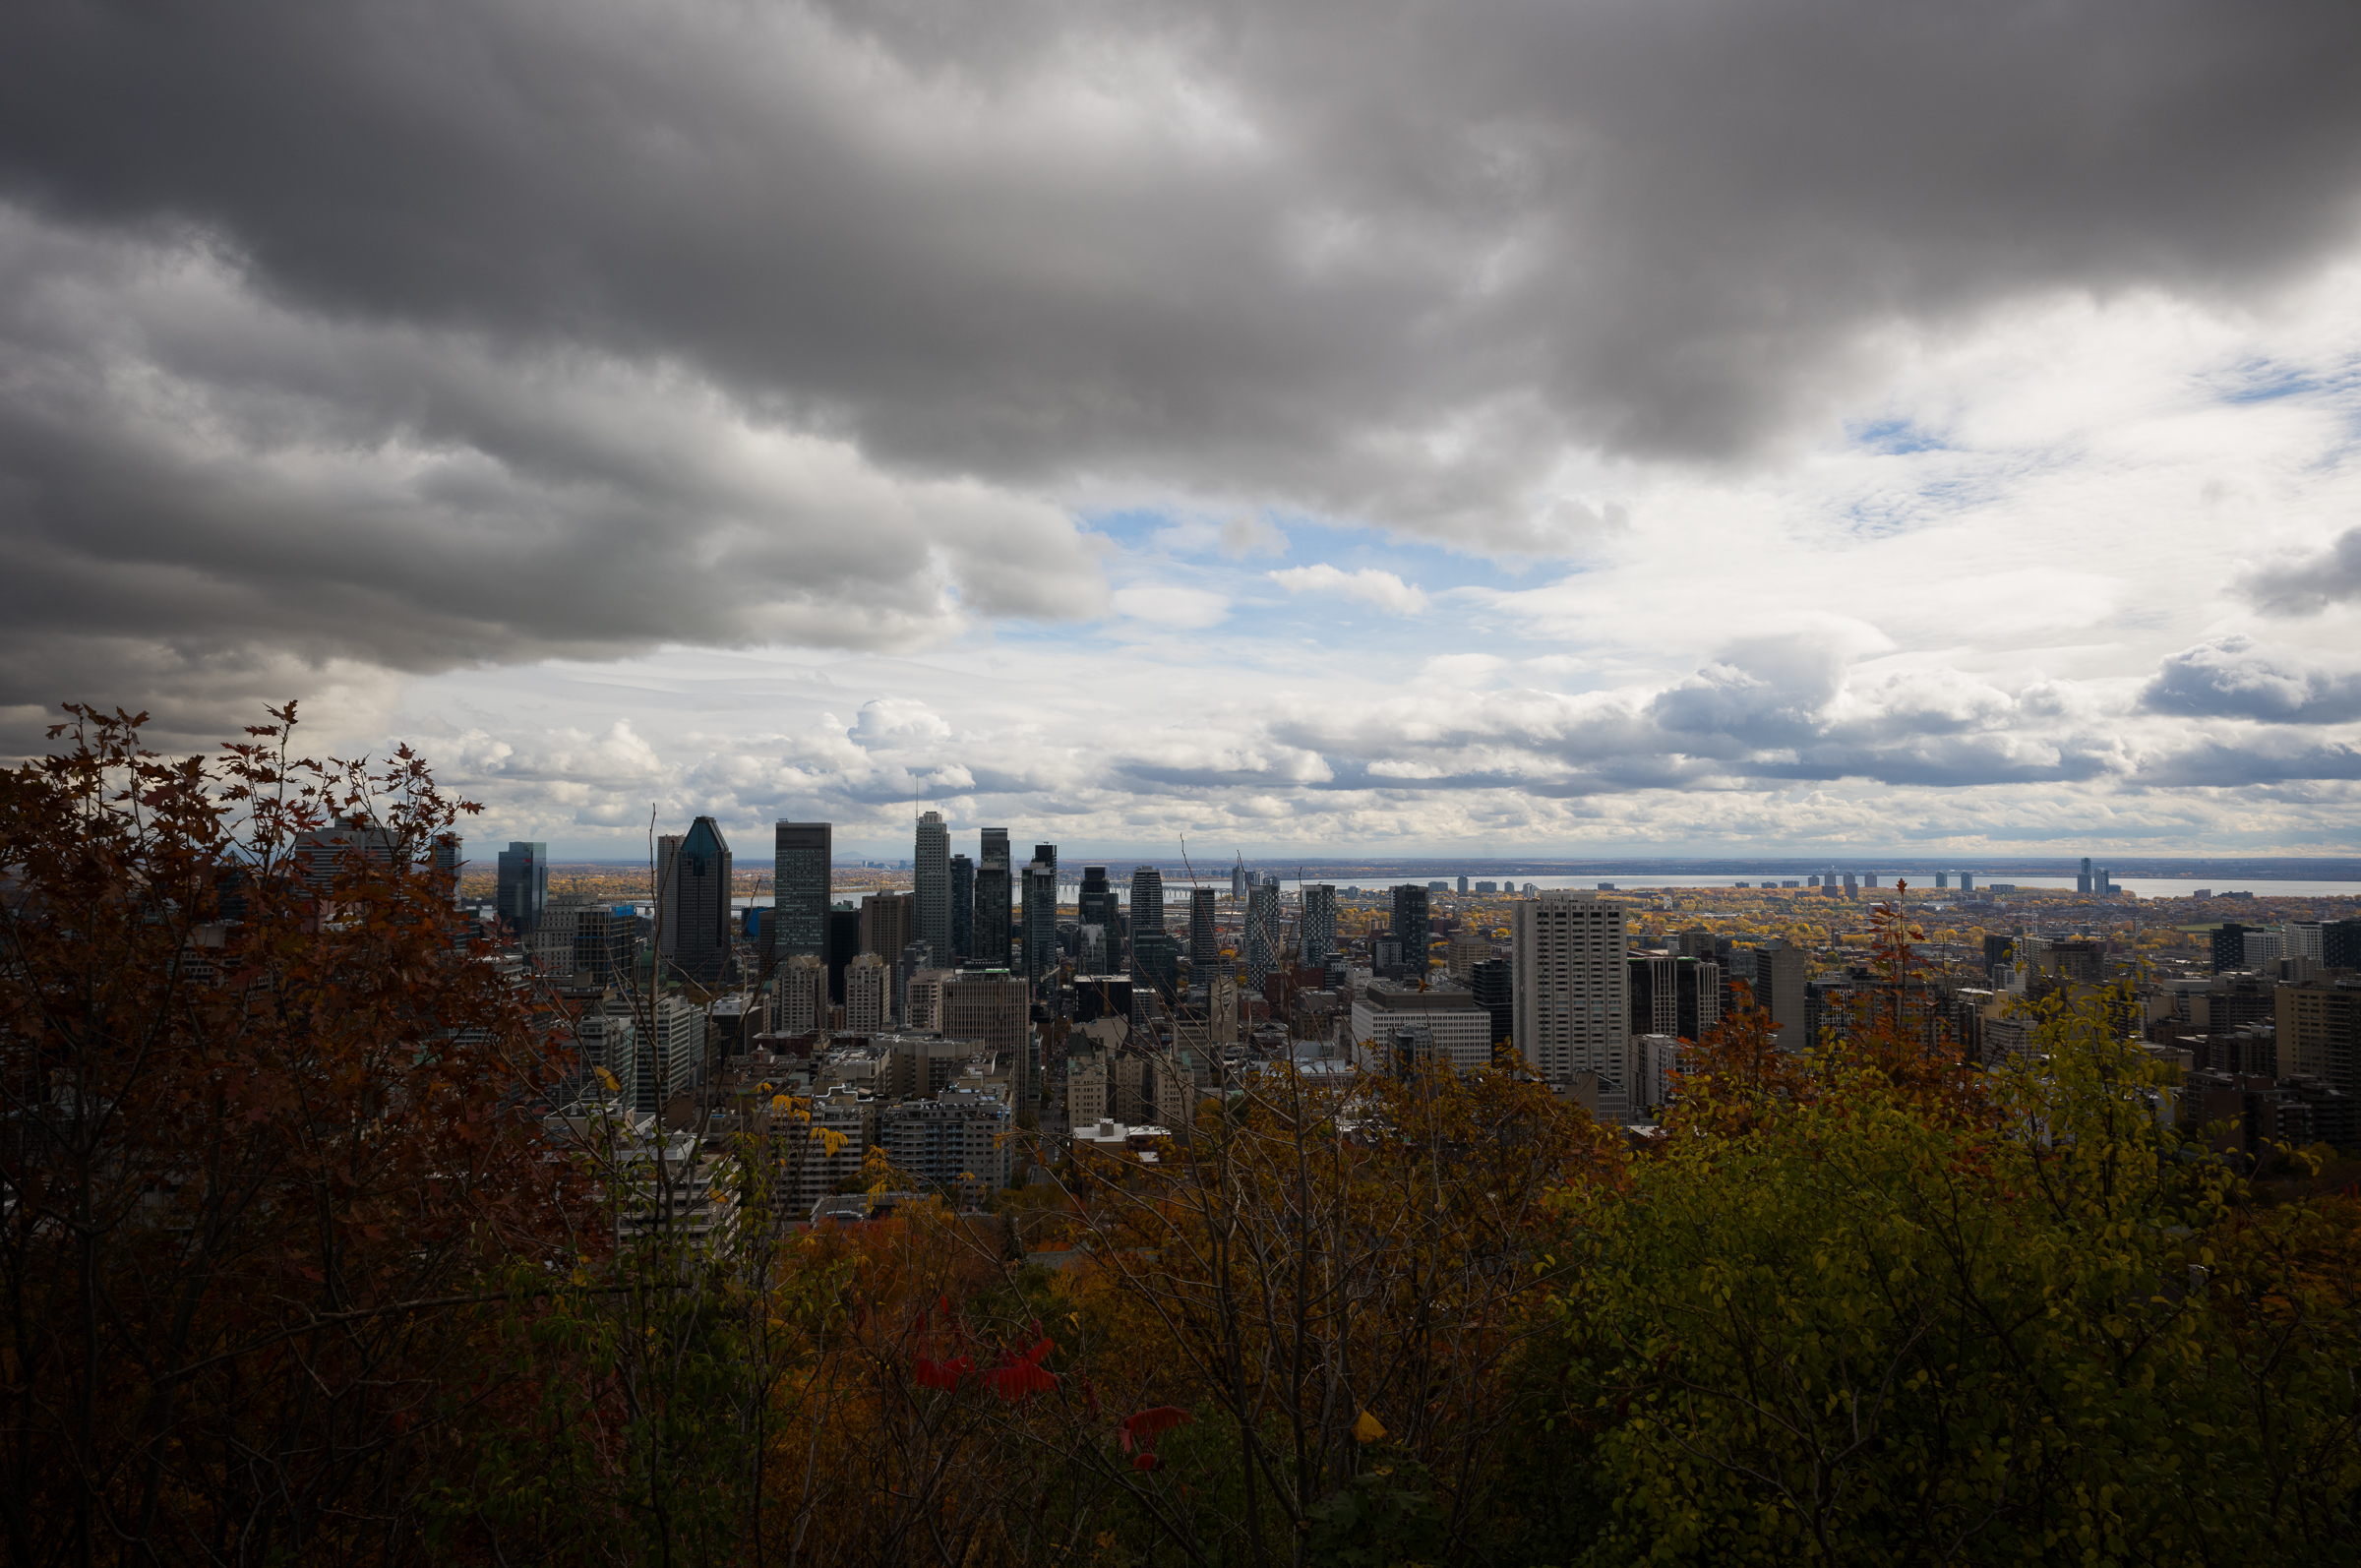
I’m not George Mallory who famously, when asked why he climbed Mount Everest said, “Because it’s there!”, but my mission today was to climb Mount Royal. Why? Not just because it’s there, but I figured it would have a nice view of the city as well.
But first, even after last night’s antics, I managed to get out on the street at 7am to get some empty(ish) shots of the streets. Ok, ok, I had to get up before 7am because I had to return the Monochrom so that someone else could borrow it for the day. But I was up, so carpe diem! Although, maybe Carpe Tylenolum! first.
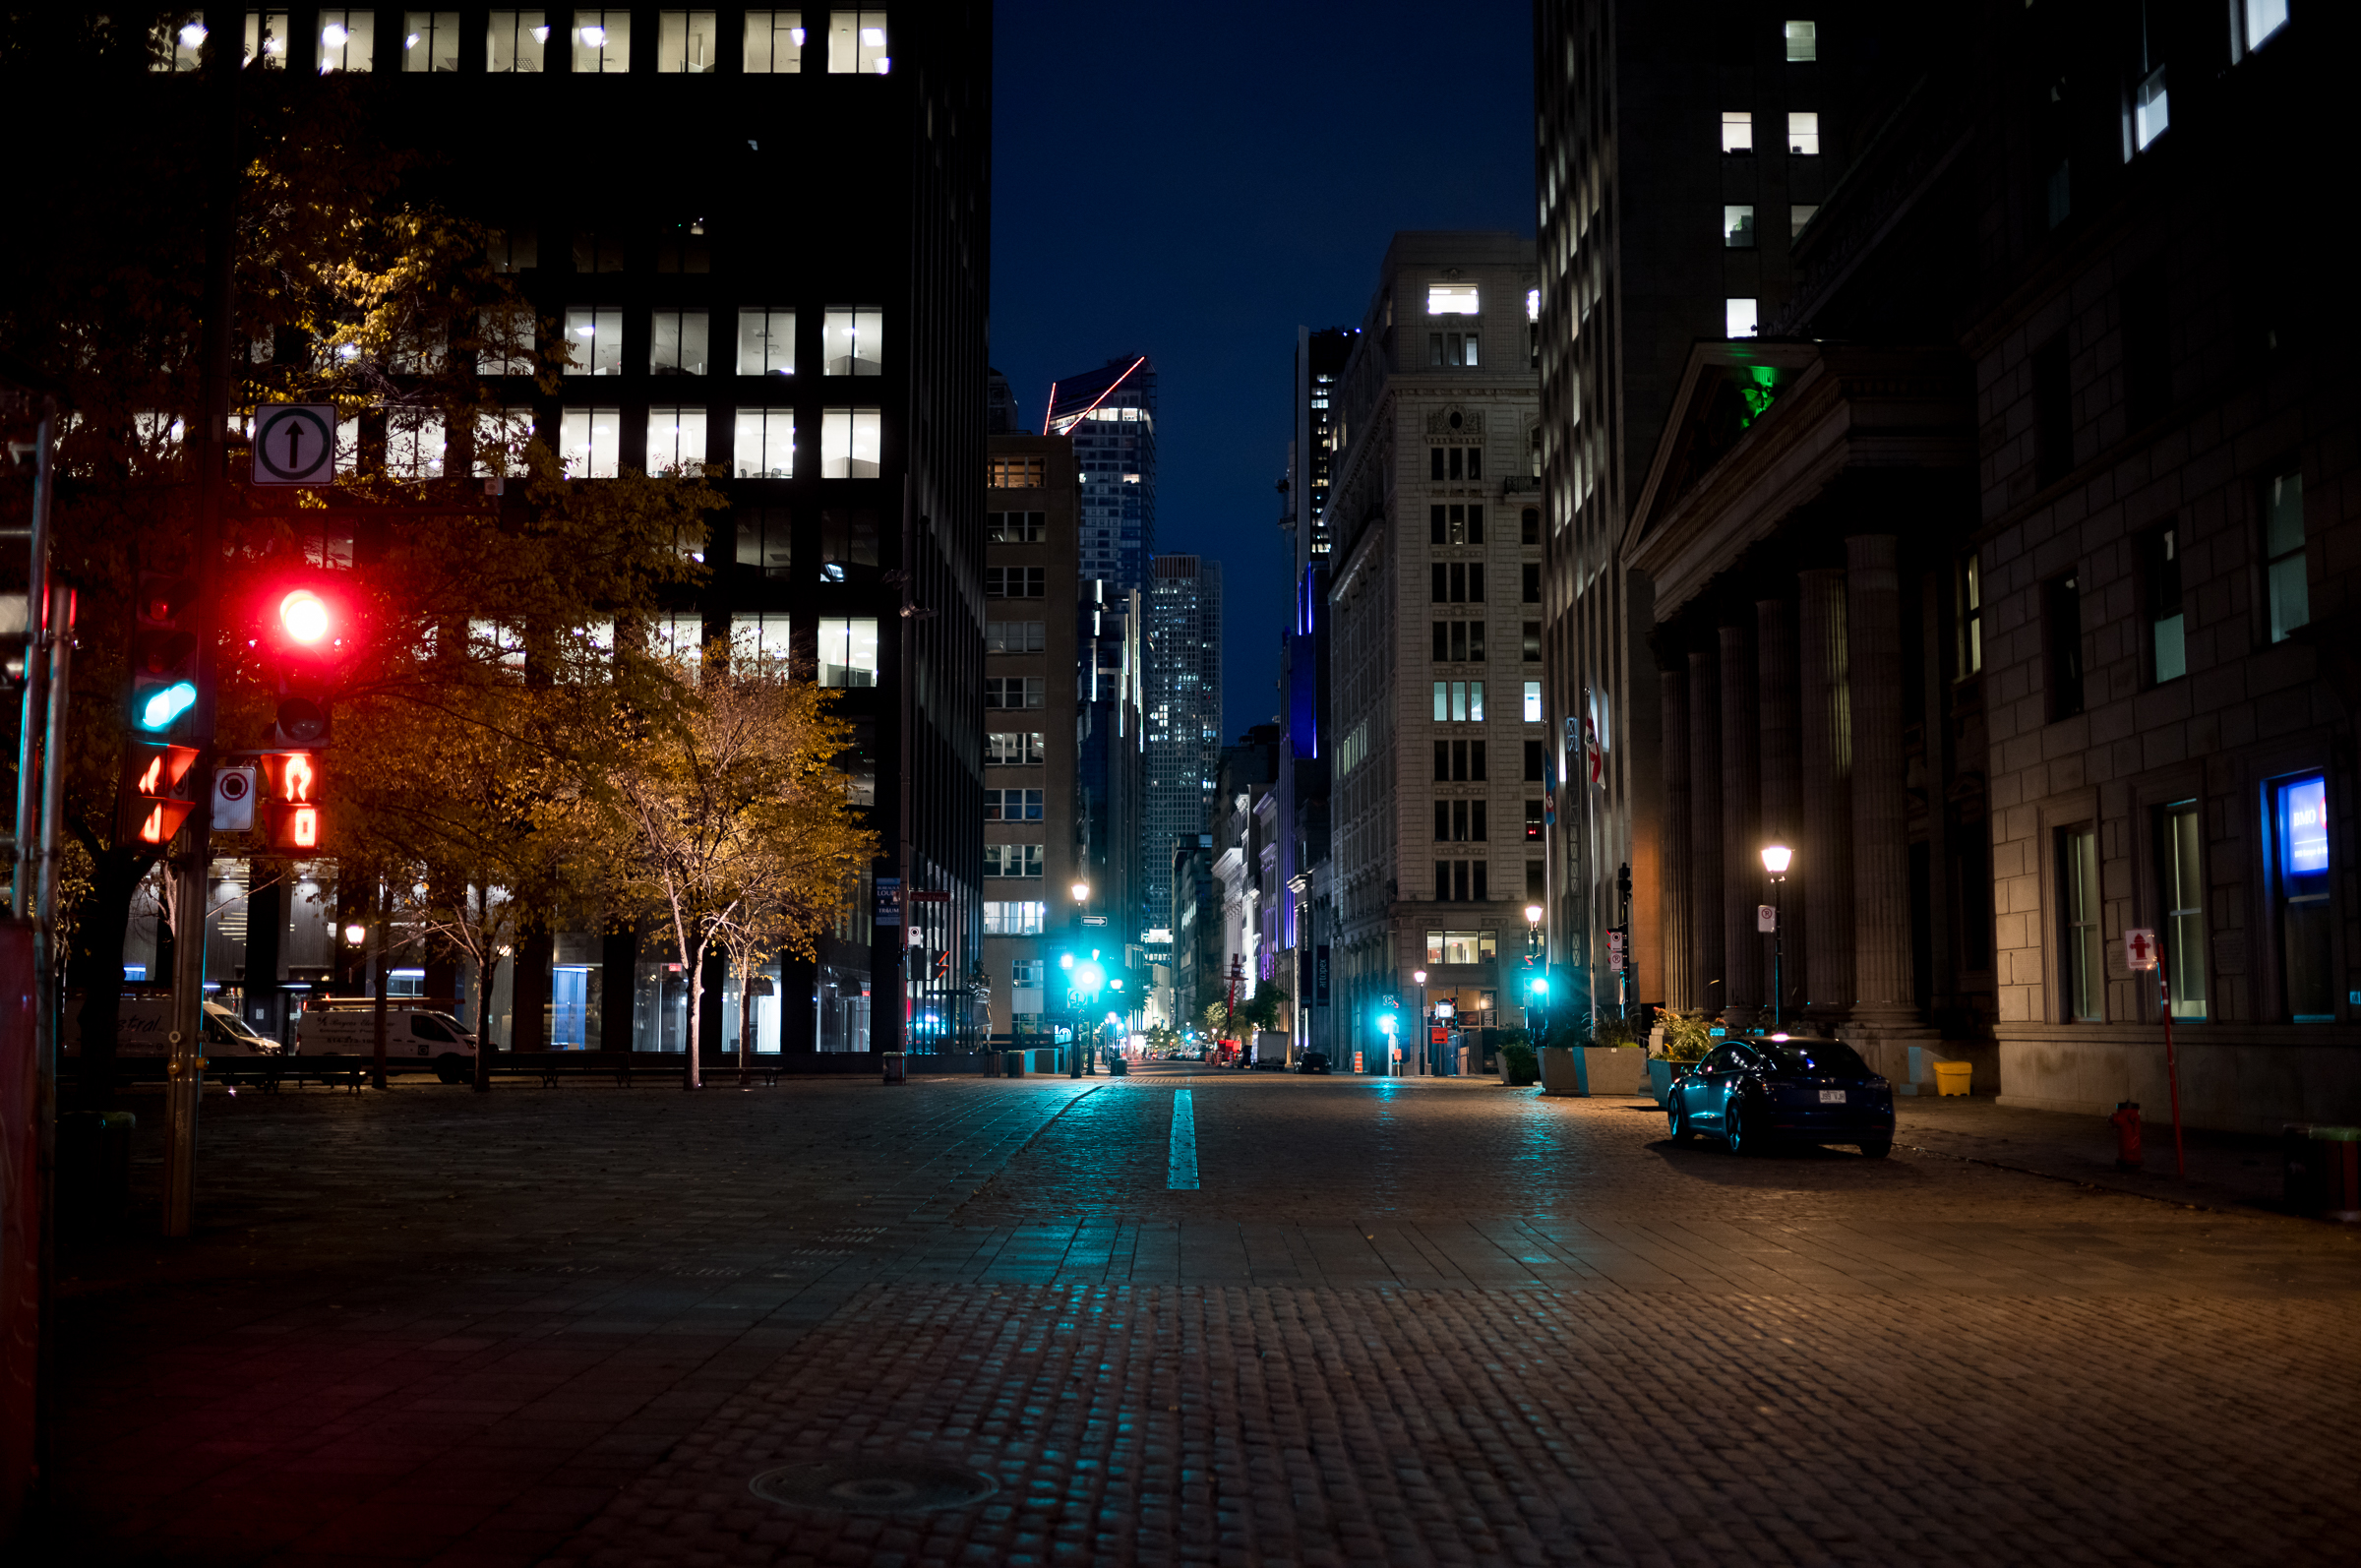
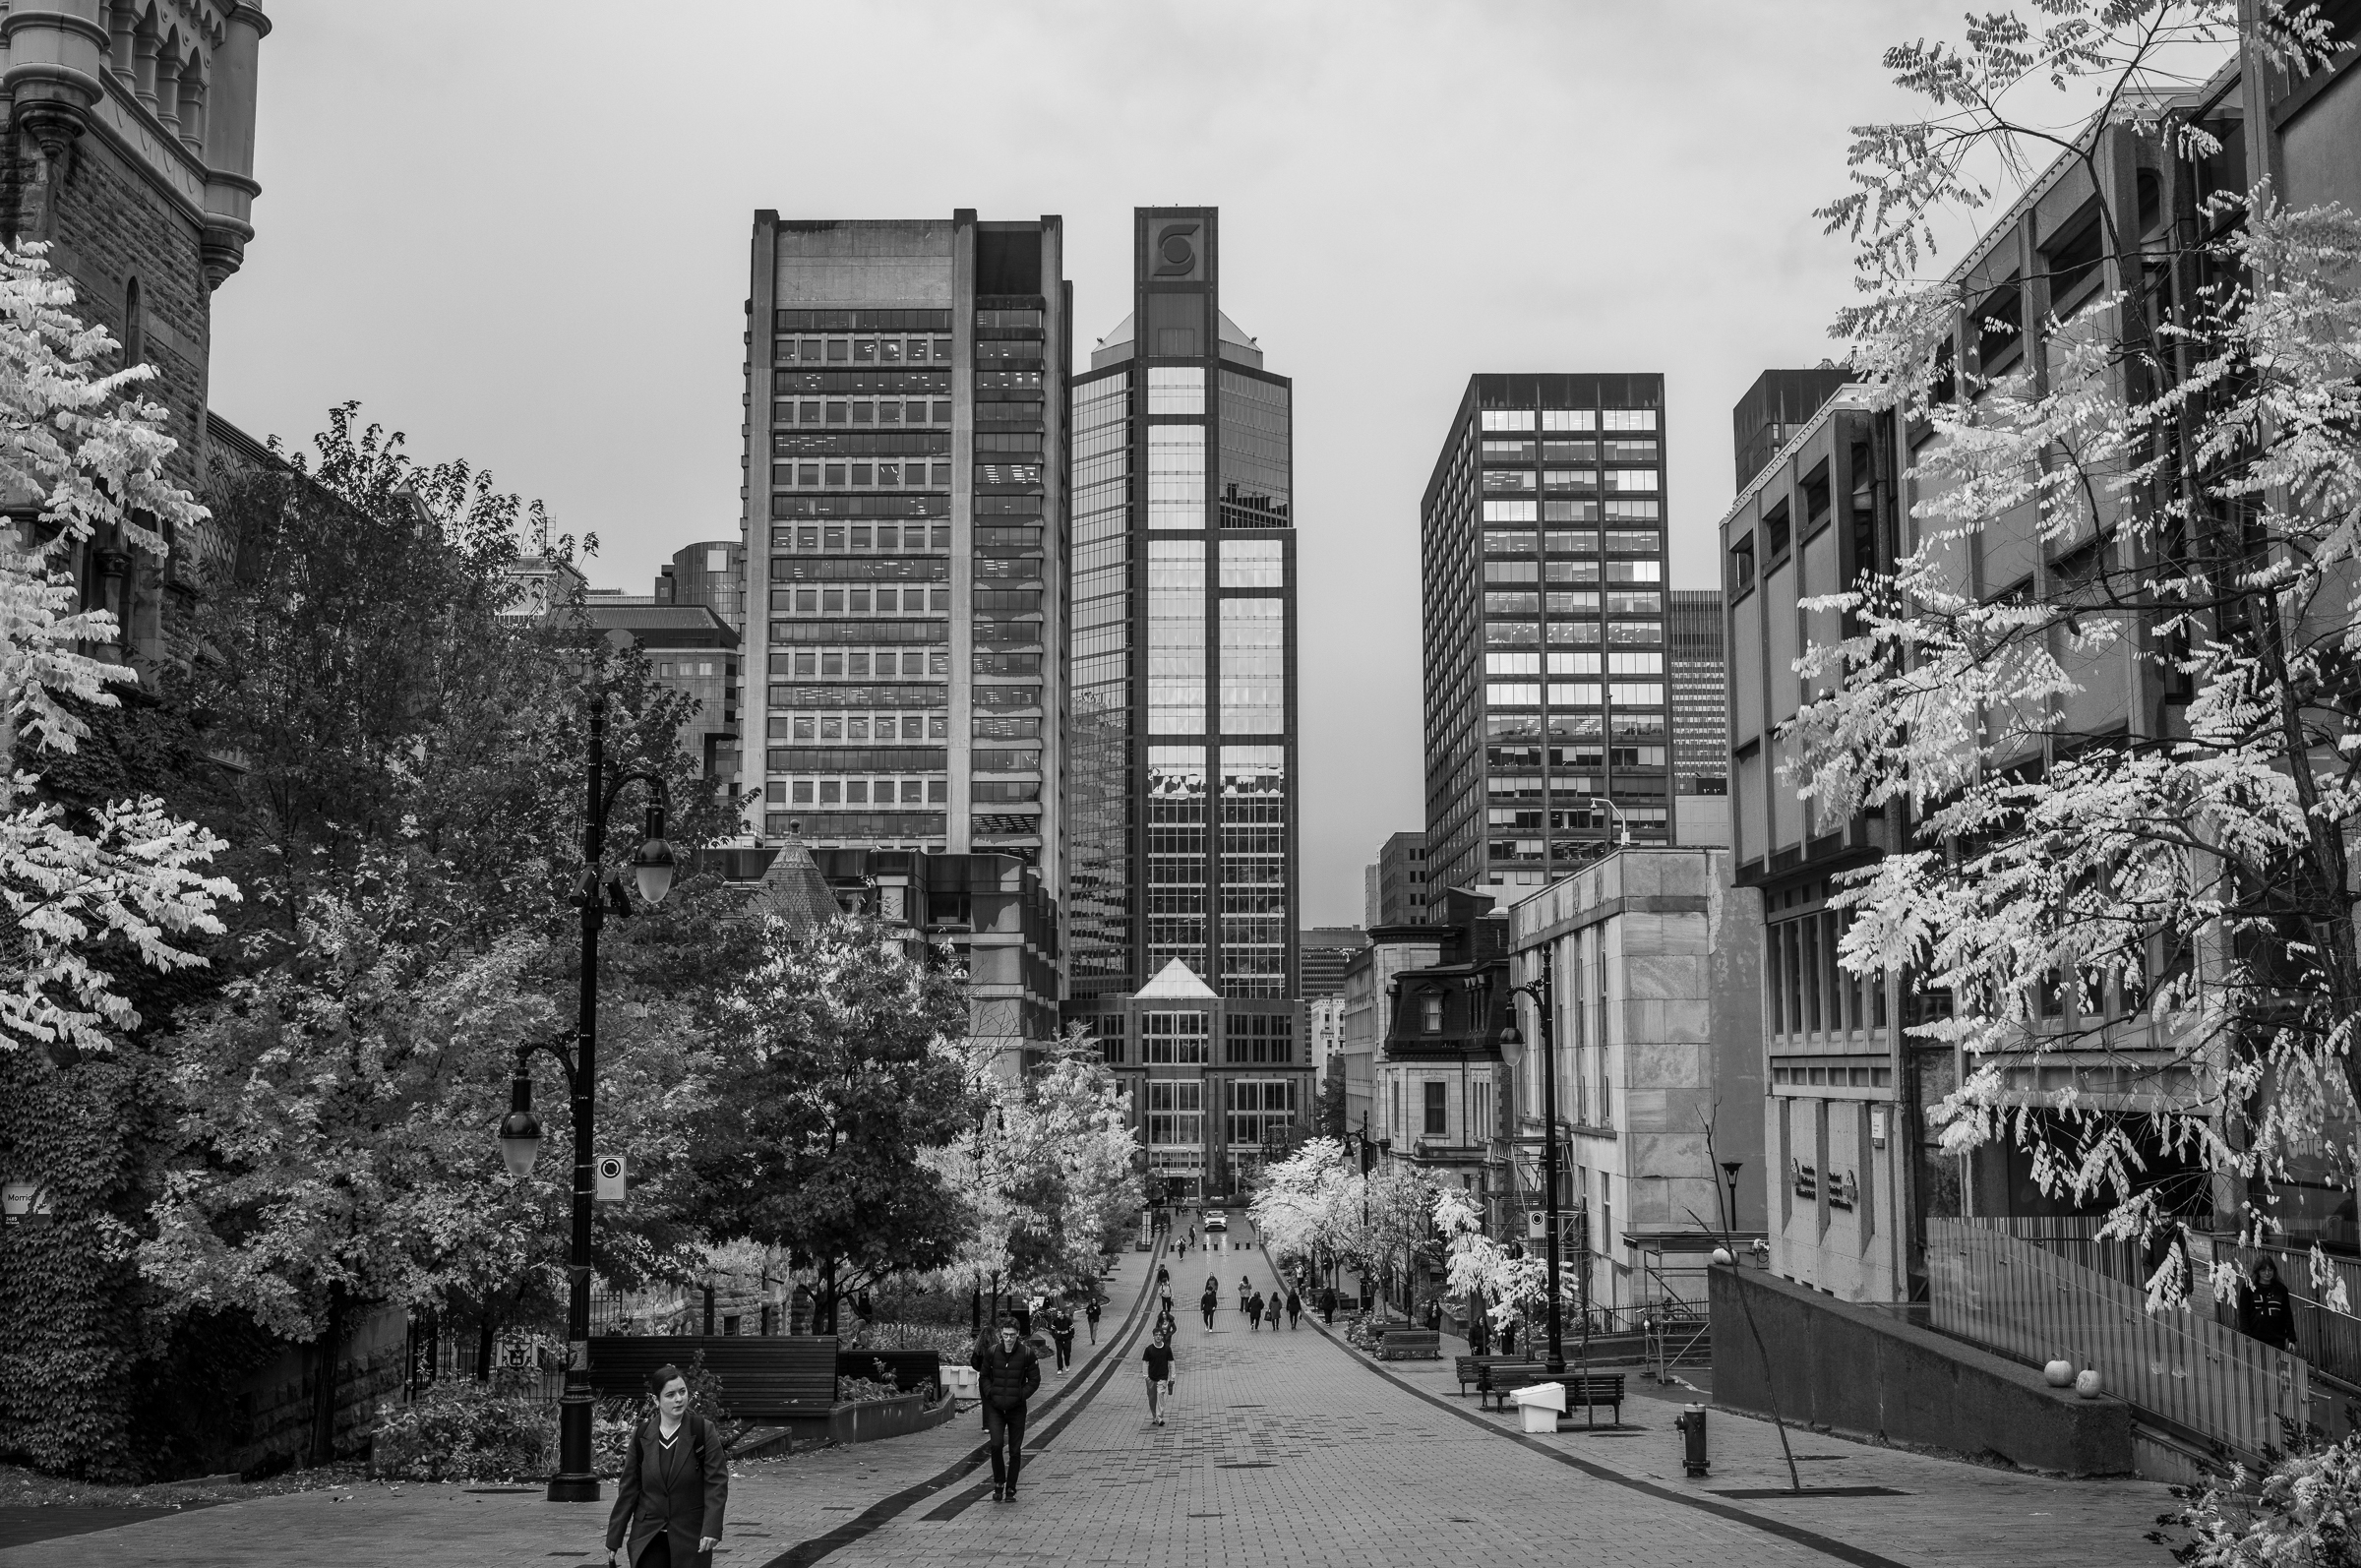
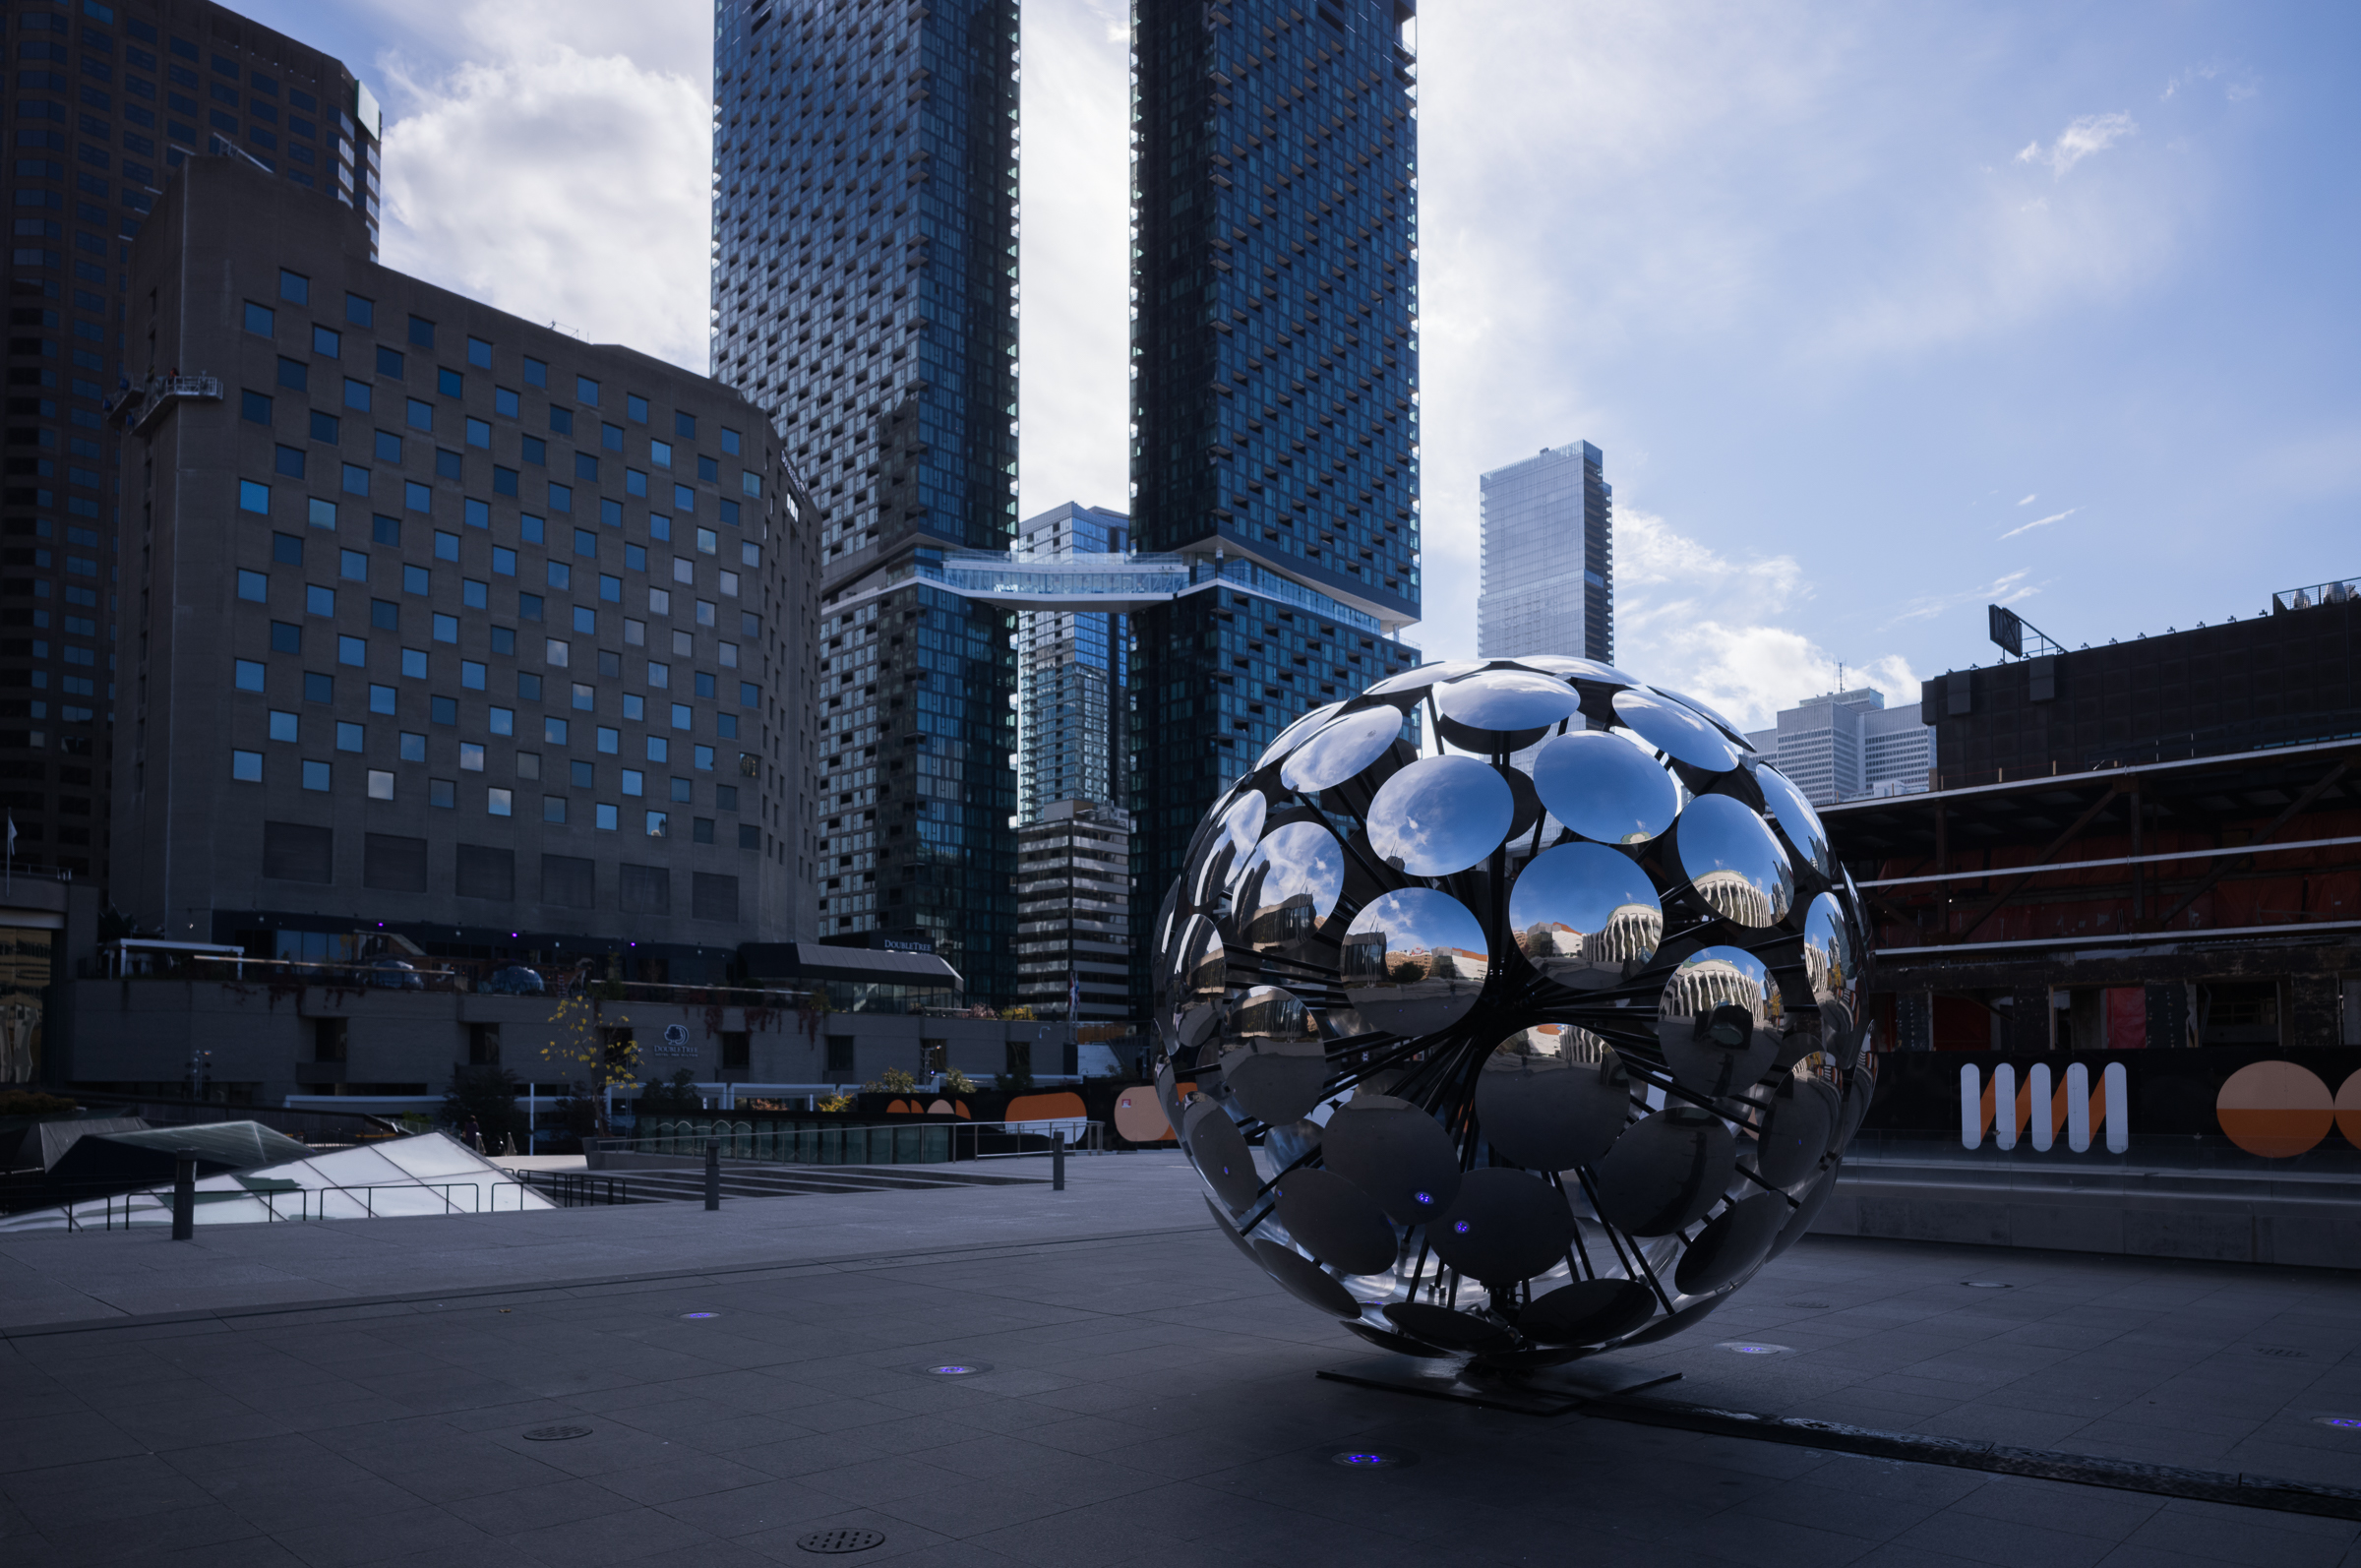
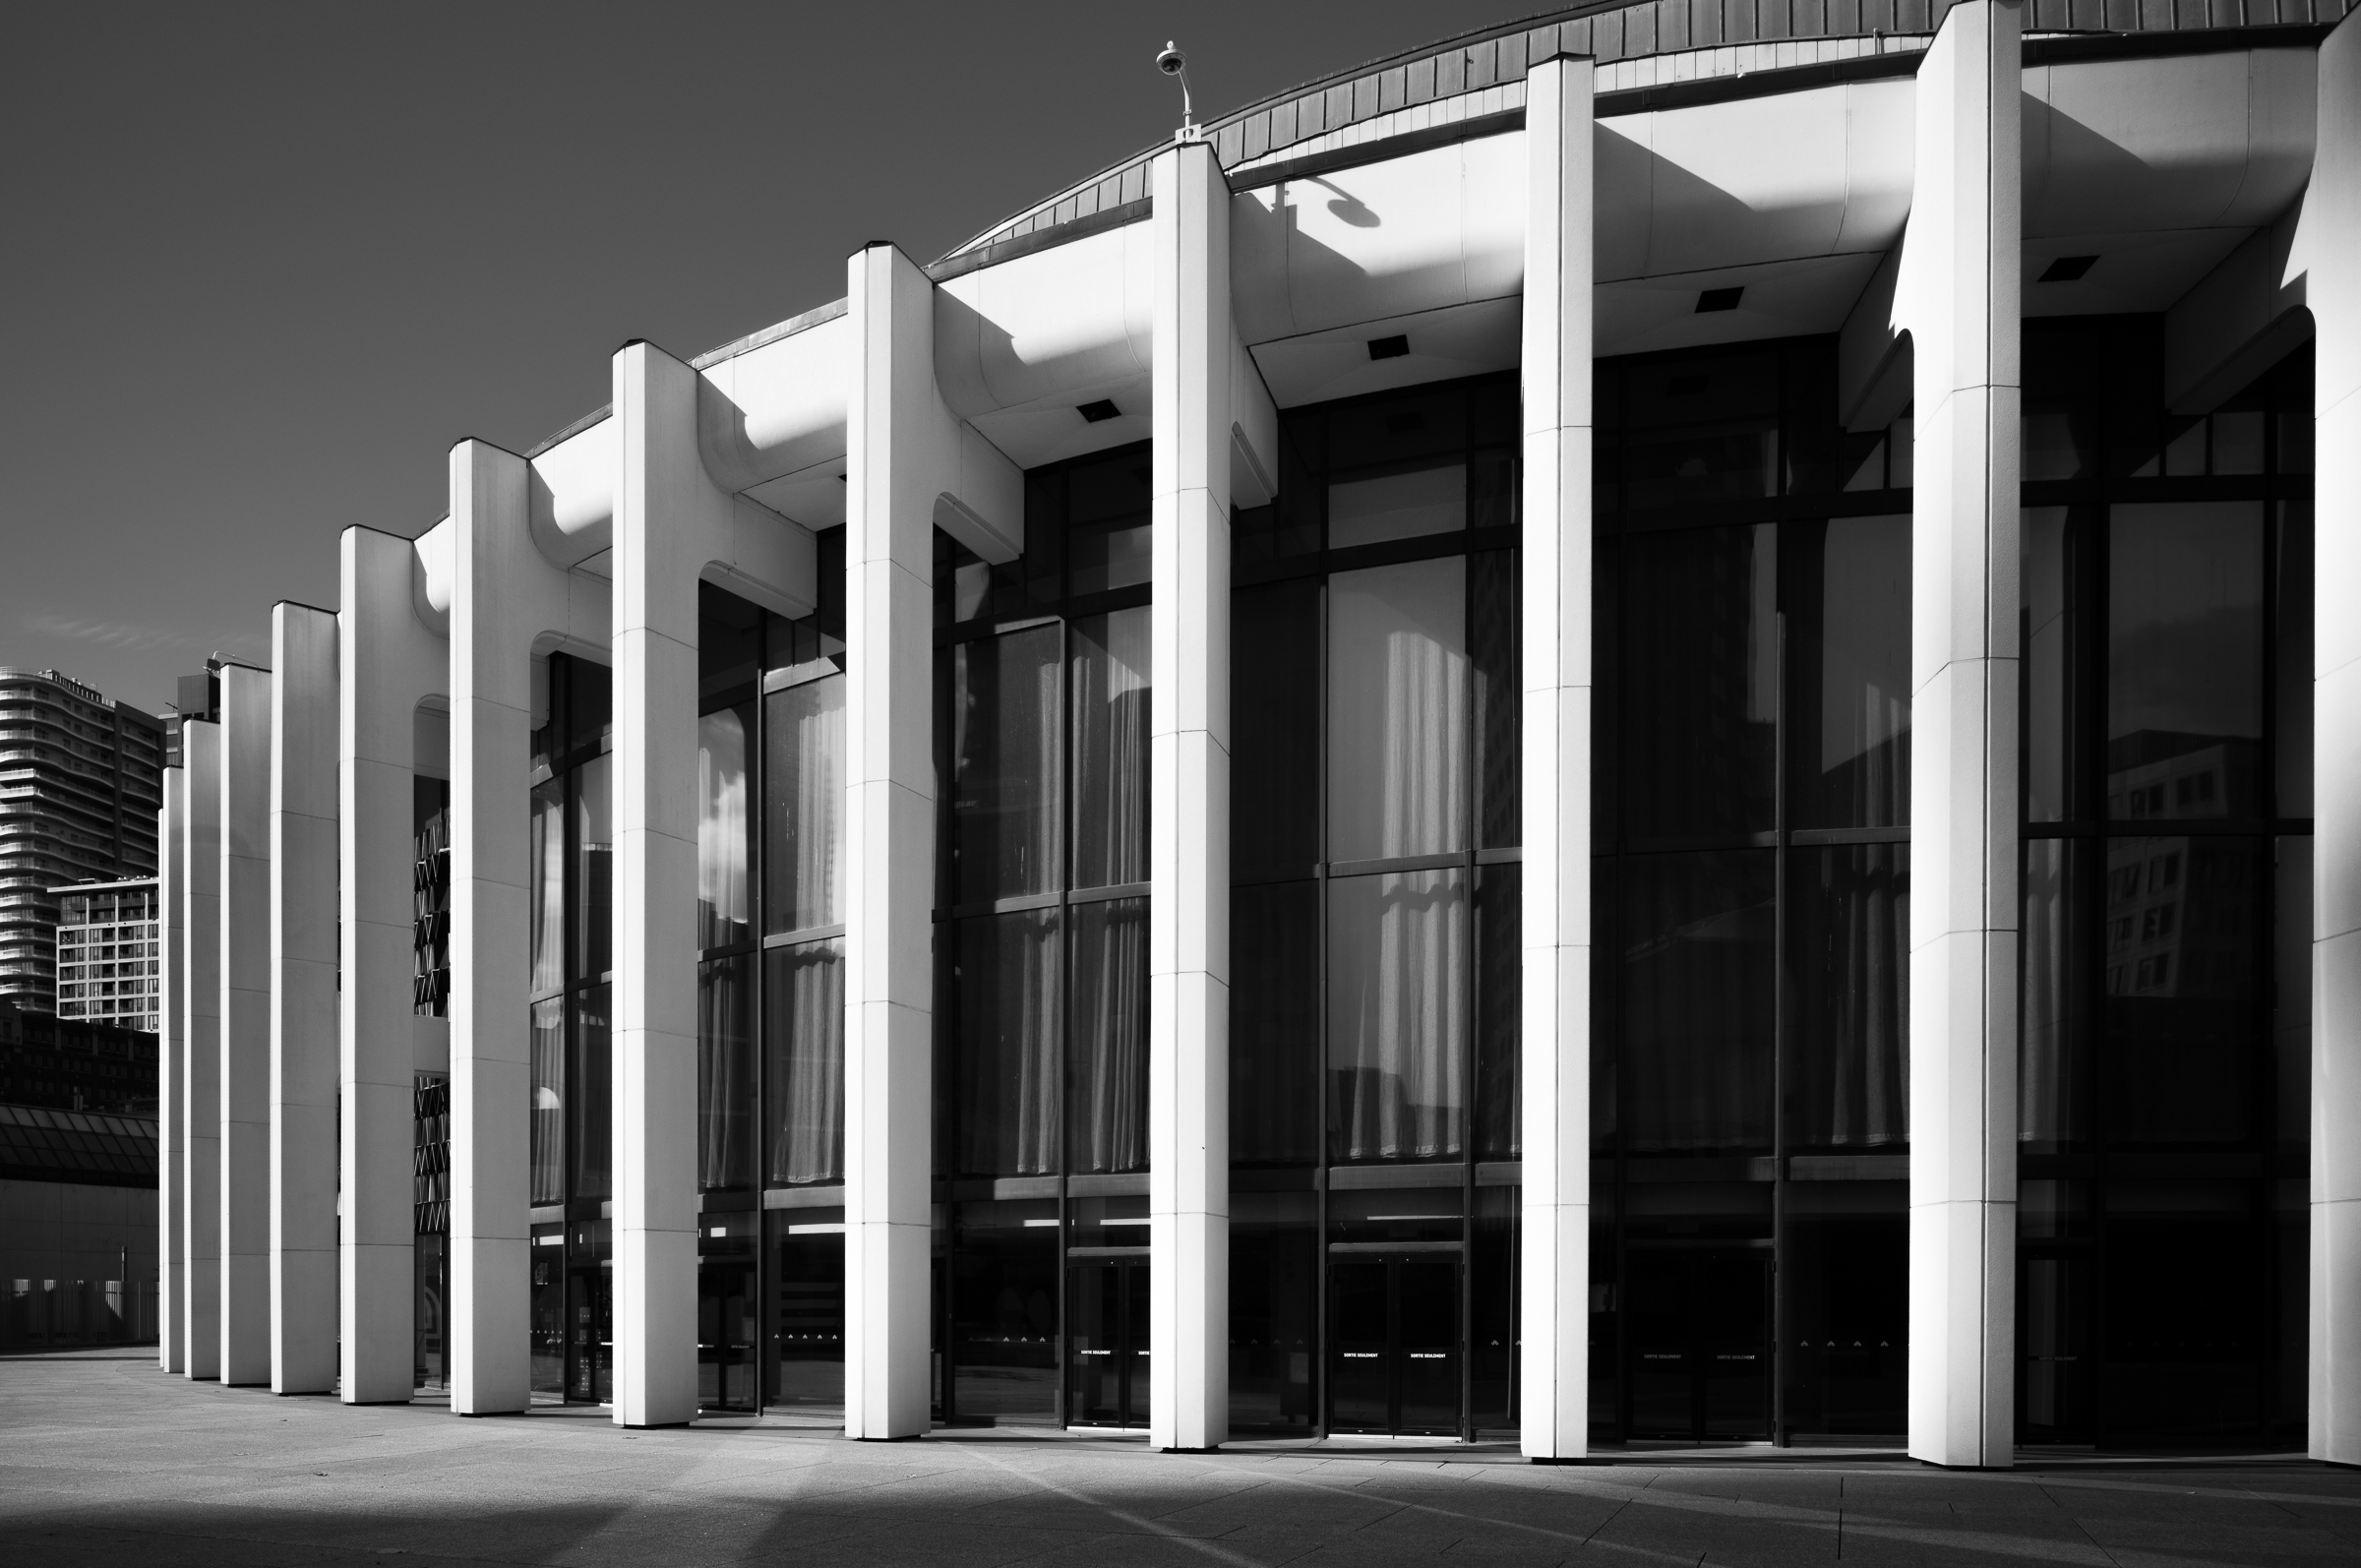
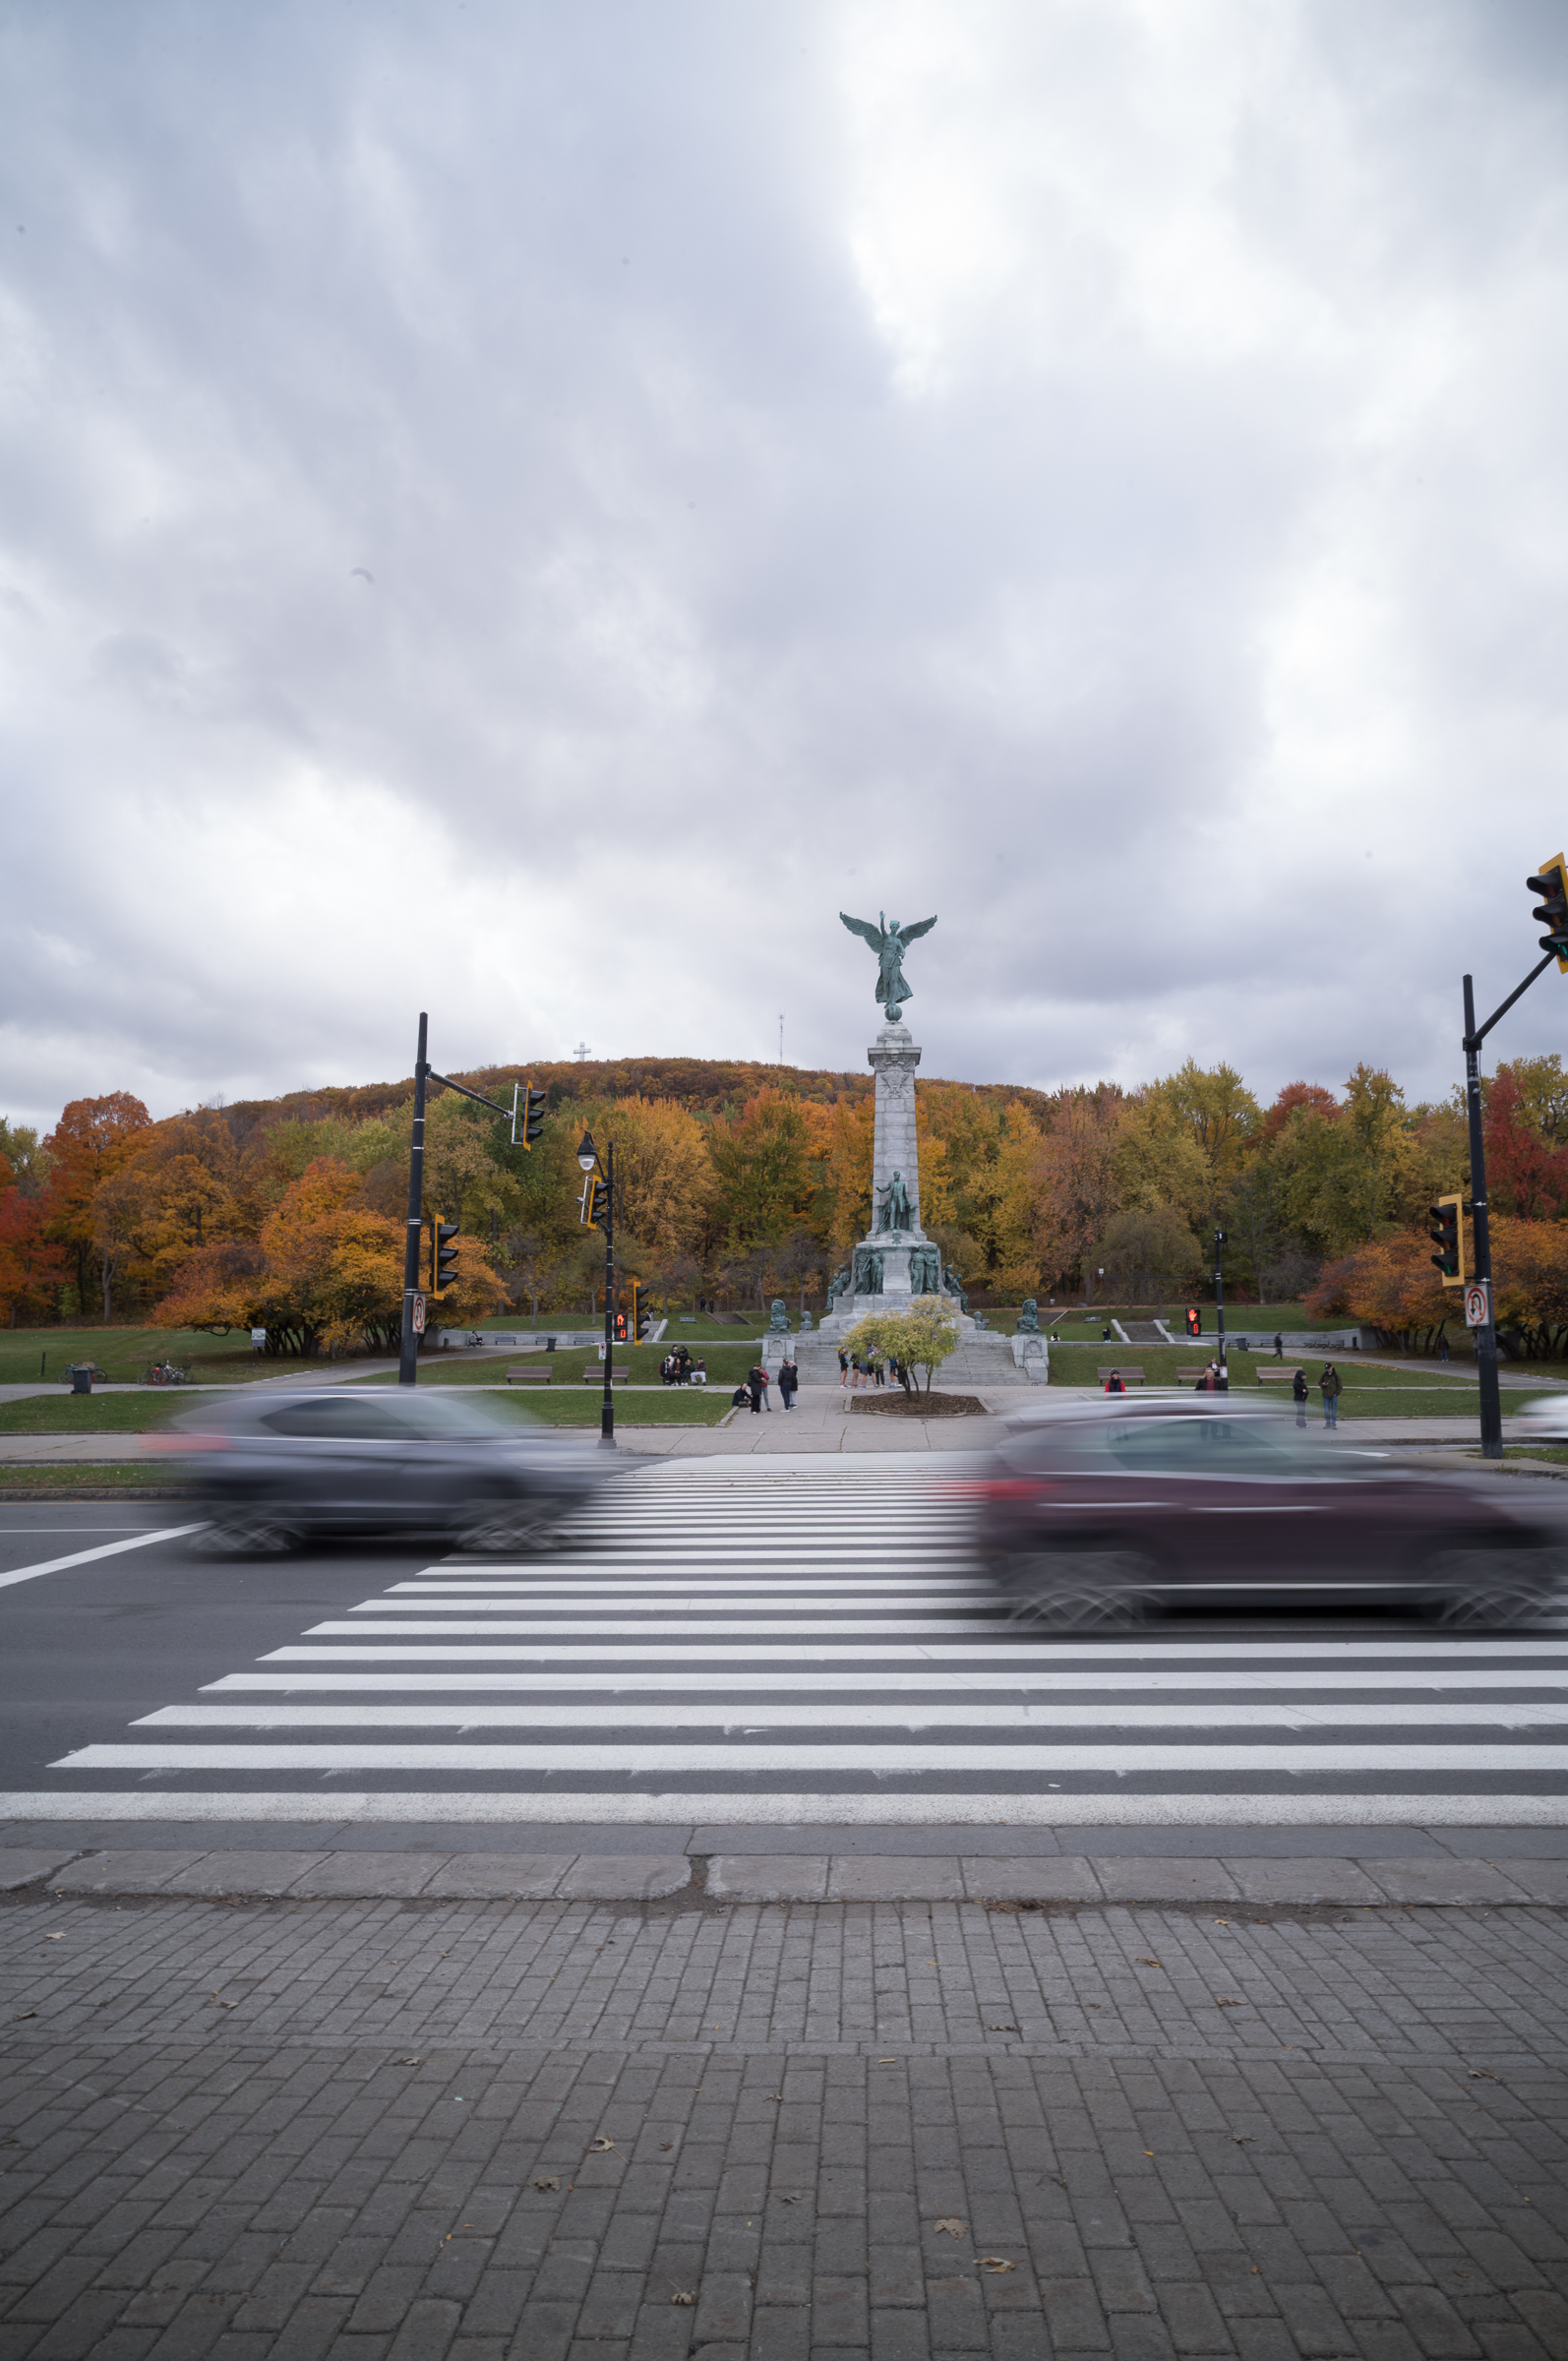
Starting the journey up the Mountain in Chinatown, and then through Place De Arts which has some very cool architecture.
On top of Mount Royal#
Took a minute to get up here. I took the stairs, which was surely faster than the road, but wow, there are a lot of stairs. By the time I got to the top, I was definitely a bit hot, had decided that I would walk down the road, and while there were no clouds in the sky when I left, it now looked like it was going to rain again. “Hey Siri, find a brewery near me!”
Day Five: Last few shots#
Got the “vintage” (it was not vintage when I bought it), 90mm R Summicron out for a bit in the morning. This was my goto lens when I used to shoot a lot of film. It’s heavy, honestly too heavy to drag around with the M11, but I had it with me, so I figured I would take it out for a spin.
And finally, a few last shots before a busy conference day and the end of the trip.
Wrapping Up#
Fantastic trip! Made a number of new friends and got to try out some new gear. I also got to spend a lot of time by myself, working at my own speed, and seeing things myself as opposed to following what other people are seeing and reacting to. As far as gear is concerned, I enjoyed using the M11 Monochrom. It is very similar to my M11 and I can see how I can effectively use both cameras at the same time. That said, it seems a bit much. Maybe some day I will go for the duel camera setup but, for the moment, the M11 is pretty good at handling all my needs. Of course, as I say this, I have the camera up on a webpage at the local shop.
Thanks for reading!!